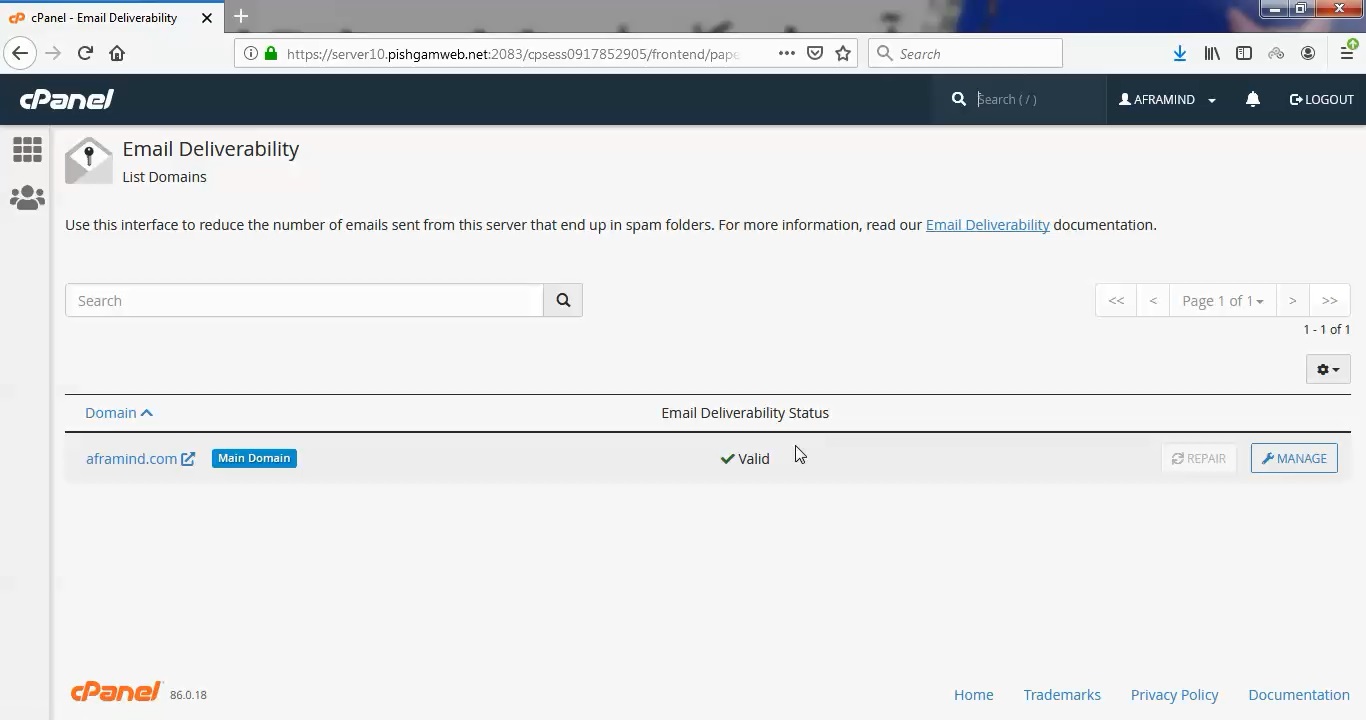
ایمیل
ایمیل  چت آنلاین
  پشتیبانی
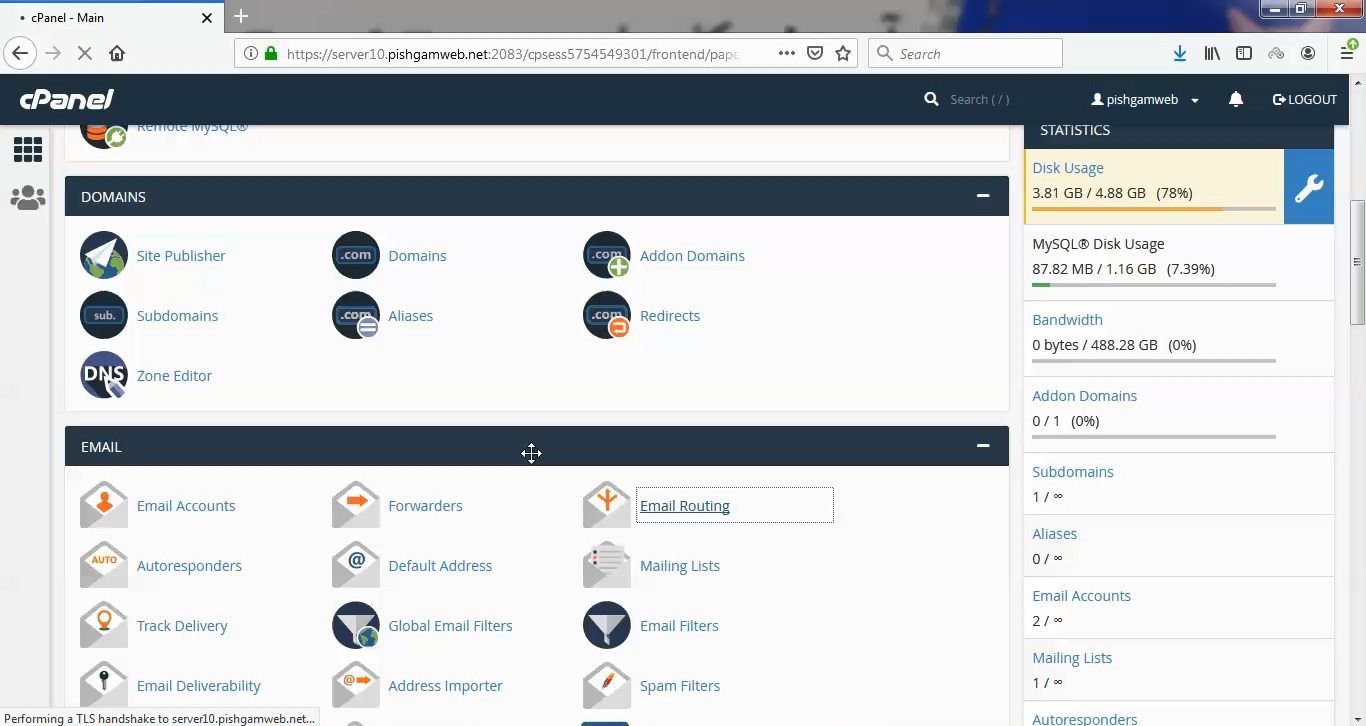
 آموزش کار با Zone Editor در cpanel

دوستان عزیز پیشگام وبی امیدوارم که حالتون خوب باشه ، امروز با آموزش کار با Zone Editor در cpanel خدمتتون هستیم و امیدوارم توضیحاتی که در این مطلب و یا در انتها مطلب که بصورت فیلم قرارداده شده بتونه به شما کمک کنه و هر روز بیشتر پیشرفت کنید.
خوب اصلا این قسمت به چه دردی میخوره کجا بهش نیاز داریم و در کل کاربردش چی هست؟
توجه کنید که Zon Editor سی پنل دارای کاربردهای دیگری نیز هستند. موارد زیر از متداولترین قابلیتهای Zon Editor می باشد.
- اتصال سایت به هاست دانلود:
Zone Editor سی پنل برای شما قابلیت اتصال هاست دانلود را بر روی سایت ایجاد کرده است. حتما باید تنطیماتی را برای اقدام به اینکار انجام دهید.
- تعریف کلیدهای ارتباطی:
معمولا این امکان بصورت پیشفرض از طریق DNS server ایجاد می شود.
- تعریف یا تغییر پیشوند پیشفرض:
پیشوند پیشفرض تمامی سایتها www می باشد. حال با استفاده از قابلیتهای zone editor سی پنل می توانید آن را تغییر دهید.
- تعریف Child Host:
این قابلیت زمانی تعریف می شود که دامنه نیاز به DNS اختصاصی دارد.
- تغییر واحدهای زمانی رکوردها :
معمولا واحدهای زمانی رکوردها بصورت خودکارتنظیم میگردد.
اما Zone Editor سی پنل این امکان را به شما می دهد که واحدهای زمانی را تغییر دهید.
همچنین تعریف آی پی اختصاصی برای ساب دامین ها از اصلی ترین کاربرد Zone Editor سی پنل محسوب می شود.
این قسمت برای تغییر پسورد در سی پنل میباشد که با عنوان Zone Editor در قسمت domains موجود میباشد.
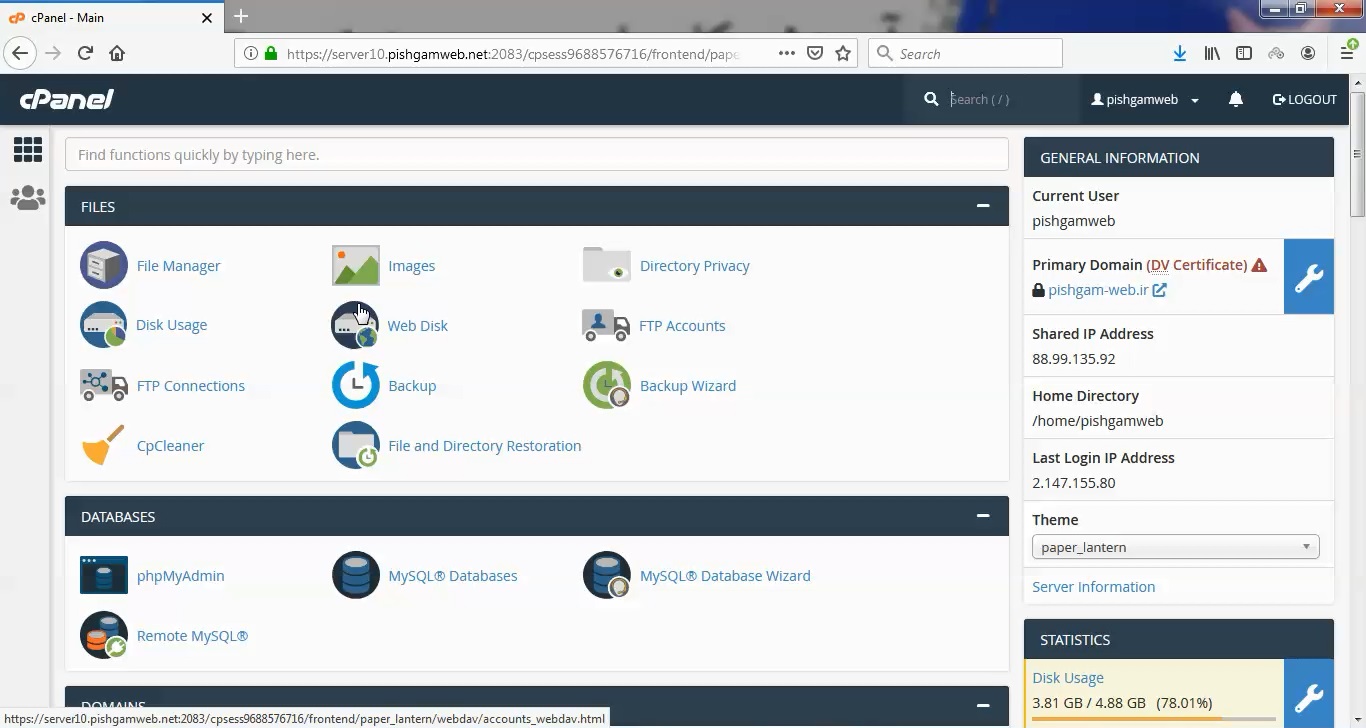
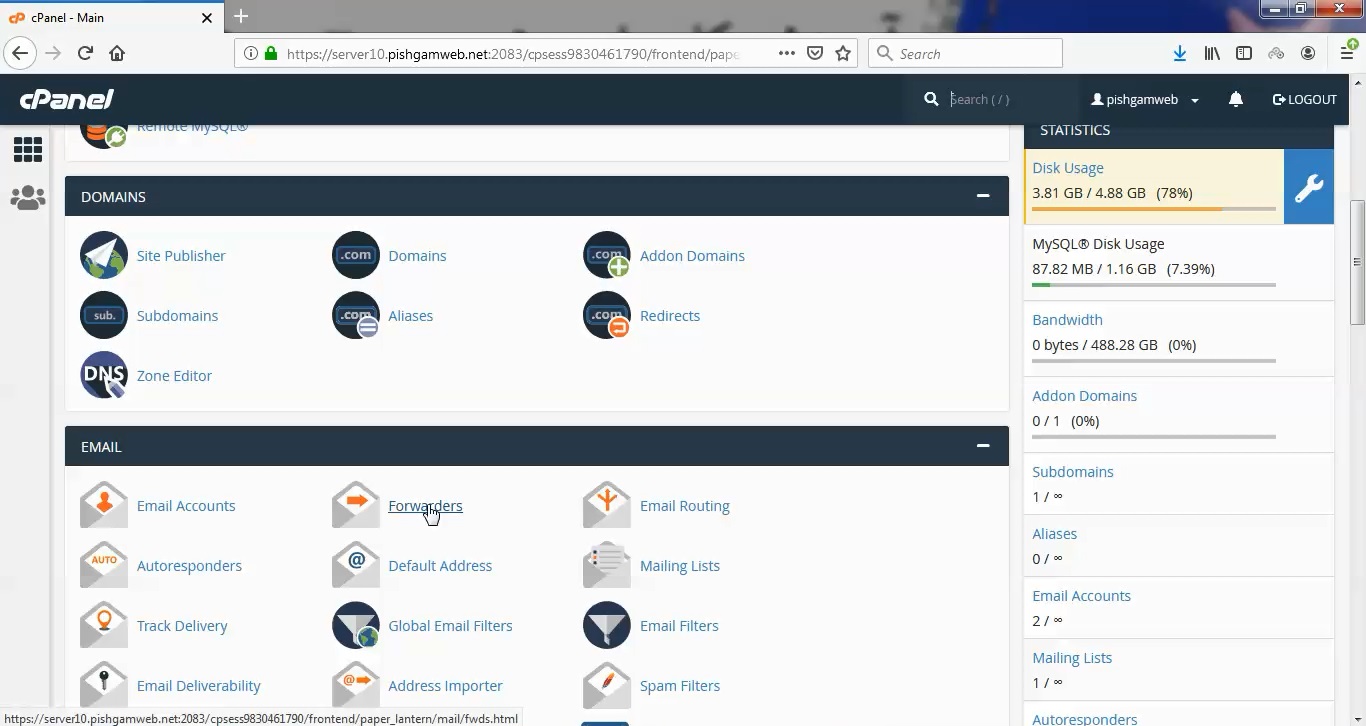
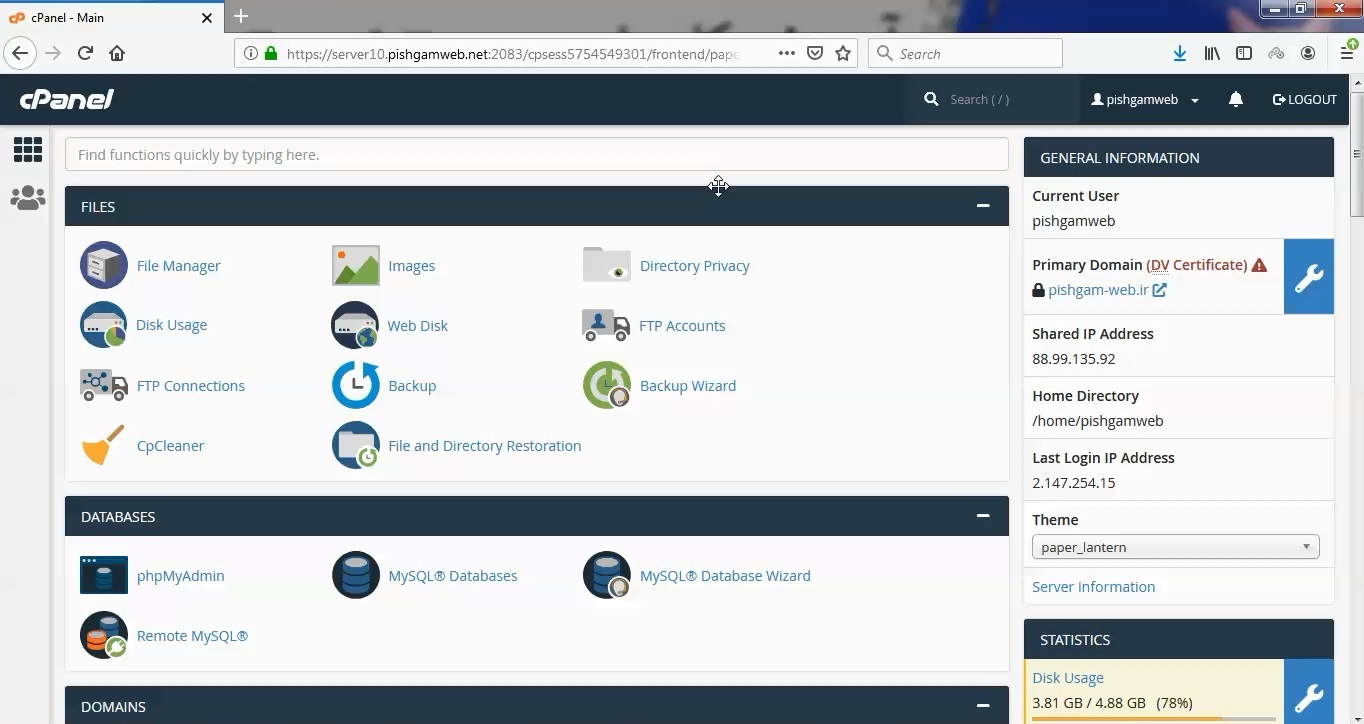
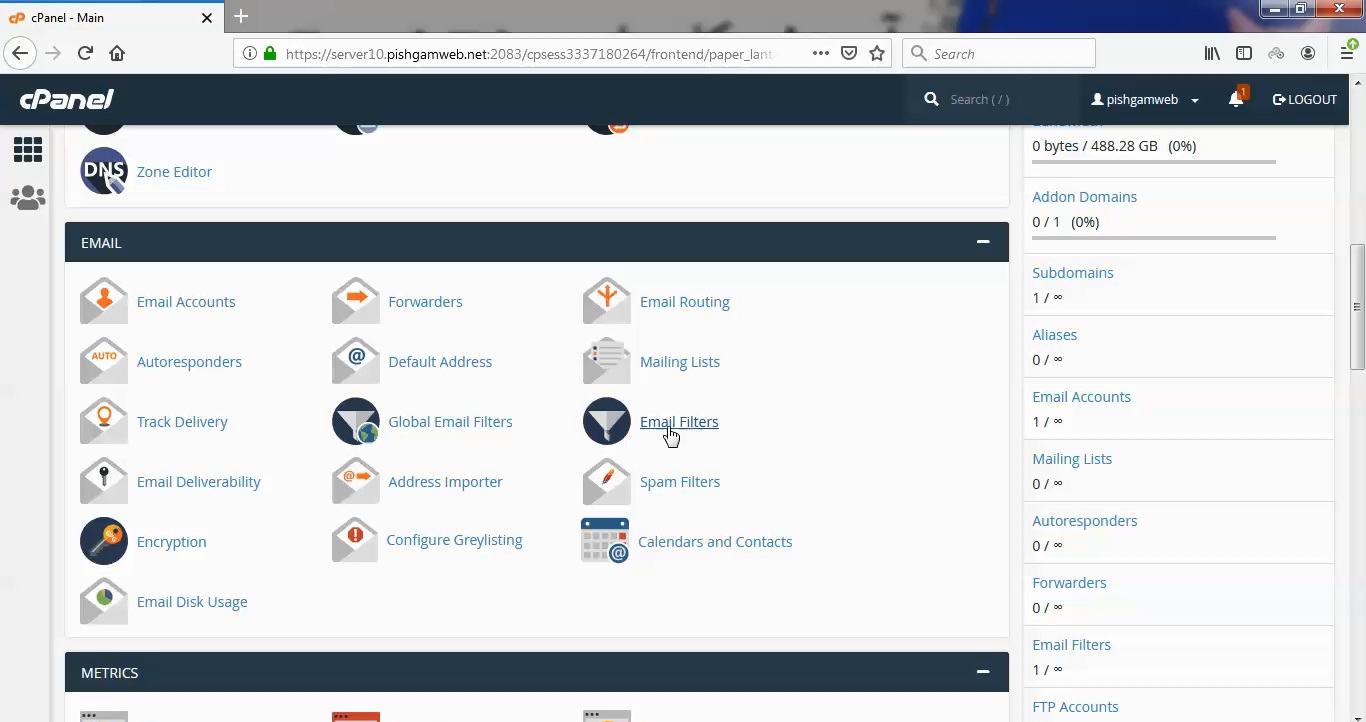
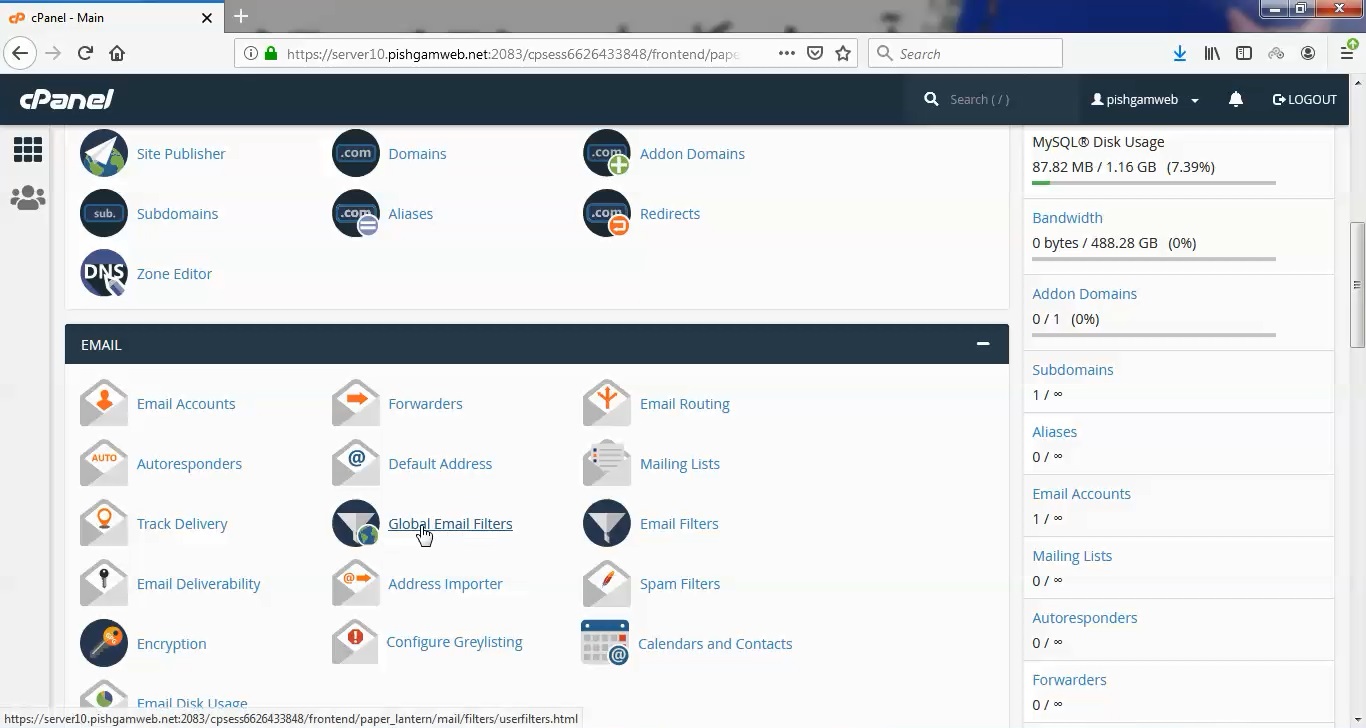
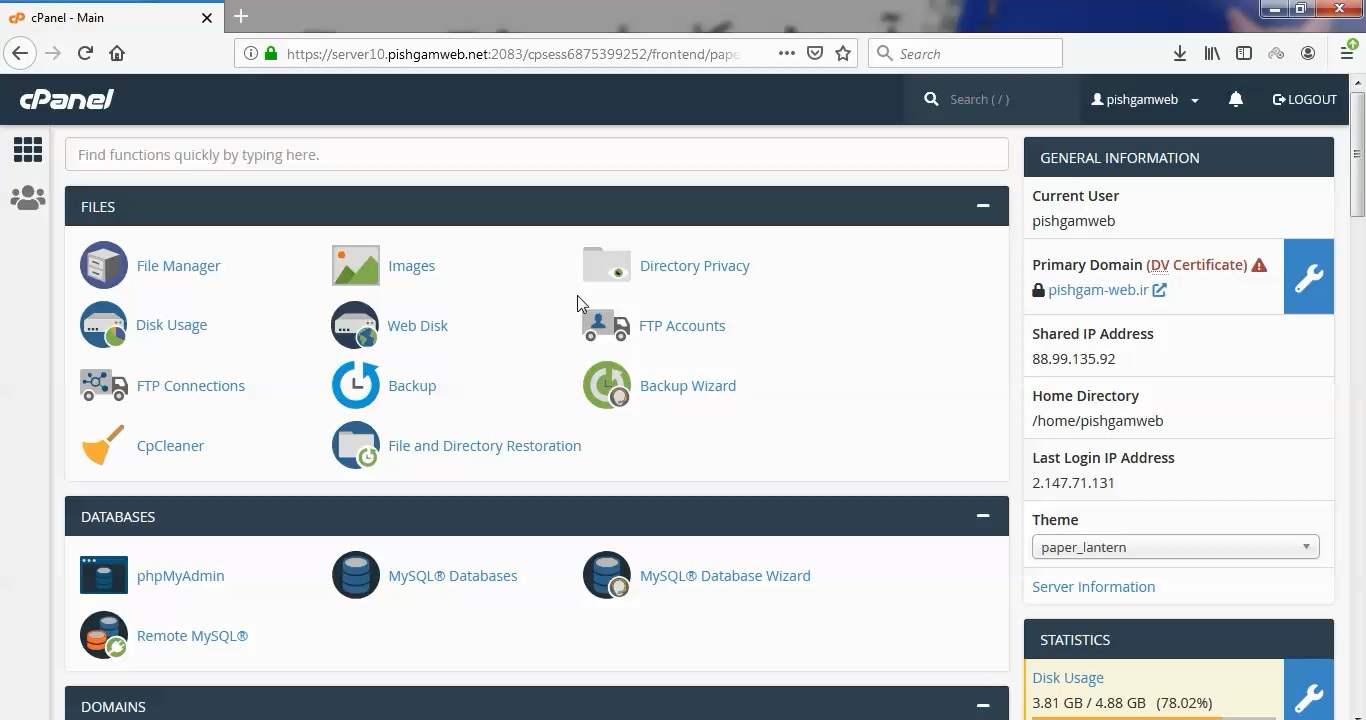
ابتدا وارد هاستمون داخل سایت پیشگام وب میشویم.
میتوانید از سایت پیشگام وب قسمت سرویس های من ، سرویس مورد نظر را انتخاب کرده و ورود به سی پنل را بزنید تا بصورت اتوماتیک وارد هاستتون بشید و همچنین میتوانید از لینک سایت خودتون ، البته اگر که دی ان اس های ( DNS ) پیشگام وب را درست ست کرده باشید و 24 ساعت گذشته باشد از طریق پورت 2082 و یا 2083 وارد بشید.
فقط نکته ای که هست و باید بهش توجه کنید ، اگر سایت را با http باز میکنید از پورت 2082 و اگر با https باز میکنید از 2083 استفاده کنید ، نمونه لینک در زیر مشخص شده است.
البته به این نکته توجه داشته باشید که باید جای آدرس سایت ما آدرس سایت خودتان را وارد کنید.
راه آخر جهت لاگین هم در صورتی که دی ان اس ها ( DNS ) را ست نکرده اید یا 24 ساعت از تنظیم آنها نگذشته است و دوست ندارید بطور مثال اطلاعات ناحیه کاربری رو به طراح بدید استفاده از لینک پیشفرض پیشگام وب هست که در زمان خرید هاست برای شما ارسال شده و اگر هم نتونستید پیدا کنید میتوانید تیکت بدهید تا به شما داده شود ، پایین هم میتوانید نمونه لینک رو مشاهده کنید.
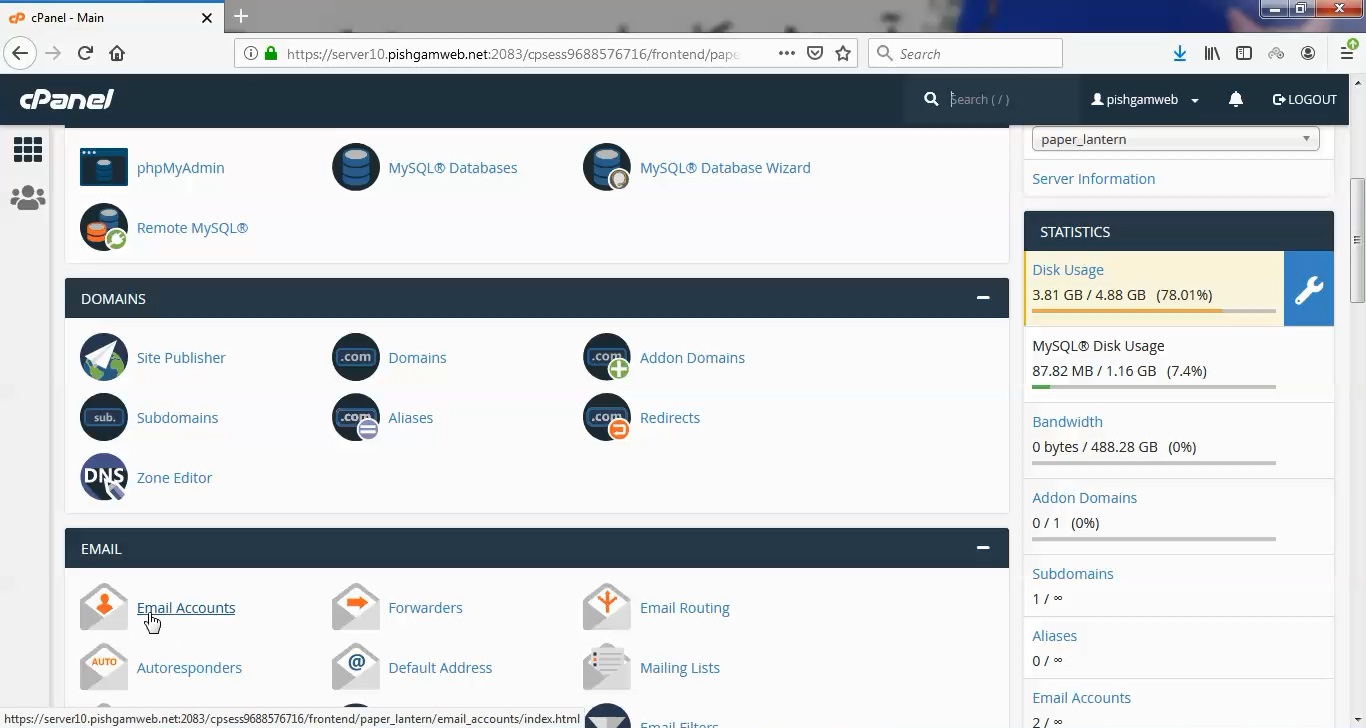
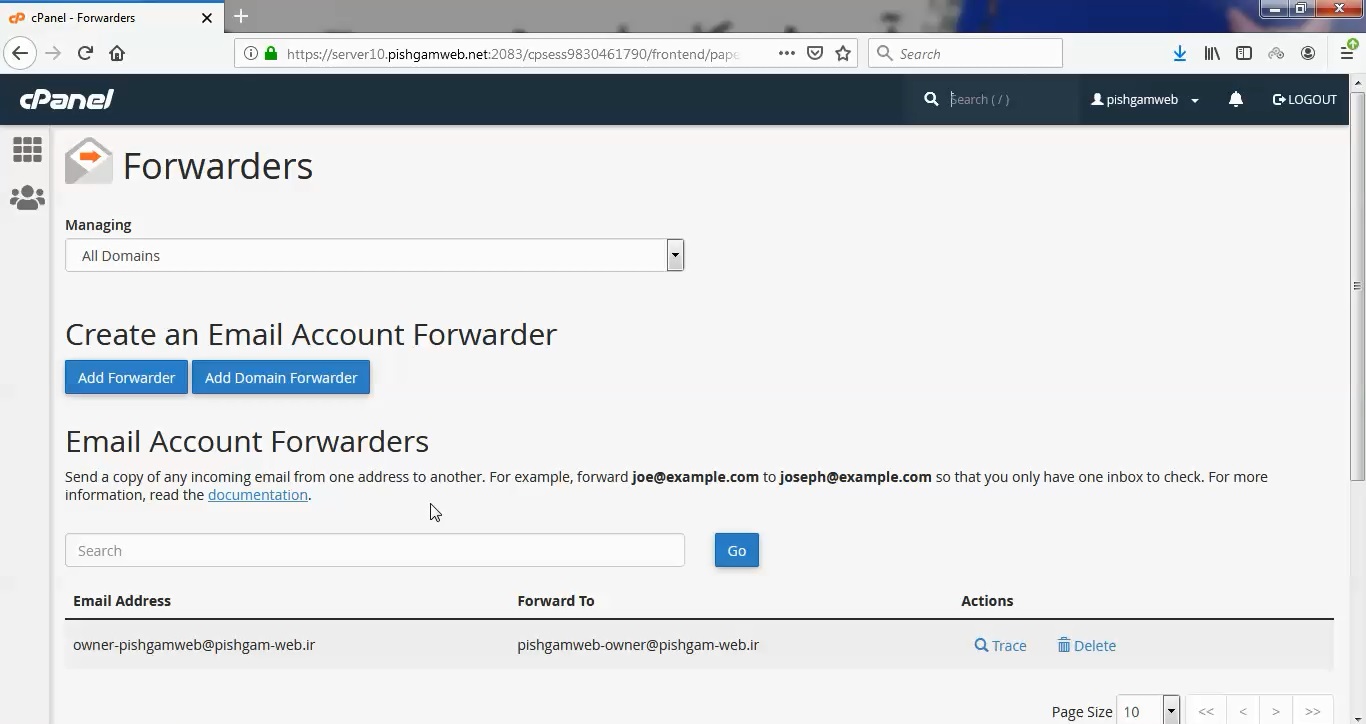
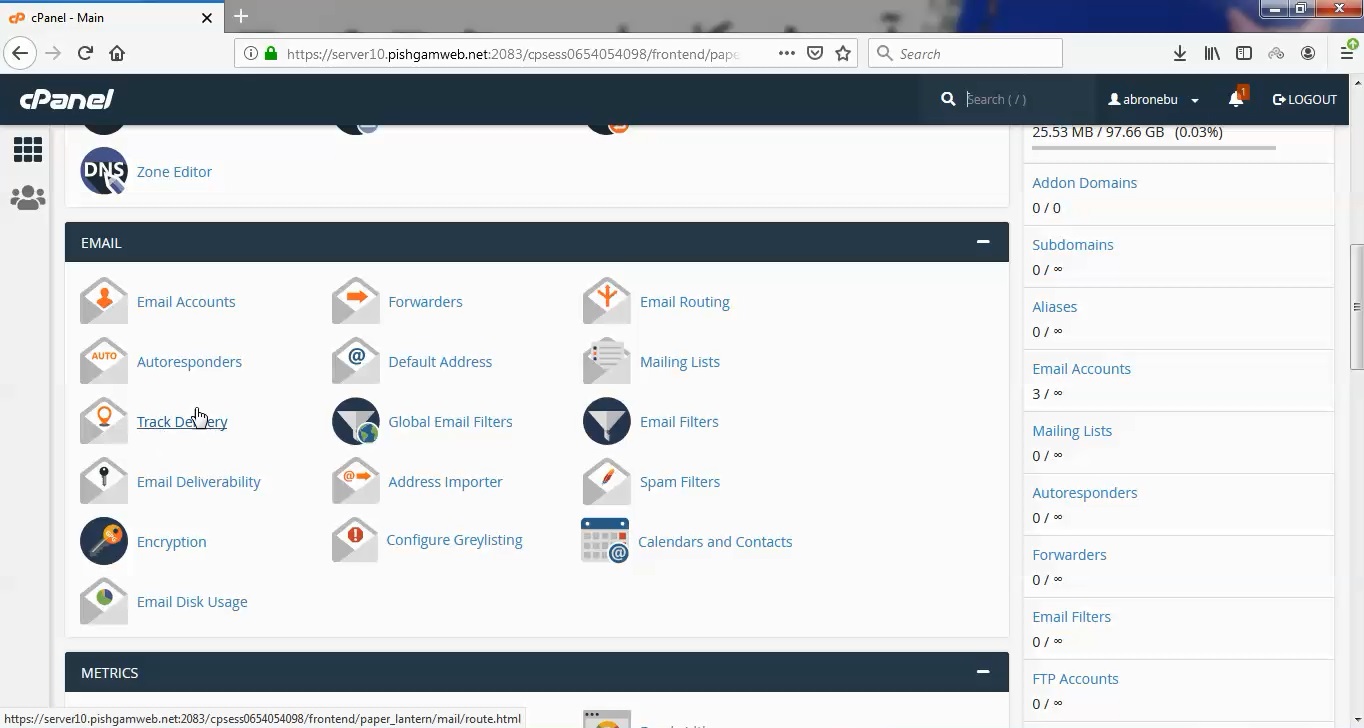
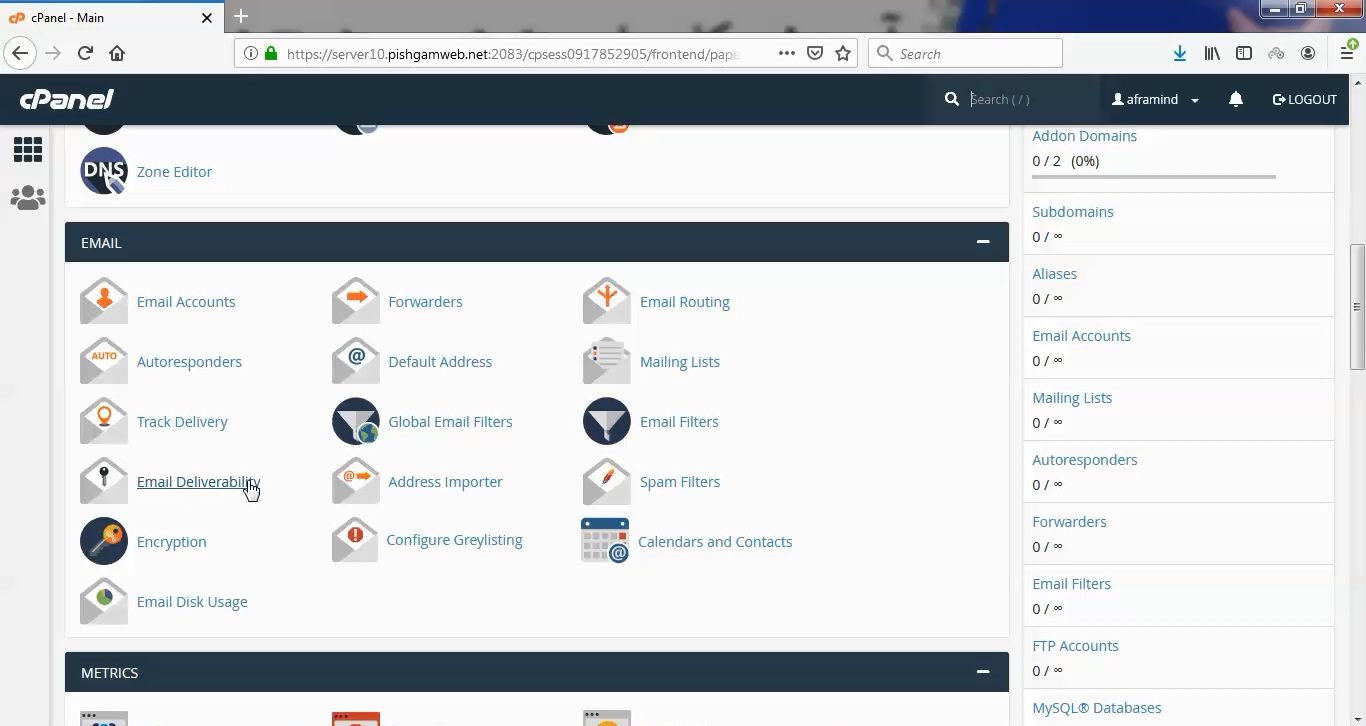
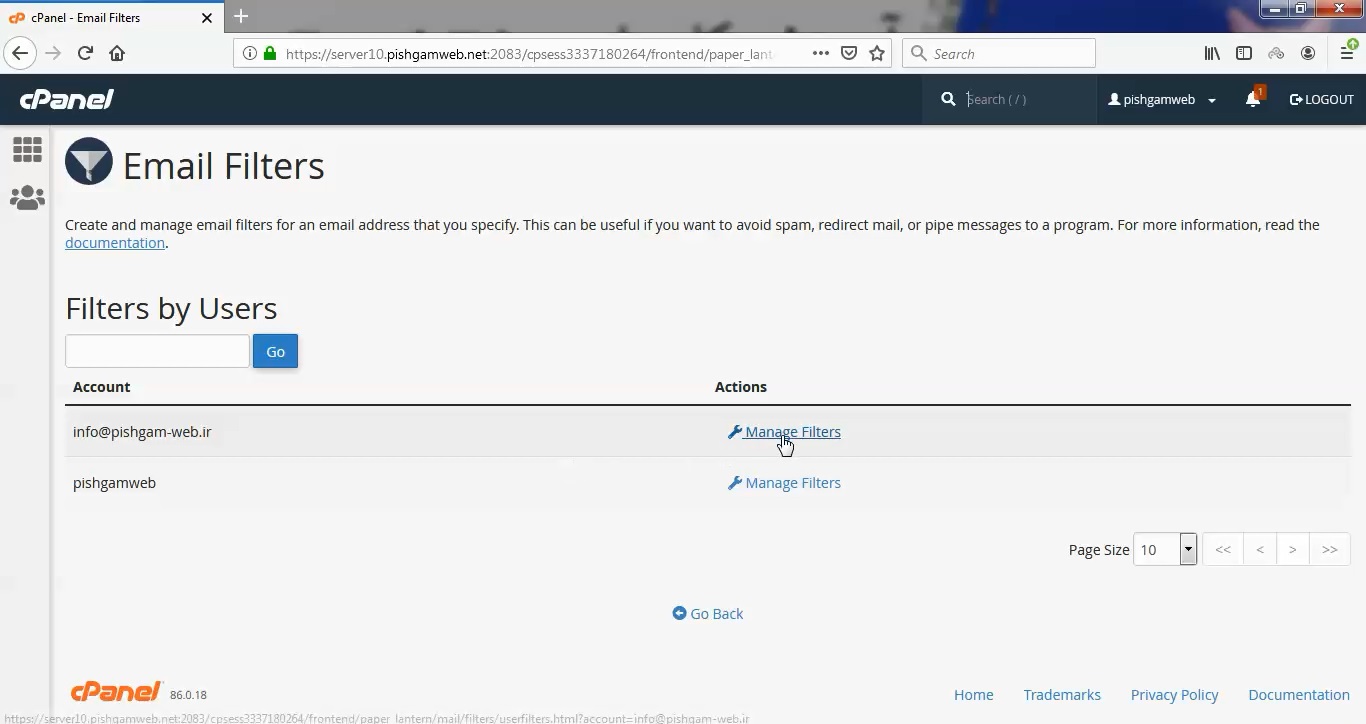
از قسمت damins روی گزینه Zone Editor کلیک کنید.

در صفحه باز شده تمامی دامنه های اصلی را مشاهده میکنید.
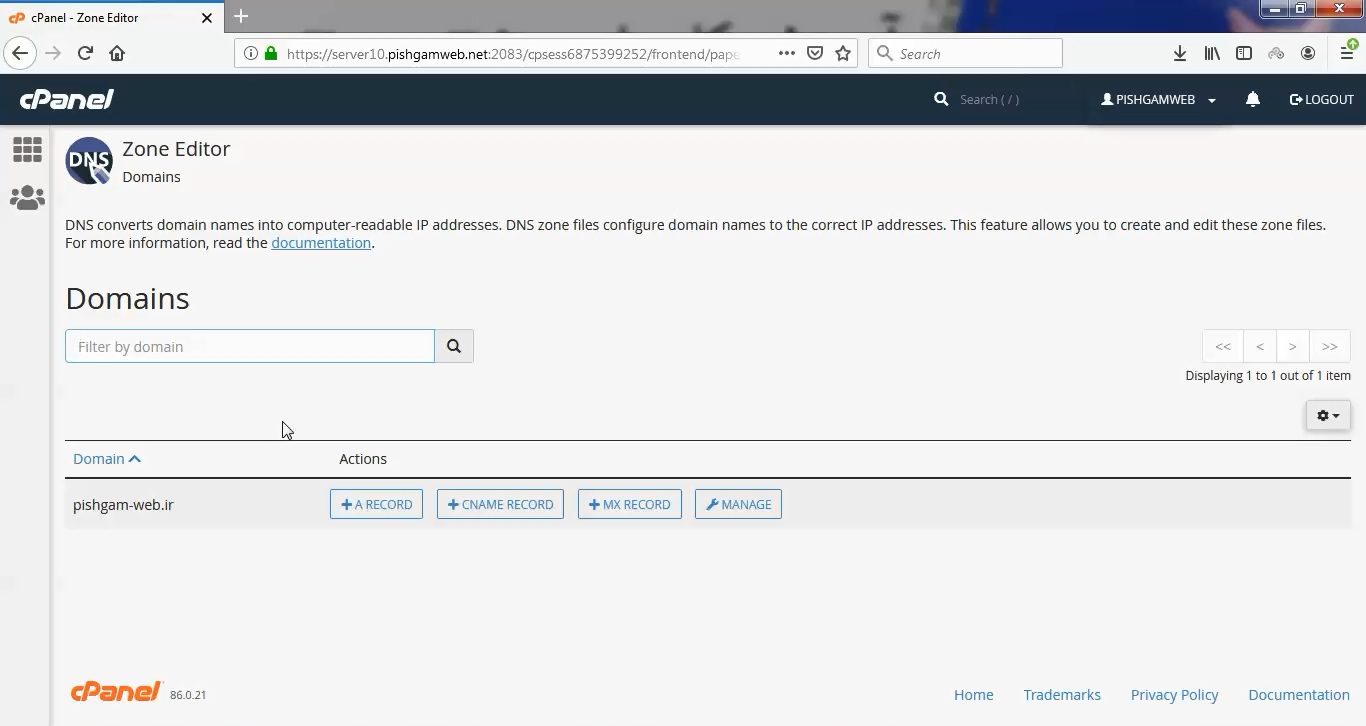
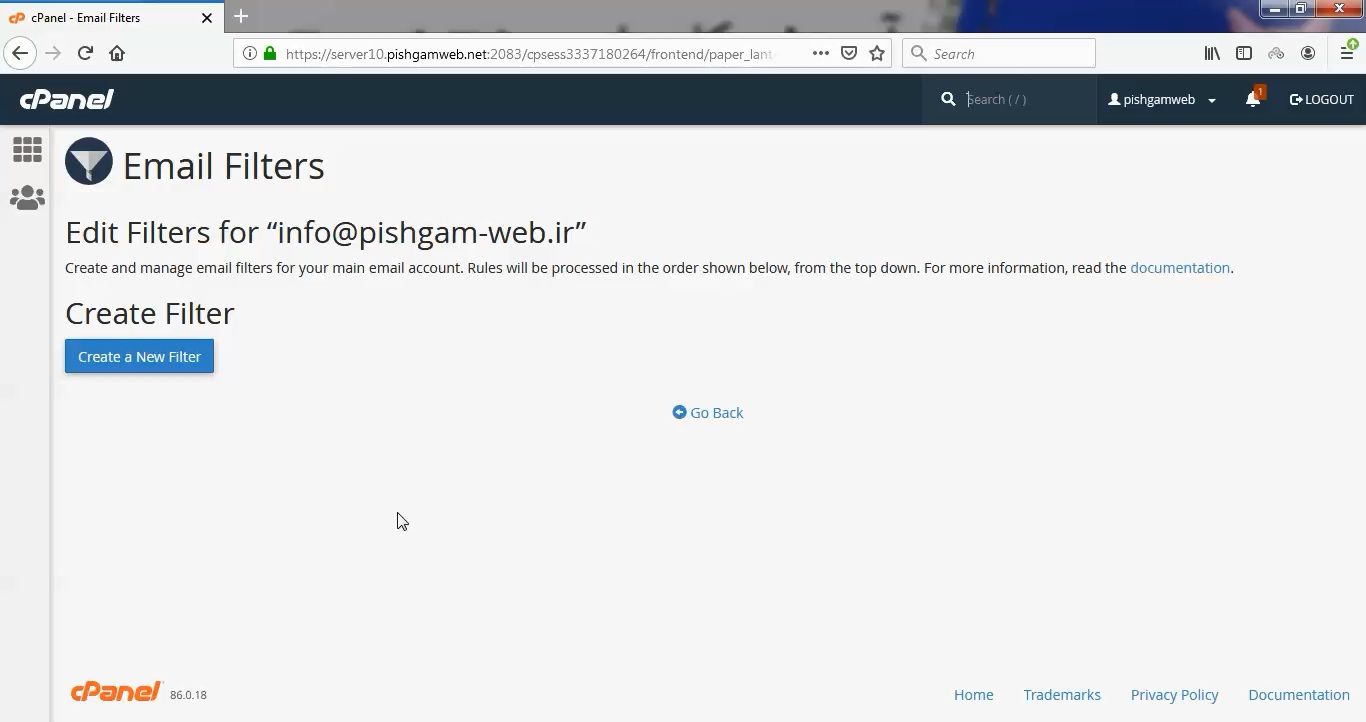
روی گزینه منیج ( مدیریت ) کلیک کنید.
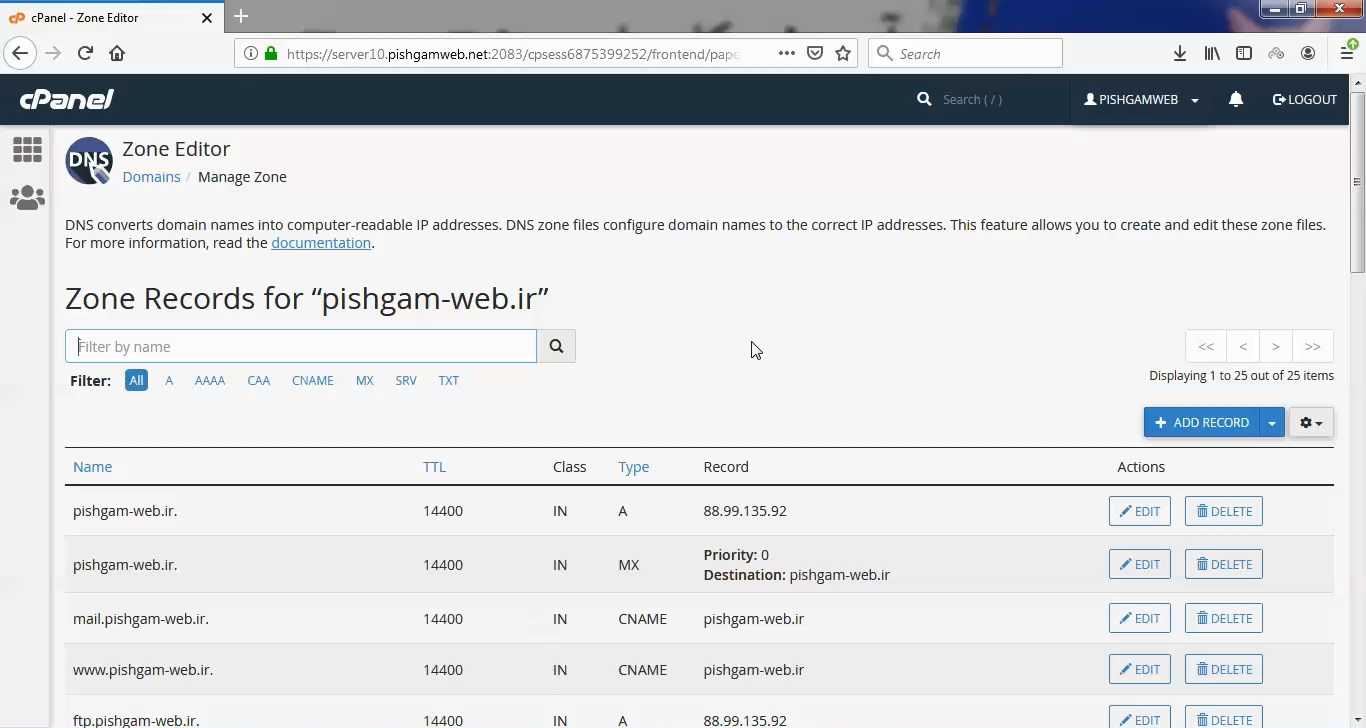
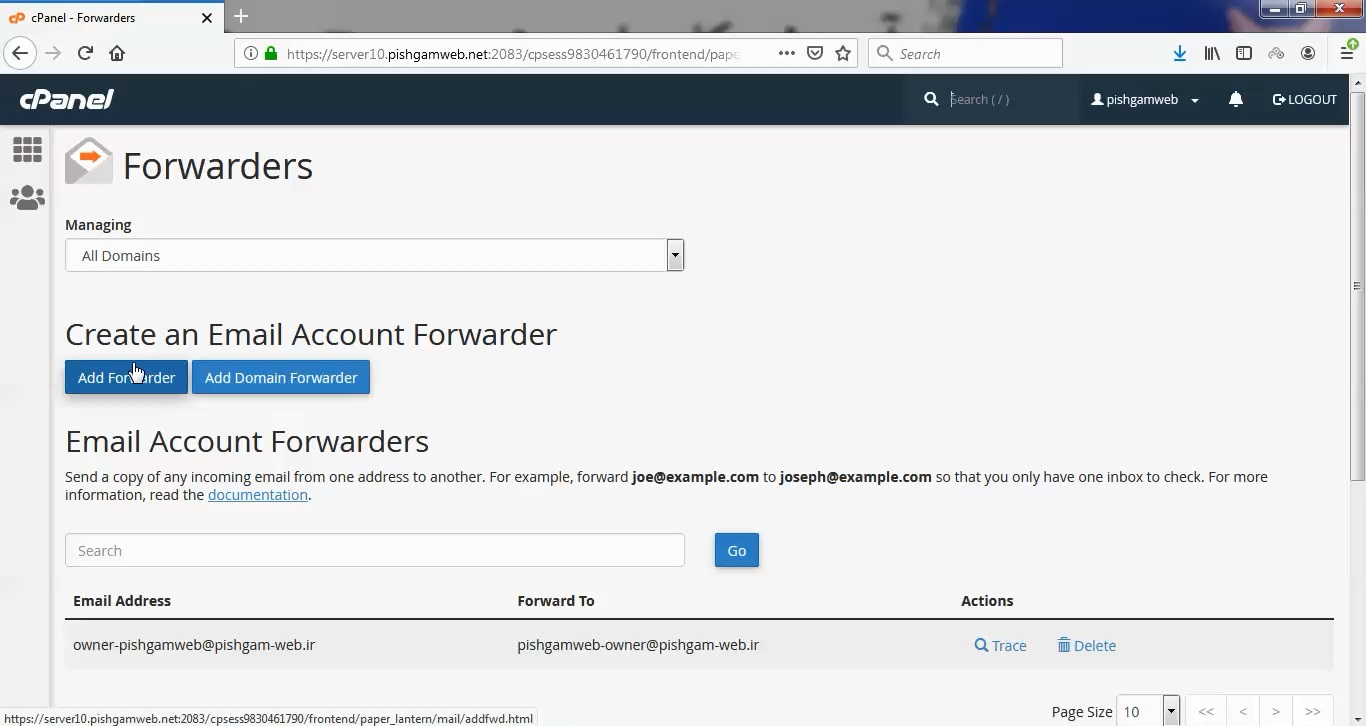
همانطور که در تصویر بالا میبینید تمامی رکورد ها موجود میباشد .
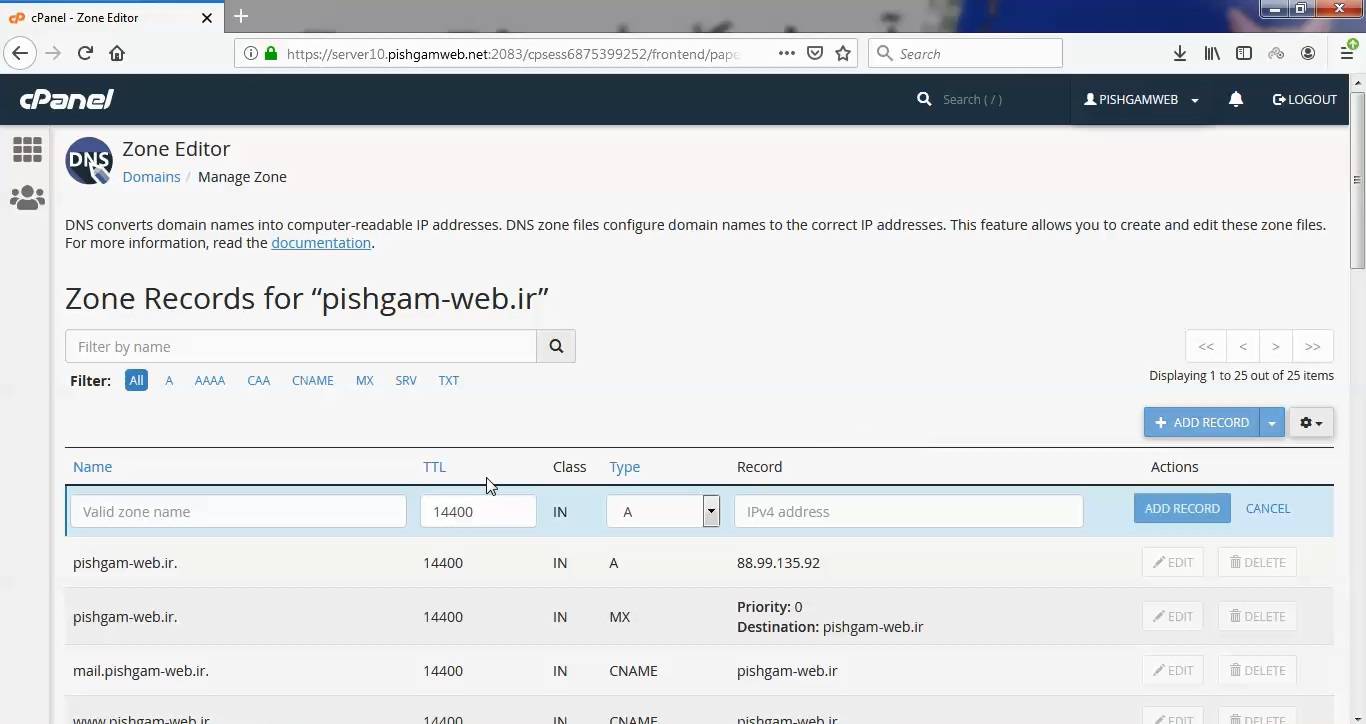
برای ایجاد رکورد جدید روی گزینه اد رکورد کلیک کرده و در قسمت نیم بطور مثال vip را وارد میکنید و در قسمت TTL مدت زمان بروزرسانی را را وارد میکنیم که معمولا 14400 انتخاب میشود و در قسمت type نوع رکورد را مشخص میکنیم که بطور معمول A میباشد در انتها در قسمت رکورد هم ای پی سرور مقصد را وارد کرده وروی گزینه اد رکورد کلیک میکنیم.
قبل از ایجاد هر رکوردی در قسمت filter by name ابتدا رکورد مورد نظر را جستجو میکنیم تا رکورد تکراری ایجاد نکنیم.

در صفحه مدیریت هم میتوانید هر زمان نیاز باشد رکورد مورد نظر را ویرایش و یا حذف کنید.
مشاهده فیلم آموزشی از سایت آپارات
برای دانلود فیلم آموزش از قسمت تنظیمات روی گزینه دانلود کلیک کرده و کیفیت مد نظر خود را انتخاب کنید تا فیلم آموزش دانلود گردد.
نکته : هر چقدر که عدد این قسمت بیشتر باشد ، کیفیت فیلم دانلودی بالاتر خواهد بود.
آموزش های متوسطه :
دوستان عزیز آموزش که خدمتتون ارائه کردیم از سری آموزش های ابتدایی پیشگام وب هست و این آموزش جزو آموزش های متوسطه هست که باعث میشه شما بتونید سایتتون رو بهتر از قبل مدیریت کنید.
learn from cpanel
Overview
DNS (Domain Name System) converts human-readable domain names (for example, example.com) to computer-readable IP addresses (for example, 192.0.0.1). DNS relies on zone records that exist on your server to map domain names to IP addresses.
Several different types of records reside in a domain’s zone file. This feature allows you to create, edit, and delete the following records:
- A
- AAAA
- CAA (Certificate Authority Authorization Record)
- CNAME (Canonical Name Record)
- DMARC (Domain-based Message Authentication, Reporting, and Conformance)
- MX (Mail Exchanger)
- SRV (Service Record)
- TXT (Text Record)
Note:
To access all available zone record types and records that the system automatically generated, your systems administrator must enable the following features in WHM’s Feature Manager interface (WHM >> Home >> Packages >> Feature Manager):
- Zone Editor (A, CNAME)
- Zone Editor (AAAA, CAA, SRV, TXT)
Domains
This interface displays your account’s domains. For each domain in the list, you can perform some actions directly. Click the text to perform that action.
- A Record — Add an A record for this domain.
- CNAME Record — Add a CNAME record for this domain.
- MX Record — Add an MX record for this domain.
- DNSSEC Record — Manage DNSSEC (Domain Name System Security Extensions) for this domain.
- Manage — Add or edit additional records for this domain.
To refresh the list of domains, click the gear icon and select Refresh List.
Manage Zone
This interface displays the zone records for the selected domain. To filter the list of zone records, enter a name in the text box or select one of the record type filters.
Add a record
To add a record, perform the following steps:
- Click Manage next to the domain that you wish to modify.
- Click the arrow next to Add Record to select a record type:
- Add A Record — This record maps hostnames to IP addresses. A records allow DNS servers to identify and locate your website and its various services on the Internet. Without appropriate A records, your visitors cannot access your website, FTP site, or email accounts.
- Add AAAA Record — This record maps hostnames to IPv6 addresses.
- Add CAA Record — This record allows you to specify which certificate authority (CA) will issue an SSL certificate for a domain.
Note:
If no CAA records exist for a domain, all CAs can issue certificates for that domain. If conflicting CAA records already exist, remove the existing CAA records or add one for the desired CA.
For example, a CAA record for Sectigo would resemble the following example, where example.com represents the domain name:
example.com. 86400 IN CAA 0 issue "sectigoca.com"Add CNAME Record — This record creates an alias for another domain name, which DNS looks up. This is useful, for example, if you point multiple CNAME records to a single A record in order to simplify DNS maintenance.Note:
You cannot point a CNAME record to an IP address.
Add DMARC Record — This record indicates the action for a mail server to take when it receives mail from this domain, but that message fails SPF and DKIM checks. If you select this option, the system creates a TXT record with a default DMARC record. The system also displays a form that allows you to specify the domain’s DMARC policy (None, Quarantine, or Reject), as well as the following optional parameters:
Add MX Record — This record allows you to route a domain’s incoming mail to a specific server. Changes that you make to a domain’s MX (Mail Exchanger) control where the system delivers email for a domain.
Add SRV Record — This record provides information about available services on specific ports on your server.
Add TXT Record — This record contains text information for various services to read. For example, TXT records can specify data for the SPF, DKIM, or DMARC email authentication systems. Click the links below to view examples of each TXT record:
Edit a record
To edit a record, perform the following steps:
- Click Manage next to the domain you want to modify.
- Click Edit next to the record that you wish to edit.
- Change the information in the text boxes as necessary.
- Click Edit Record to save your changes, or click Cancel to discard them.
Delete a record
To delete a record, perform the following steps:
- Click Manage next to the domain you want to modify.
- Click Delete next to the record that you wish to remove.
- Click Delete in the confirmation dialog box.
Reset zone files
Important:
- This feature erases any modifications that you made to your zone records. The system attempts to save the domain’s TXT entries. We recommend that you record any changes that you wish to save before you use this feature.
- To reset your DNS zone files, your systems administrator must enable the following features in WHM’s Feature Manager interface (WHM >> Home >> Packages >> Feature Manager):
- Zone Editor (A, CNAME)
- Zone Editor (AAAA, CAA, SRV, TXT)
To reset your DNS zone files to the defaults that your hosting provider specifies, perform the following steps:
- If this account owns more than one domain, click Manage next to the domain that you wish to reset.
- Click the gear icon and select Reset Zone.
- Read the warning about the consequences.
- Click Continue to reset your zone, or Cancel to return to the Manage Zone interface.
DNSSEC
DNSSEC can protect clients from various forms of attack, such as spoofing or a Man-in-the-Middle attack. A DNS resolver will compare the DNS server’s DNSKEY record to the DS record at the registrar. If they match, then the DNS resolver knows that the record is valid.
DNSSEC uses digital signatures to strengthen DNS authentication. These digital signatures use public key cryptography to sign the DNS data. However, these digital signatures do not sign the DNS queries and responses.
In the Zone Editor interface, click DNSSEC in a domain’s row to display the DNSSEC interface.
For more information about DNSSEC, read our DNSSEC documentation. Important:
If you transfer the account to another server, you must remove the Domain Server (DS) records from the registrar before you transfer the domain.
To transfer an account with DNSSEC enabled domains, perform the following steps for each domain:
- Remove the DS records from the registrar.
- Wait for the changes to propagate. This may take up to 72 hours.
- Perform the transfer.
- Manually update the registrar with the new DS records.
If you do not remove the old DS records from the registrar, the domains may produce DNS resolution issues due to invalid DNSSEC responses.
Create a DNSSEC key
Quick DNSSEC key creation
To quickly create a pair of DNSSEC keys that most registrars will accept, perform the following steps:
- Click Create Key. A confirmation message will appear.
- Click Create. The DS Records interface will appear with the keys’ details.
Custom DNSSEC key creation
If you wish to create a customized key with a stronger algorithm, perform the following steps:
- Click Create. A confirmation window will appear.
- Click Customize. The Create DNSSEC Keys interface will appear.
- Select the desired key setup for the DNSSEC key:
- Classic — Creates a ZSK (Zone Signing Key) and a KSK (Key Signing Key).
- Simple — Creates a CSK (Combined Signing Key), which the system will use as both the ZSK and KSK.
- Select the desired algorithm from the Algorithm menu.Note: The interface will disable incompatible algorithms.
- Select whether to activate the newly-generated key.
- Click Create Key. The DNSSEC Key Details interface will appear with the key’s details.
Important:
After you generate the domain’s DNSSEC key, you must configure a Domain Server (DS) record with your domain registrar. Click the links below for DS record instructions with some of the most popular domain registrars.
To validate the DNSSEC configuration for a domain, use Verisign’s DNSSEC Anaylzer website.
Import DNSSEC key
To import a DNSSEC key for a domain, perform the following steps:
- Click Import Key. The Import DNSSEC Key interface will appear.
- Select the key type that you wish to import:
- ZSK — Zone Signing Key.
- KSK — Key Signing Key.
- Enter the key information in the Key text box.
- Click Import.
Keys table
The Keys table lists the DNSSEC security keys for the domain.
- Key Tag — An integer value that identifies the domain’s DNSSEC record.
- Key Type — Whether the key is a ZSK, CSK, or KSK.
- Algorithm — The algorithm type that constructs the digest. Select the type that your registrar supports.
- Created — The key’s creation date. Note:
- The interface will display a recommendation for when you should rotate this key. For information about how to rotate a DNSSEC key, read our How to Rotate a DNSSEC Key documentation.
- The interface will display Unknown in the Created time column for keys created by cPanel & WHM version 84.
- Status — Whether the security key is active.
- Actions
- Activate — Activates the security key.
- Deactivate — Deactivates the security key. This will not delete the security key.
- View DS Records — Display DS records for your domain.
- Delete — Delete the security key.
DNSSEC Key Details
When you click View DS Records for a key, the DS Records interface will appear.
This interface displays the following information:
- Domain — The domain in the DNS record.
- Key Tag — An integer value that identifies the domain’s DNSSEC record.
- Algorithm — The algorithm type that constructs the digest.
- Created — The key’s creation date.
- Digests — Alphanumeric strings that the algorithm generates.
To add a DS Record to the domain’s registrar, perform the following steps:
- Determine the digest type that your registrar uses.
- Click Copy for the appropriate digest record.
- Go to your registrar’s website and add the information that they request for your domain.
Deactivate a DNSSEC key
To deactivate a DNSSEC key, perform the following steps:
- Click Deactivate next to the appropriate record.
- Click Continue to confirm that you wish to deactivate the security record.
To reactivate the security record, click Activate.
Delete a DNSSEC key
Important:
Before you delete the domain’s DNSSEC key in cPanel & WHM, you must remove or disable the Domain Server (DS) record with your domain registrar. Click the links below for DS record instructions with some of the most popular domain registrars. After editing the DS record, wait at least 24 hours for the changes to propagate. Once the changes propagate, you may delete the DNSSEC key in cPanel & WHM.
To delete a DNSSEC key, perform the following steps:
- Click Delete next to the appropriate record.
- Click Continue to confirm that you wish to delete the security record