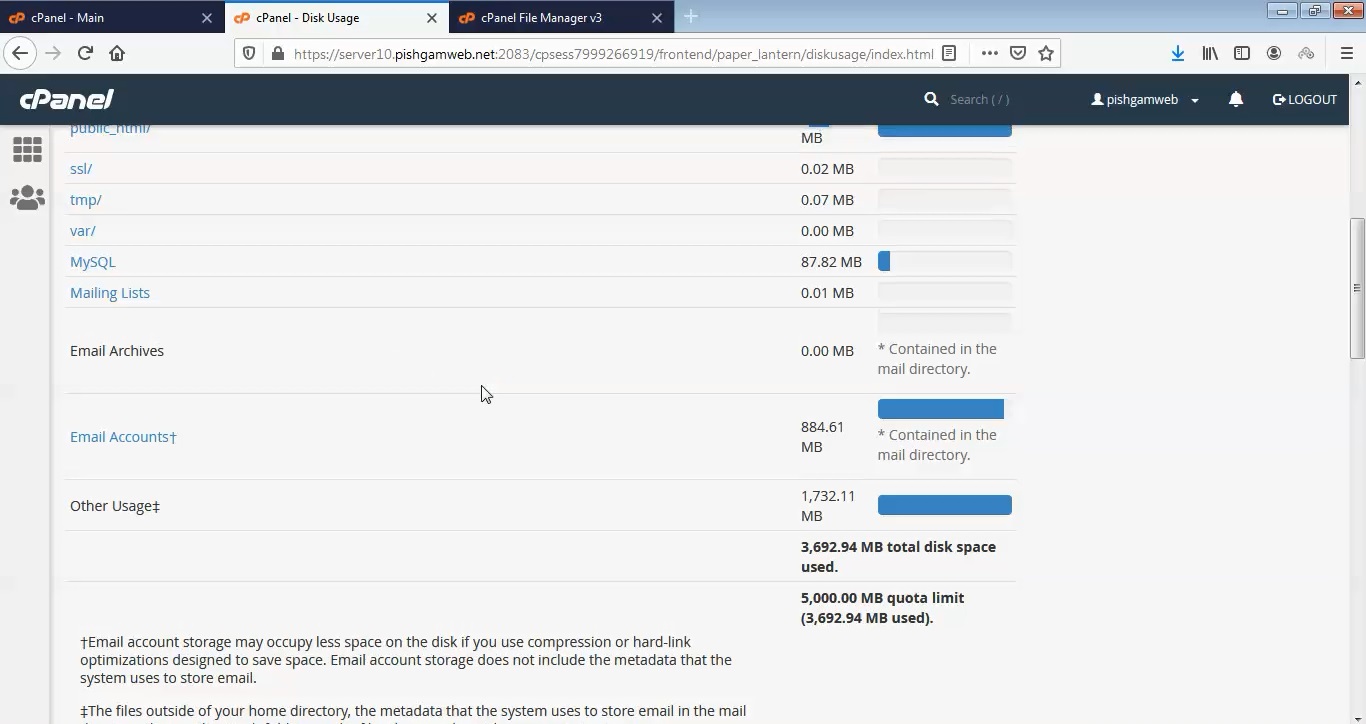
ایمیل
ایمیل  چت آنلاین
  پشتیبانی
 آموزش کار با File Manager در cpanel
دوستان عزیز پیشگام وبی امیدوارم که حالتون خوب باشه ، امروز با آموزش کار با File Manager در cpanel خدمتتون هستیم و امیدوارم توضیحاتی که در این مطلب و یا در انتها مطلب که بصورت فیلم قرارداده شده بتونه به شما کمک کنه و هر روز بیشتر پیشرفت کنید.
خوب اصلا این قسمت به چه دردی میخوره کجا بهش نیاز داریم و در کل کاربردش چی هست؟
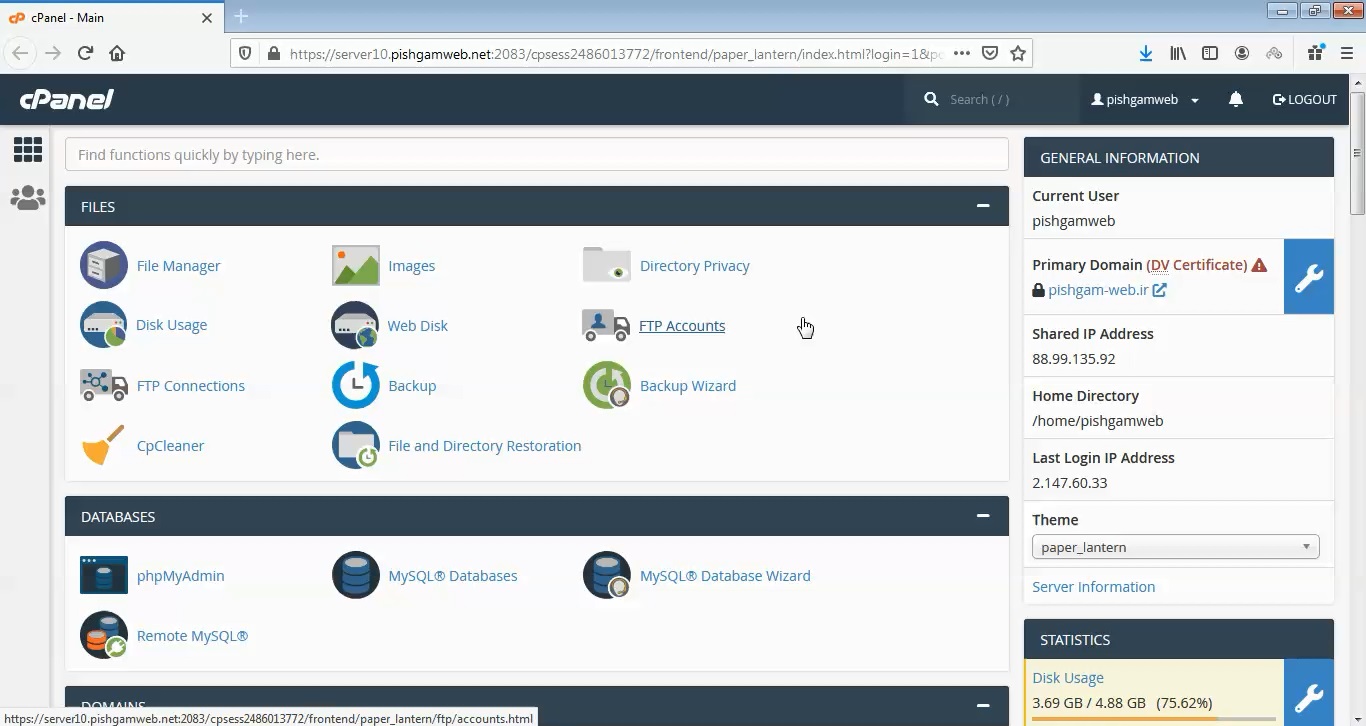
مدیریت فایل File Manager مهمترین و پرکاربردترین ابزاری است که سی پنل در اختیار کاربران خود قرار داده است. تقریبا در بیشتر موارد برای استفاده از ابزار File Manager به محیط کاربری سی پنل خود وارد می شویم. بنابراین باید تسلط کاملی روی مدیریت فایل در سی پنل داشته باشیم.
اما خبر خوش اینکه استفاده از این ابزار پیچیدگی خاصی ندارد و با کمی دقت قادر به انجام امور خود در آن خواهید بود. استفاده از ابزار مدیریت فایل در سی پنل امکاناتی را به شما هدیه می دهد که سبب سرعت بخشیدن فعالیت های شما در هاست می شود.
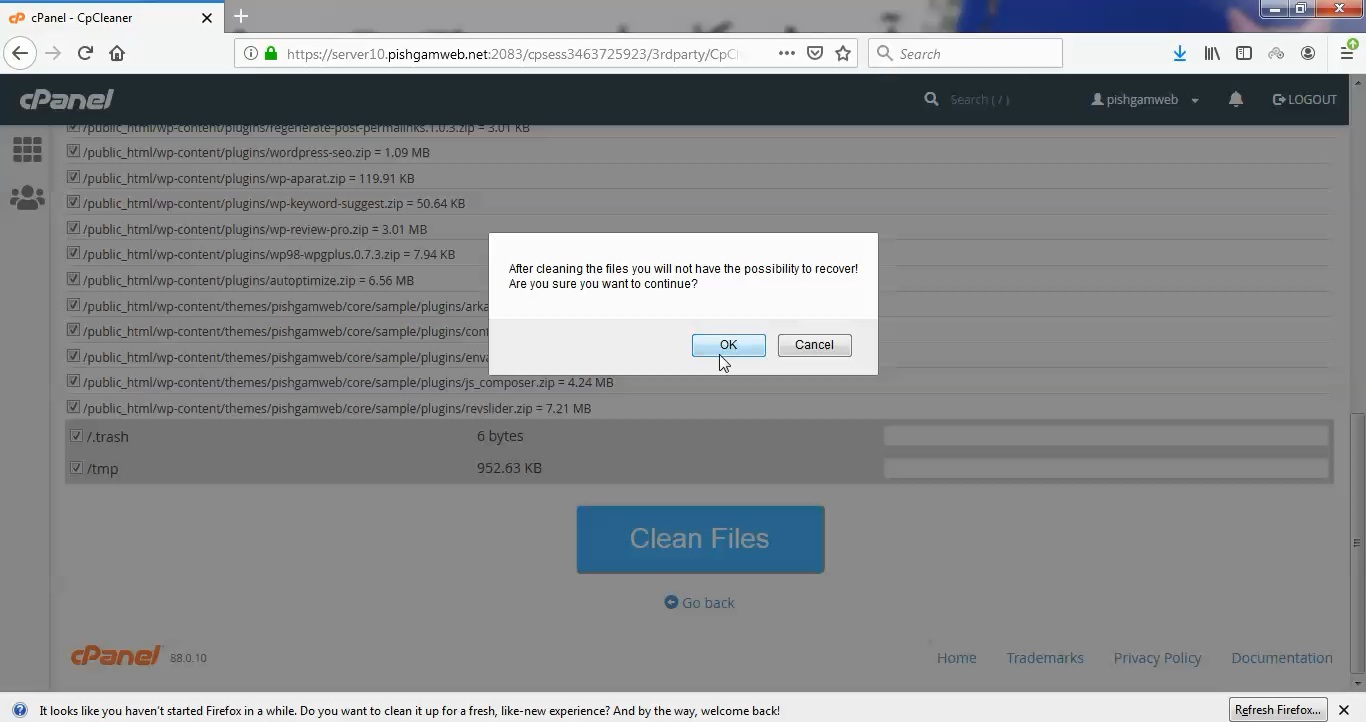
استفاده از مدیریت فایل File Manager بسیار آسان است و پیچیدگی های مخصوص به اف تی پی FTP را ندارد. شما به راحتی می توانید فایل های مورد نظر خود را بسازید، آپلود، اصلاح و یا حذف کنید. حتی به کمک آن می توان فایل های مزاحم را قبل از پاک کردن دائمی به سطل زباله فرستاد و در صورت نیاز آن ها را بازیابی نمود.
این قسمت برای تغییر پسورد در سی پنل میباشد که با عنوان File Manager در قسمت files موجود میباشد.
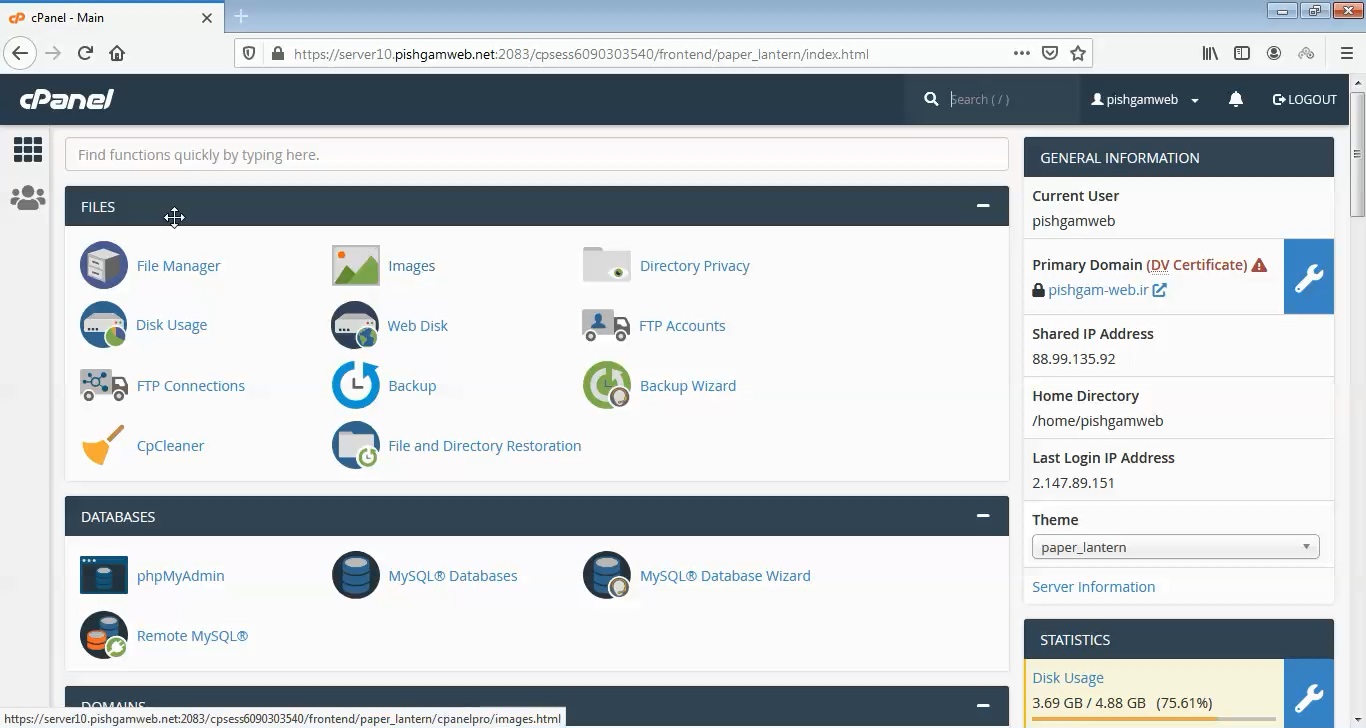
ابتدا وارد هاستمون داخل سایت پیشگام وب میشویم.
میتوانید از سایت پیشگام وب قسمت سرویس های من ، سرویس مورد نظر را انتخاب کرده و ورود به سی پنل را بزنید تا بصورت اتوماتیک وارد هاستتون بشید و همچنین میتوانید از لینک سایت خودتون ، البته اگر که دی ان اس های ( DNS ) پیشگام وب را درست ست کرده باشید و 24 ساعت گذشته باشد از طریق پورت 2082 و یا 2083 وارد بشید.
فقط نکته ای که هست و باید بهش توجه کنید ، اگر سایت را با http باز میکنید از پورت 2082 و اگر با https باز میکنید از 2083 استفاده کنید ، نمونه لینک در زیر مشخص شده است.
البته به این نکته توجه داشته باشید که باید جای آدرس سایت ما آدرس سایت خودتان را وارد کنید.
راه آخر جهت لاگین هم در صورتی که دی ان اس ها ( DNS ) را ست نکرده اید یا 24 ساعت از تنظیم آنها نگذشته است و دوست ندارید بطور مثال اطلاعات ناحیه کاربری رو به طراح بدید استفاده از لینک پیشفرض پیشگام وب هست که در زمان خرید هاست برای شما ارسال شده و اگر هم نتونستید پیدا کنید میتوانید تیکت بدهید تا به شما داده شود ، پایین هم میتوانید نمونه لینک رو مشاهده کنید.
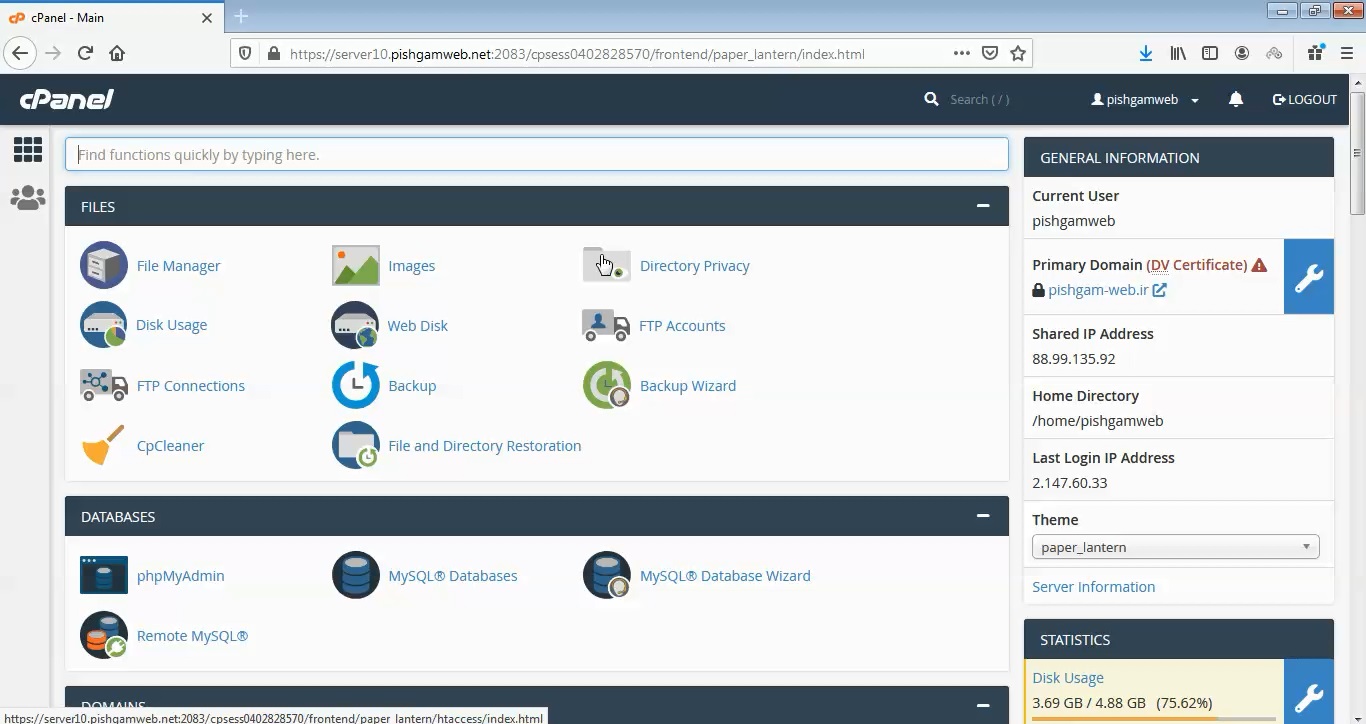
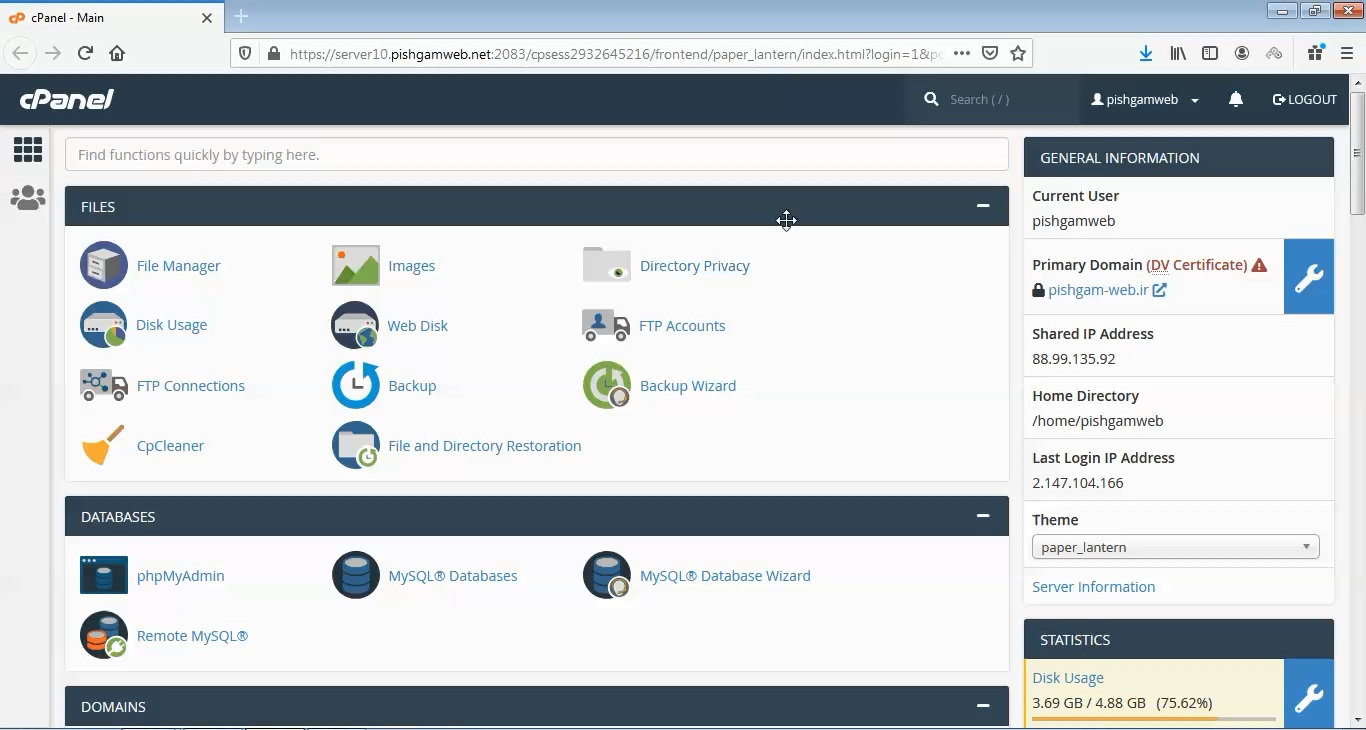
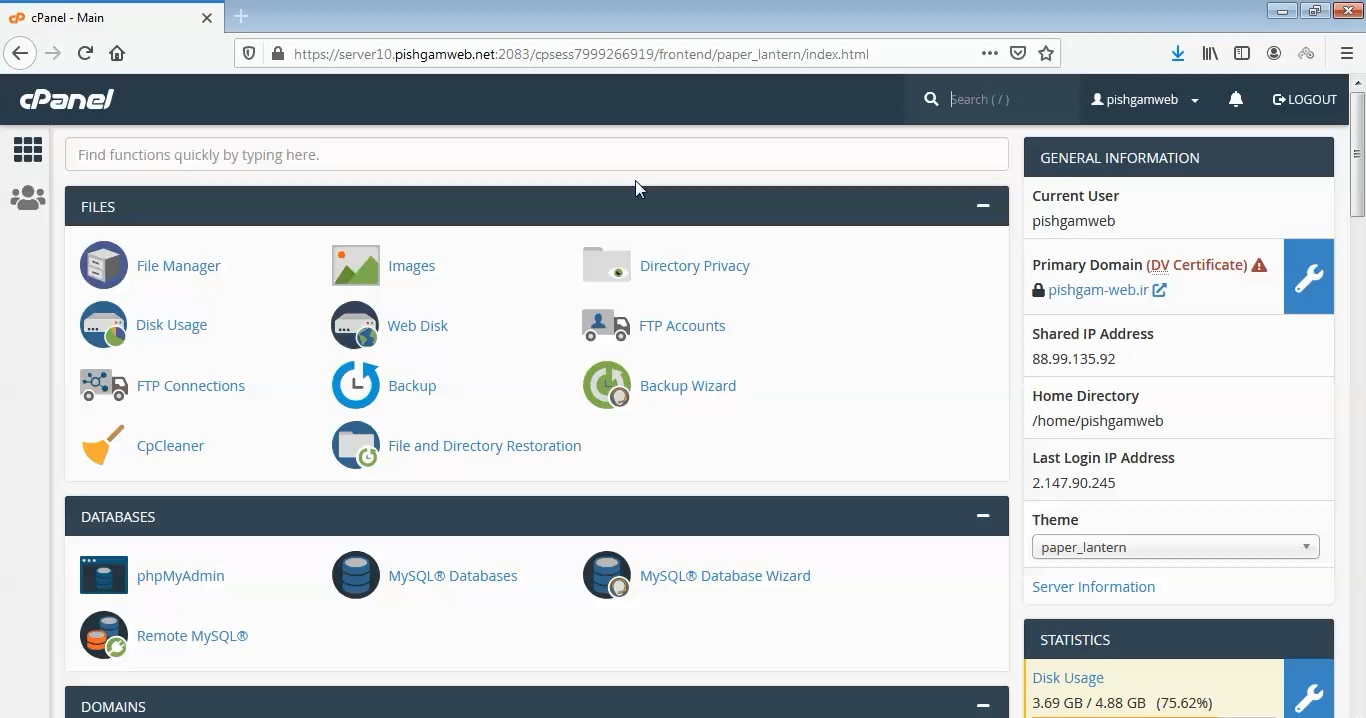
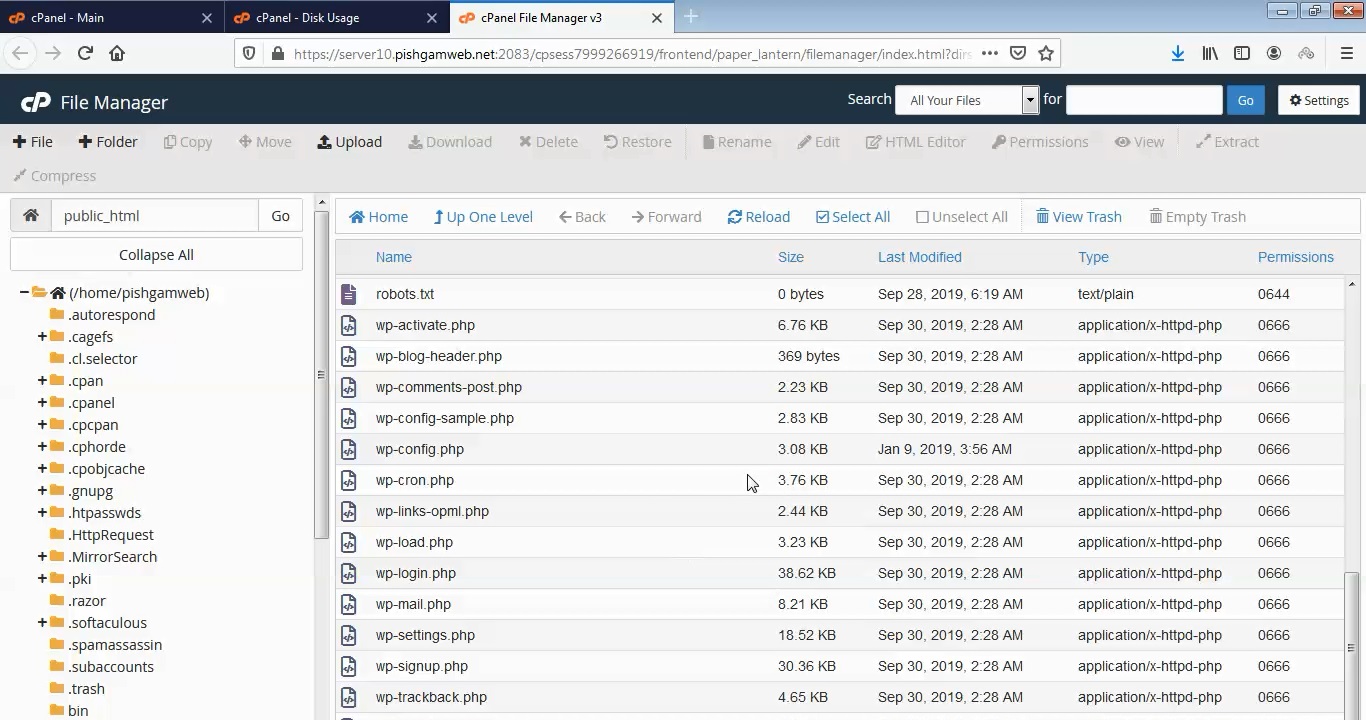
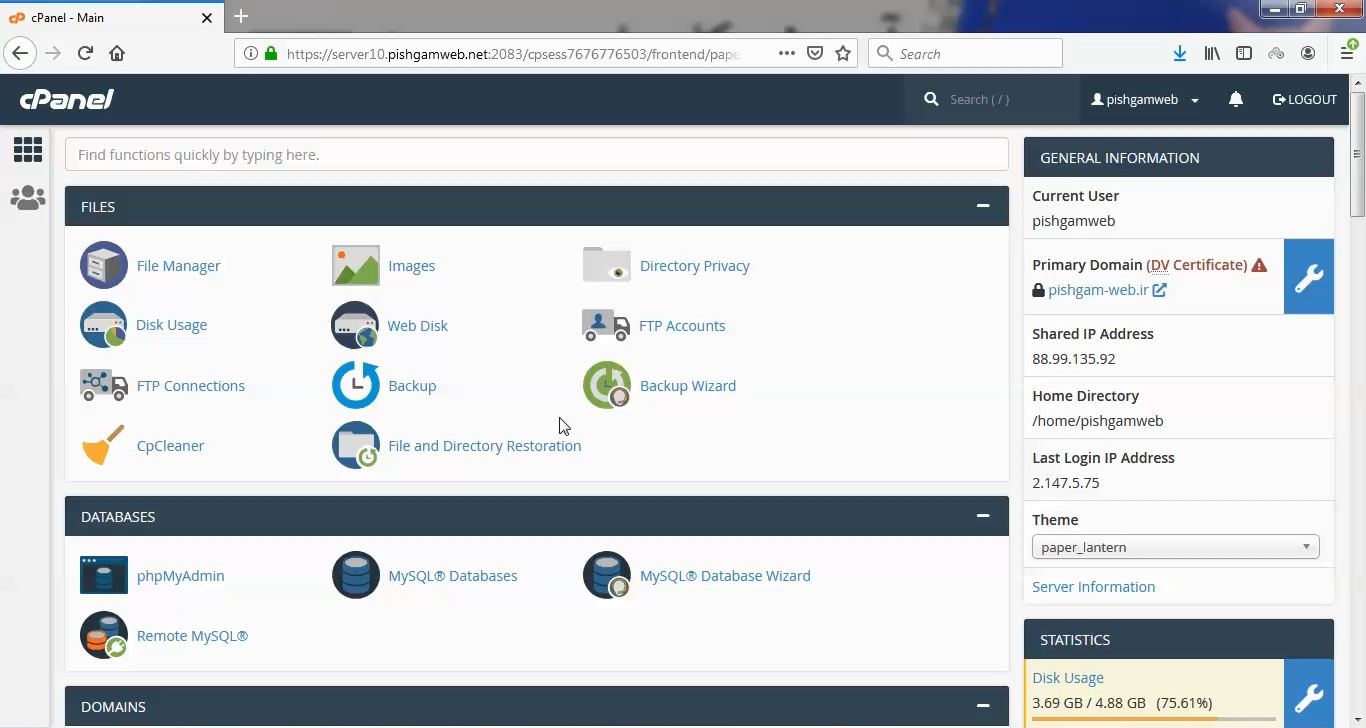
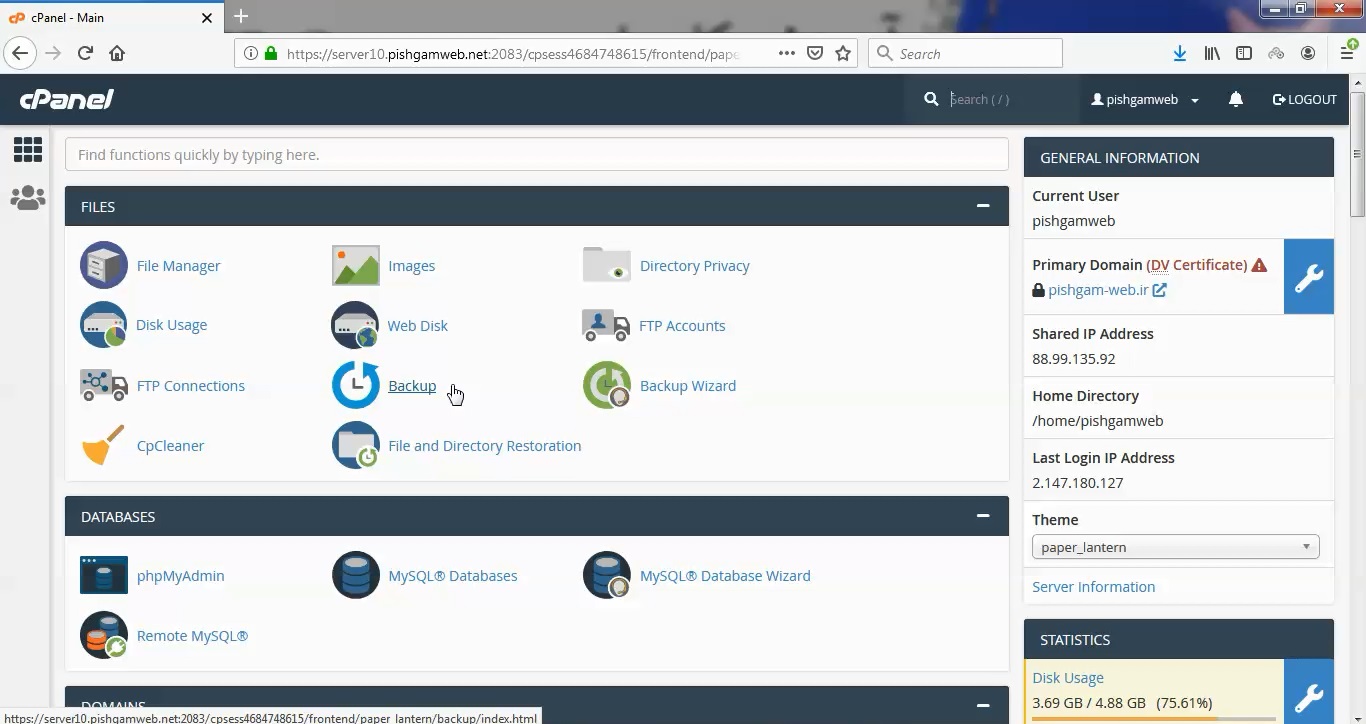
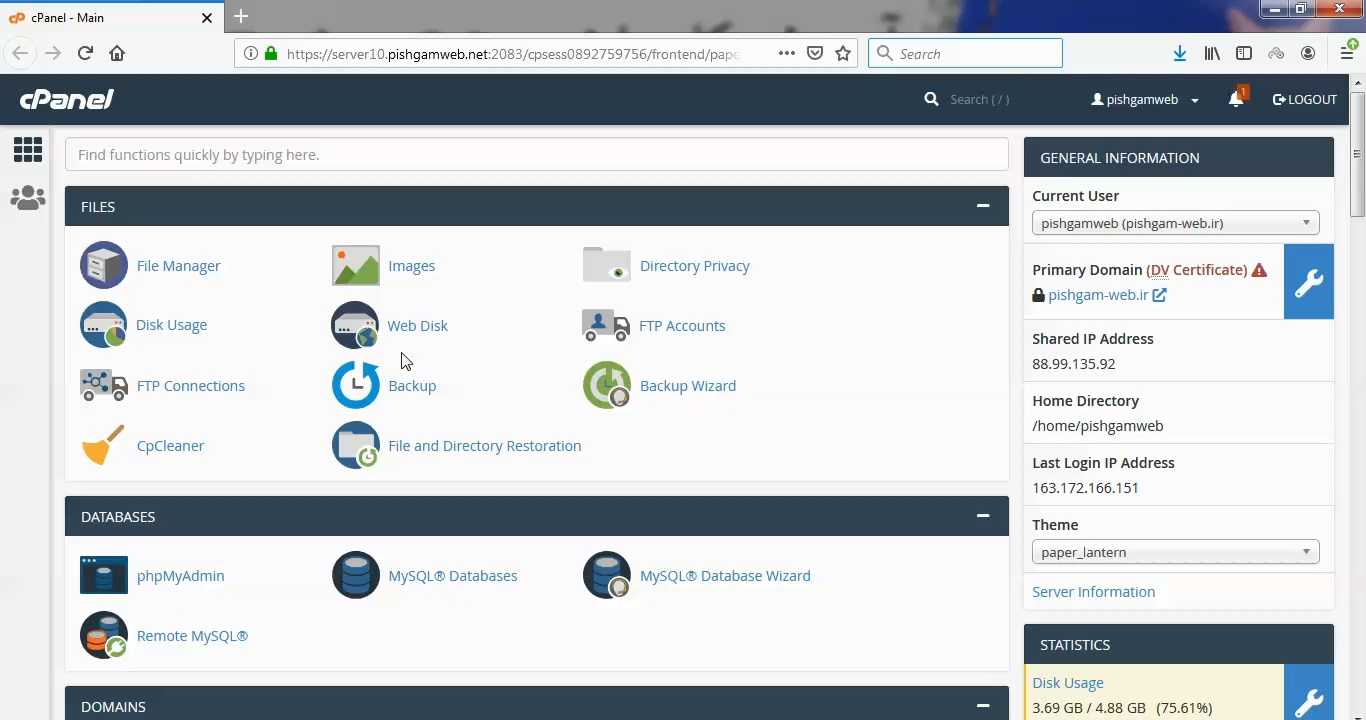
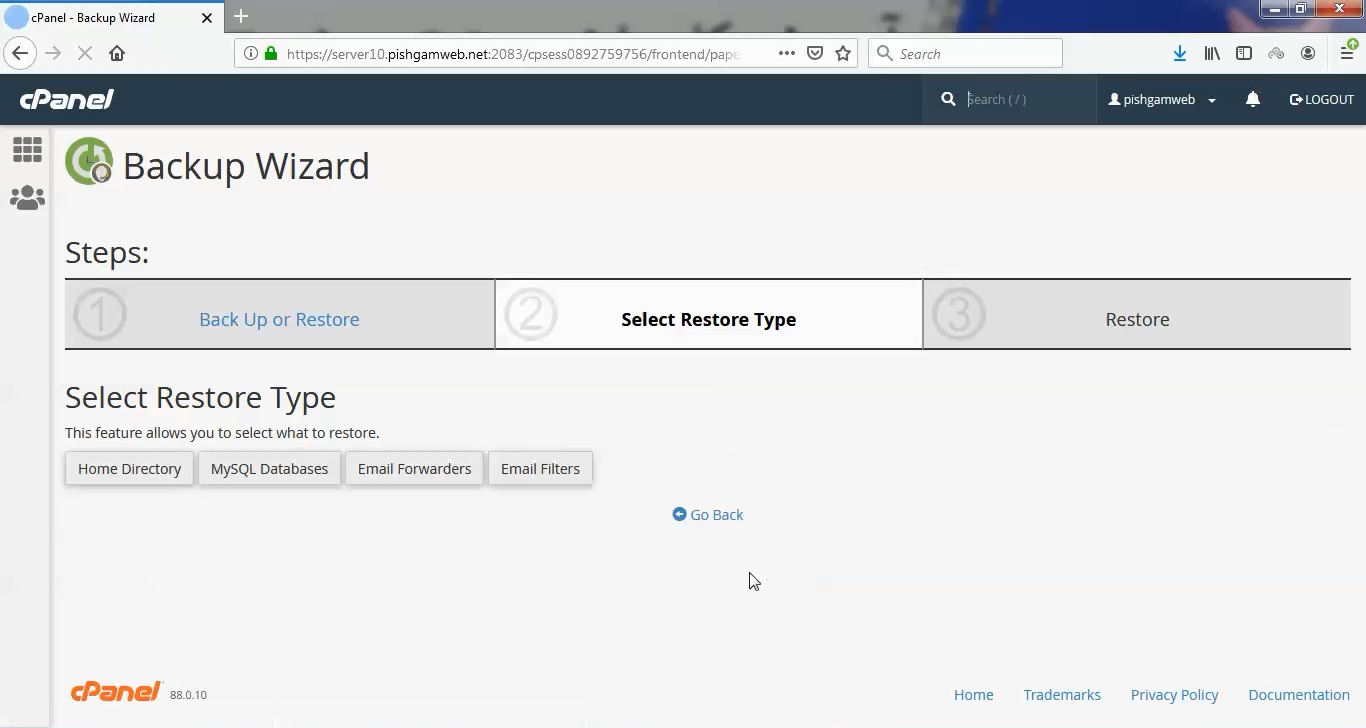
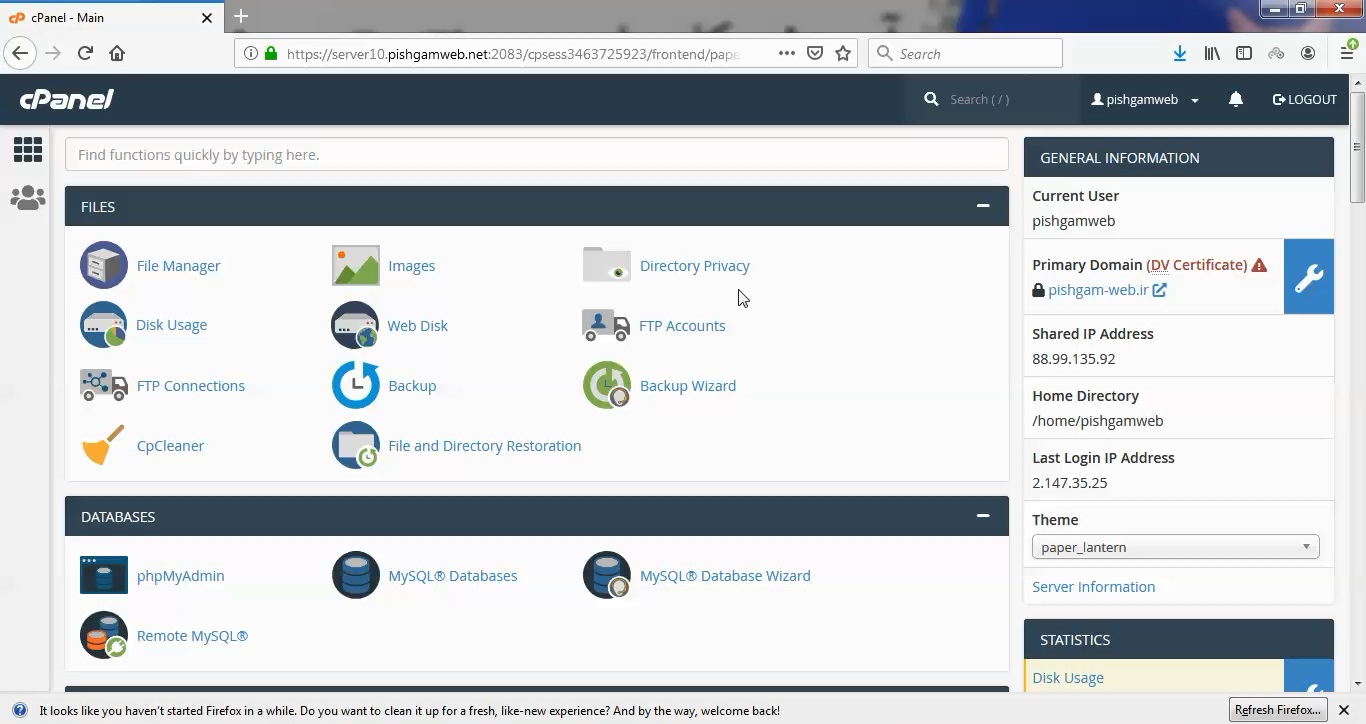
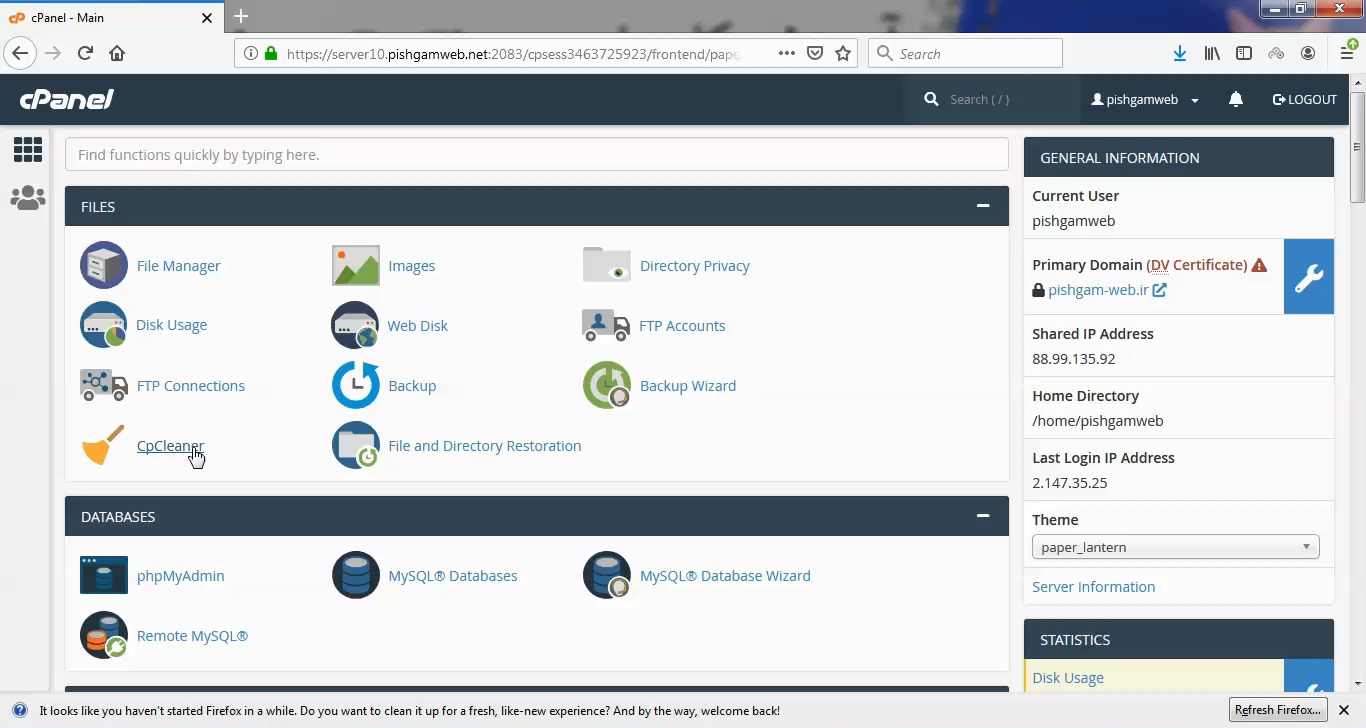
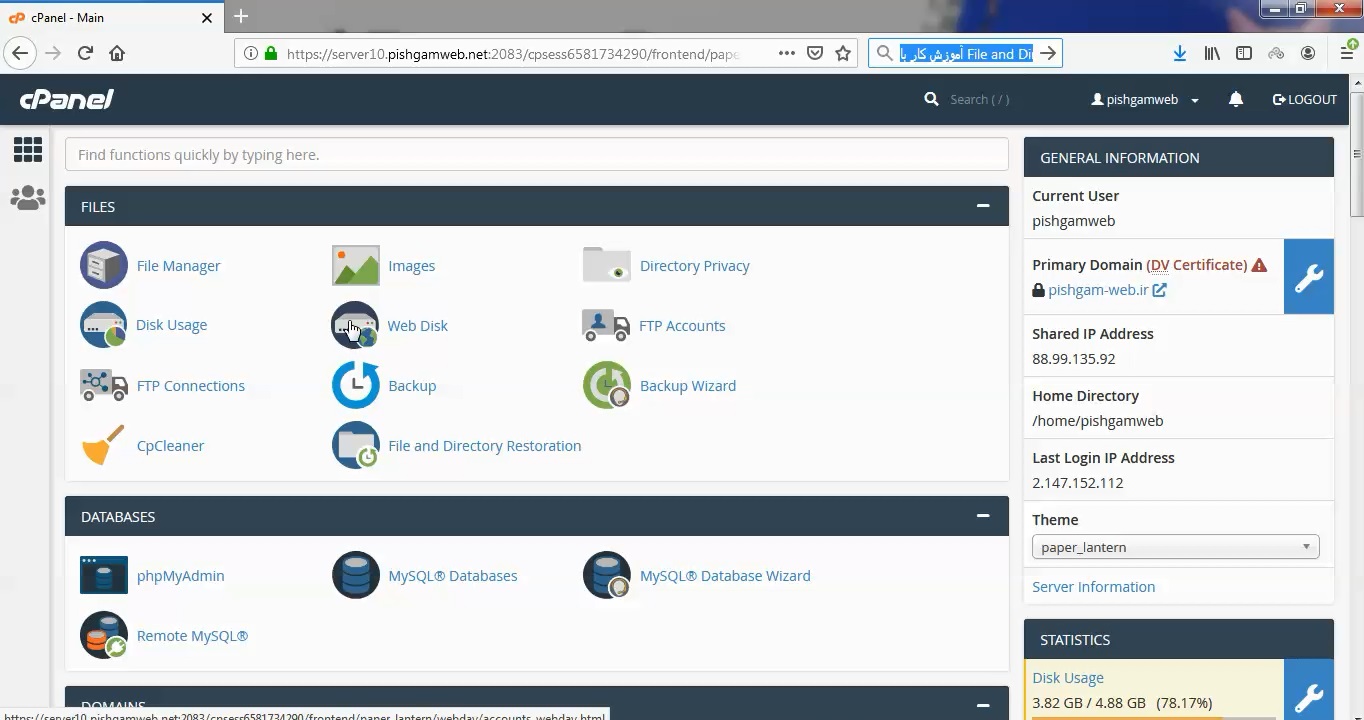
در صفحه اصلی روی گزینه فایل منیجر کلیک میکنیم.
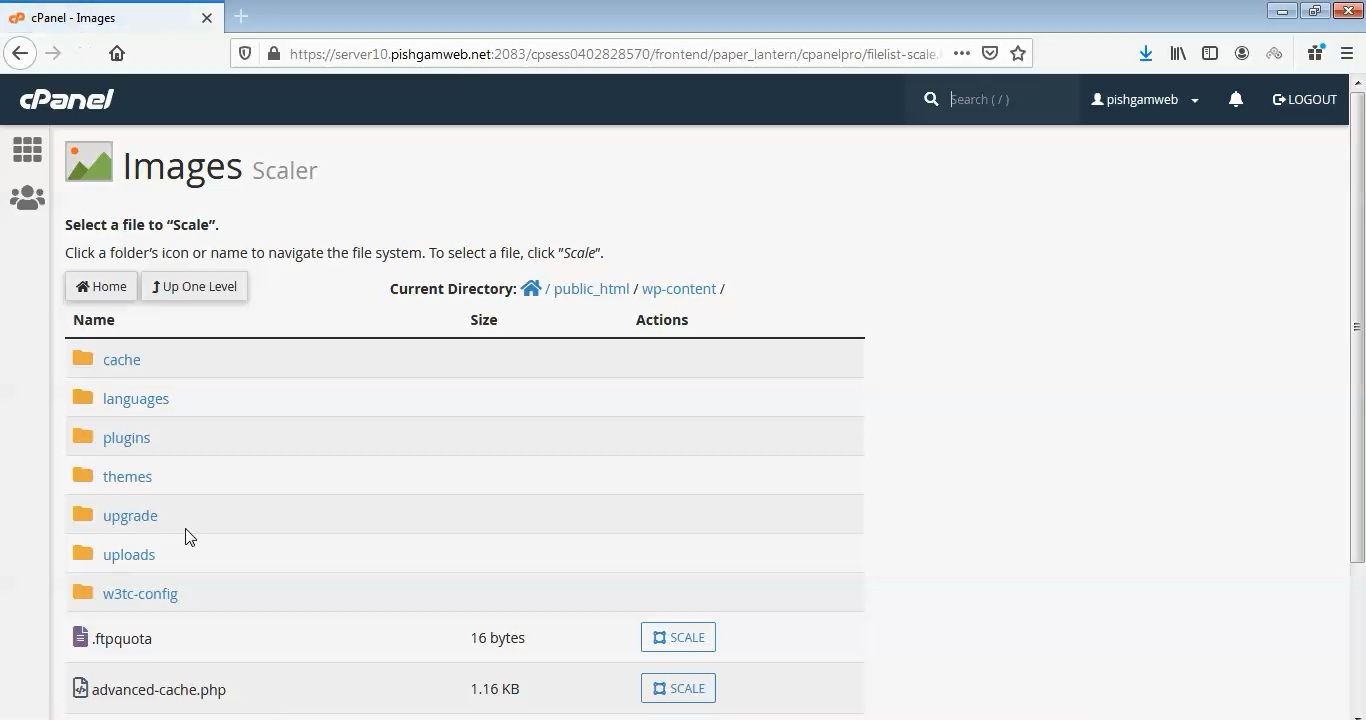
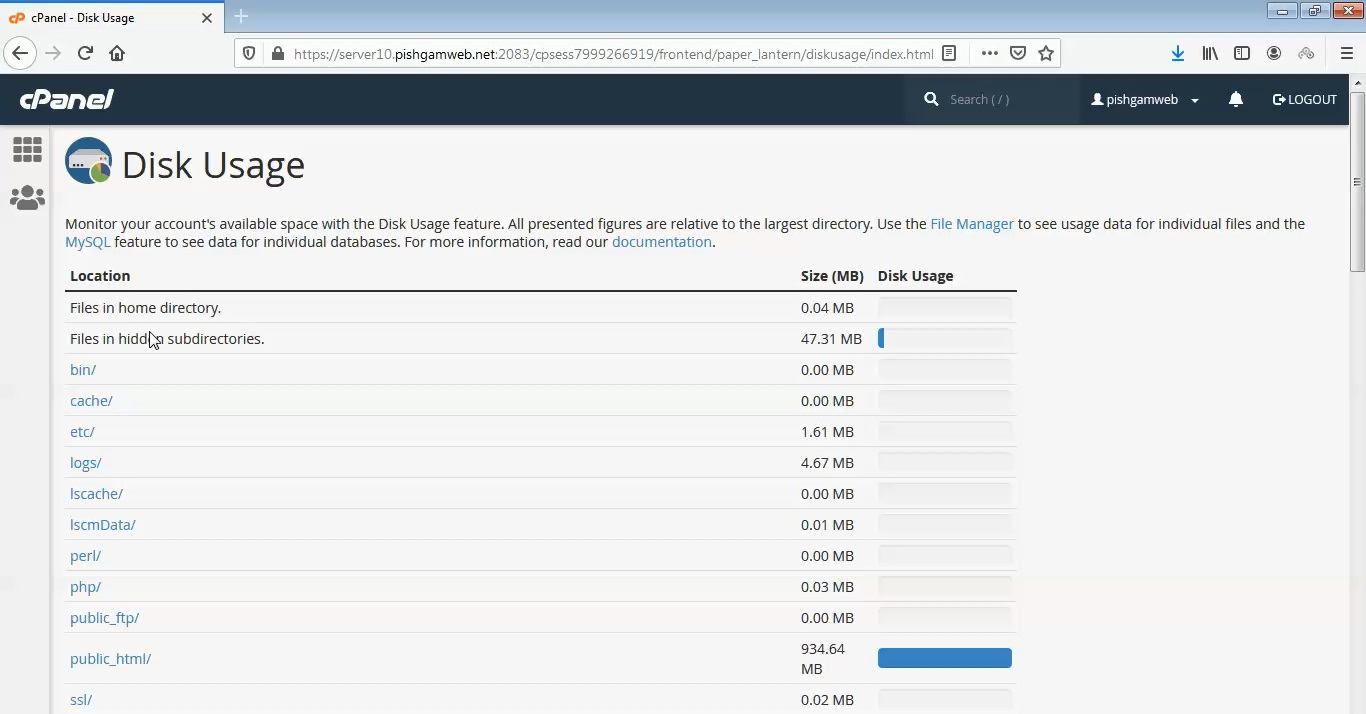
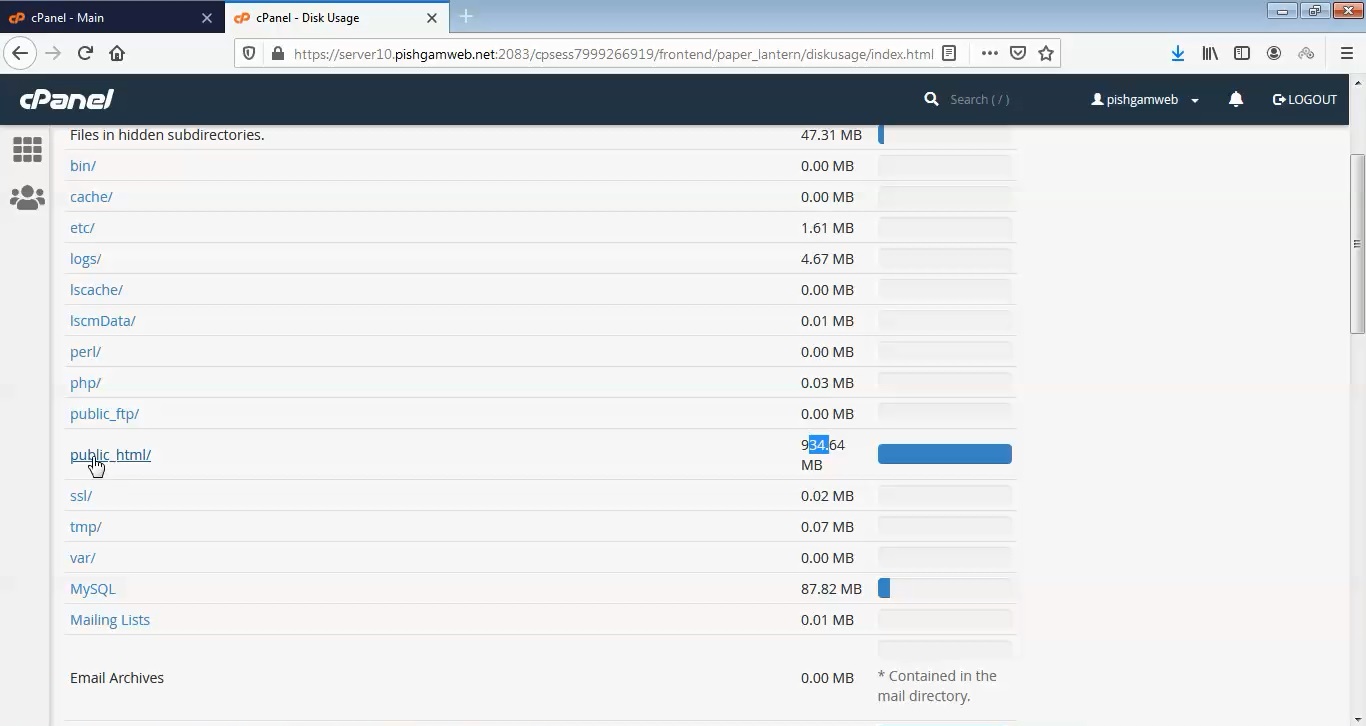
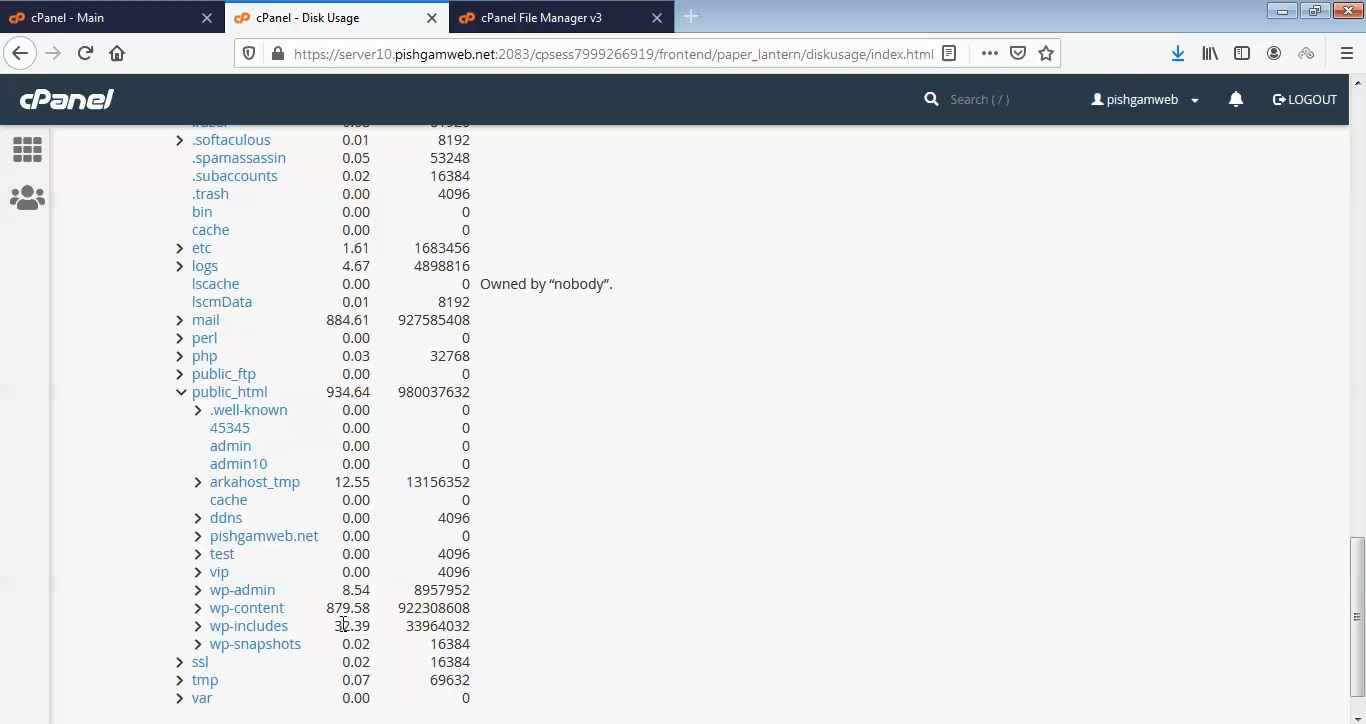
تمامی مواردی که در ادرس اصلی سایت مشاهده میشود در پوشه پابلیک اچ ی ام ال میباشد.
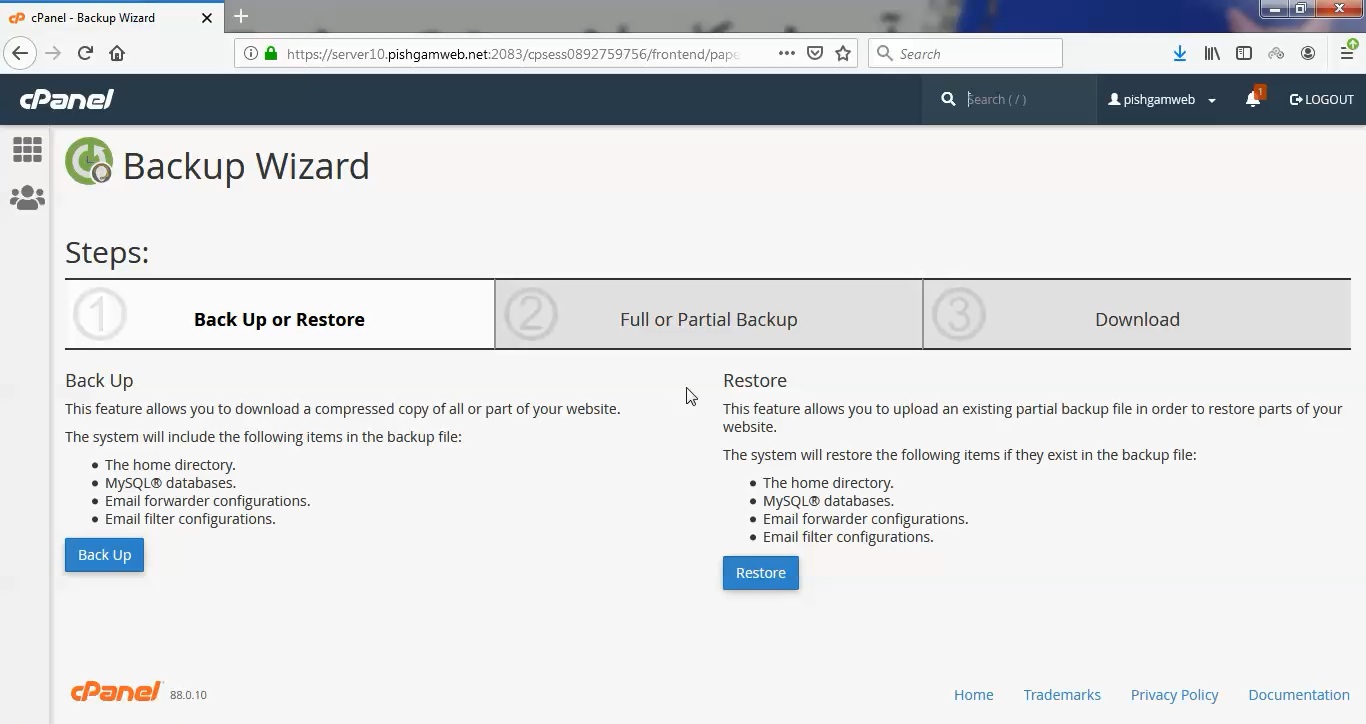
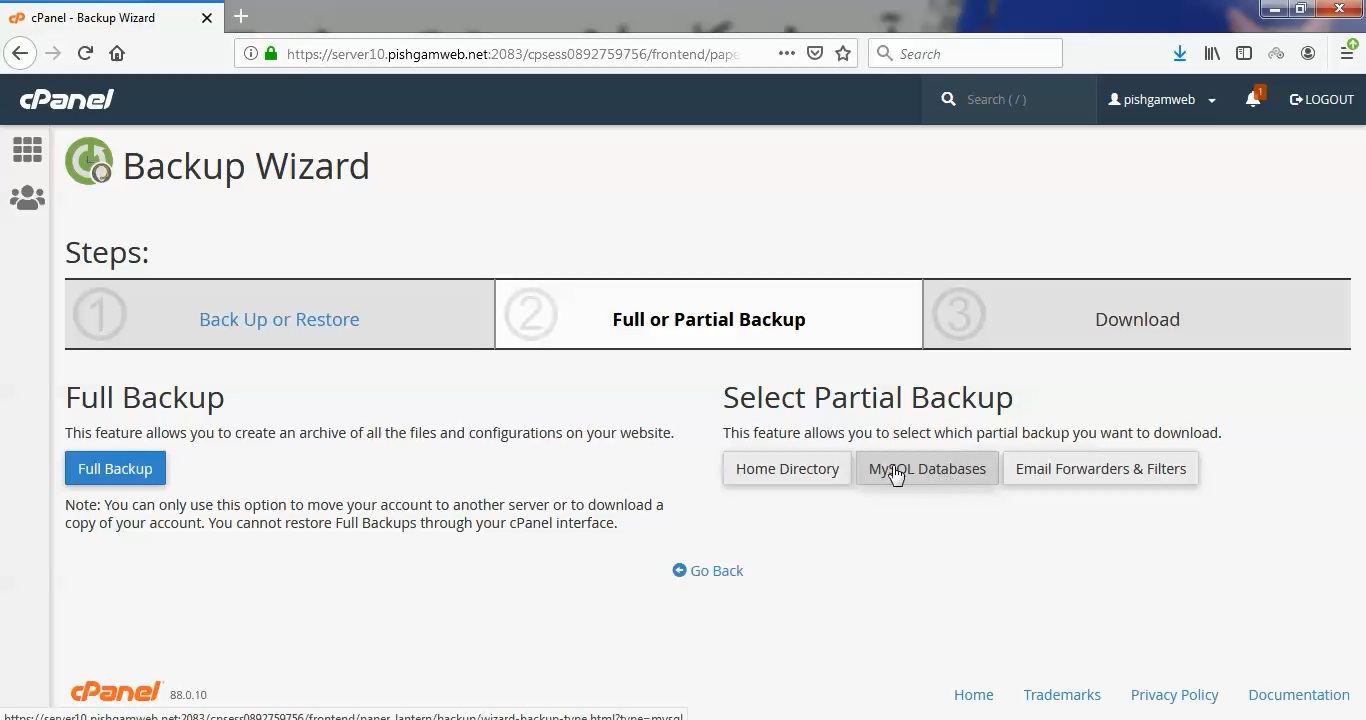
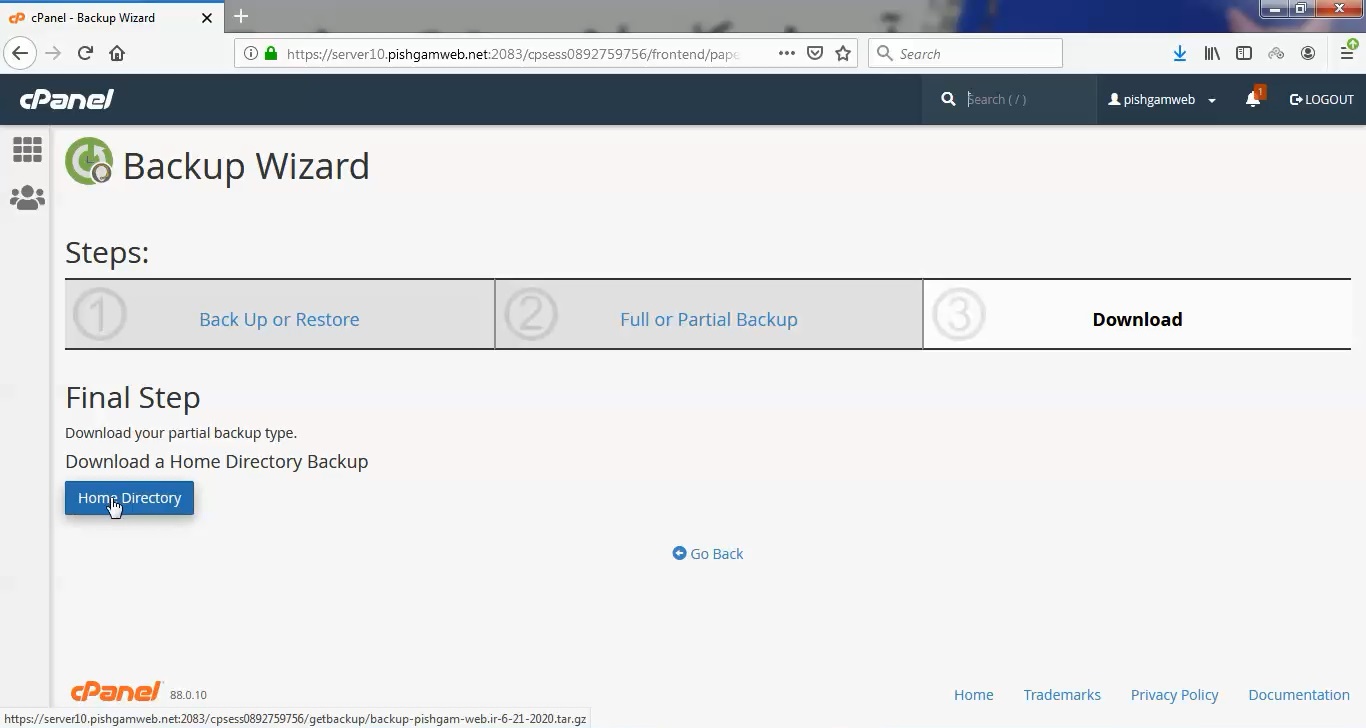
به هیچ عنوان پوشه هایی که داخل هوم بصورت دیفالت از قبیل پابلیک اچ تی ام ال وجود دارد را پاک نکنید ، در صورتی که پاک کرده باشید و مجدد اقدام به ساخت پوشه کنید اینکار جوابگو نمیباشد و حتما باید به مدیر هاست خود اطلاع دهید تا هاست ریست گردد و یا اگر فول بک اپ سی پنل موجئد باشد آن را ریستور کنید.
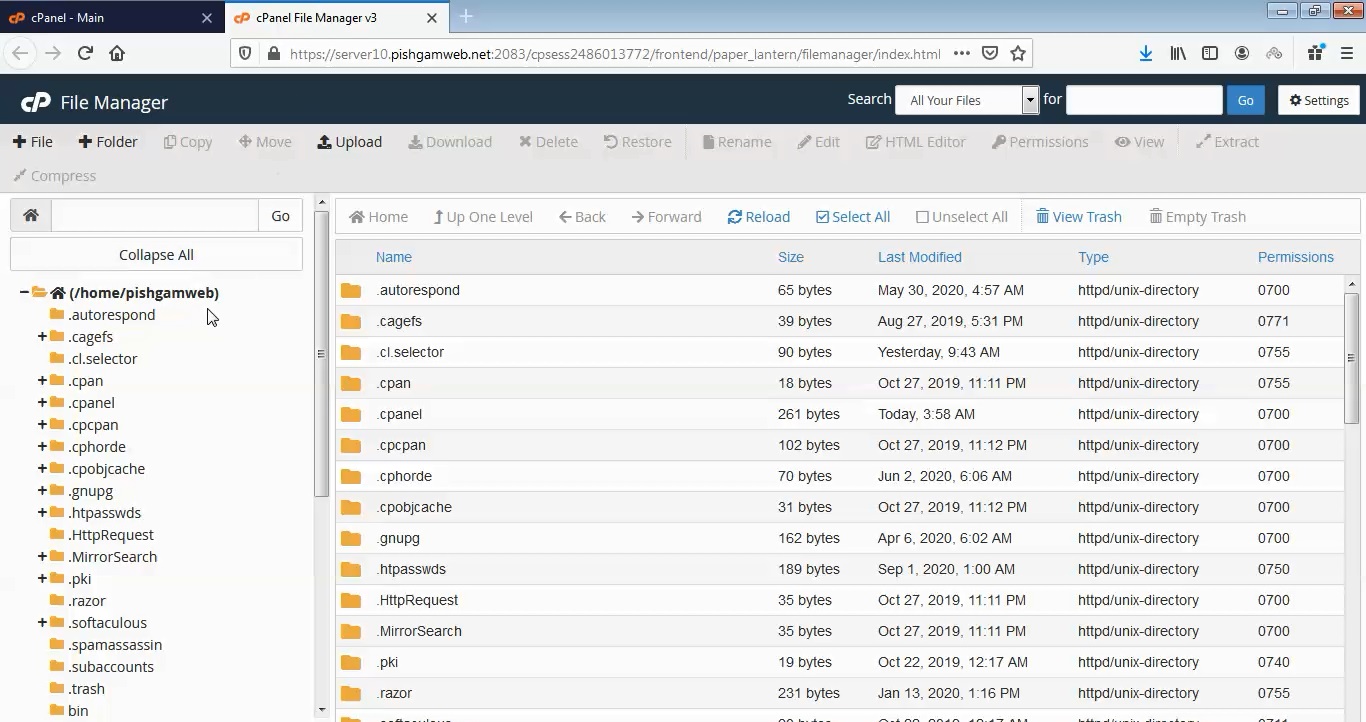
کاربرد هر یک از گزینه ها در زیر بصورت ریز به ریز اشاره شده است.
File: از این گزینه برای ایجاد فایل جدید استفاده میکنیم. با کلیک بر روی این گزینه پنجره جدیدی مطابق شکل زیر باز میشود که در قسمت New file name نام فایل جدید و در قسمت New file will be created in مسیر فایل را وارد کرده و بر روی گزینه create new کلیک میکنیم.
Folder: این گزینه همانند گزینه File است با این تفاوت که با این گزینه پوشه جدید ایجاد میکنید.
Copy: از این گزینه برای کپی کردن اطلاعات موجود استفاده میشود. فایل یا پوشه موردنظر را انتخاب کرده و پس از کلیک بر روی گزینه موردنظر در کادر موجود آدرس مقصد را وارد میکنیم و روی copy file کلیک میکنیم.
Move file: از این گزینه برای انتقال دادن اطلاعات موجود استفاده میشود. فایل یا پوشه مورد نظر را انتخاب و پس از کلیک در کادر موجود آدرس مقصد را وارد کنید و بر move file را کلیک میکنیم.
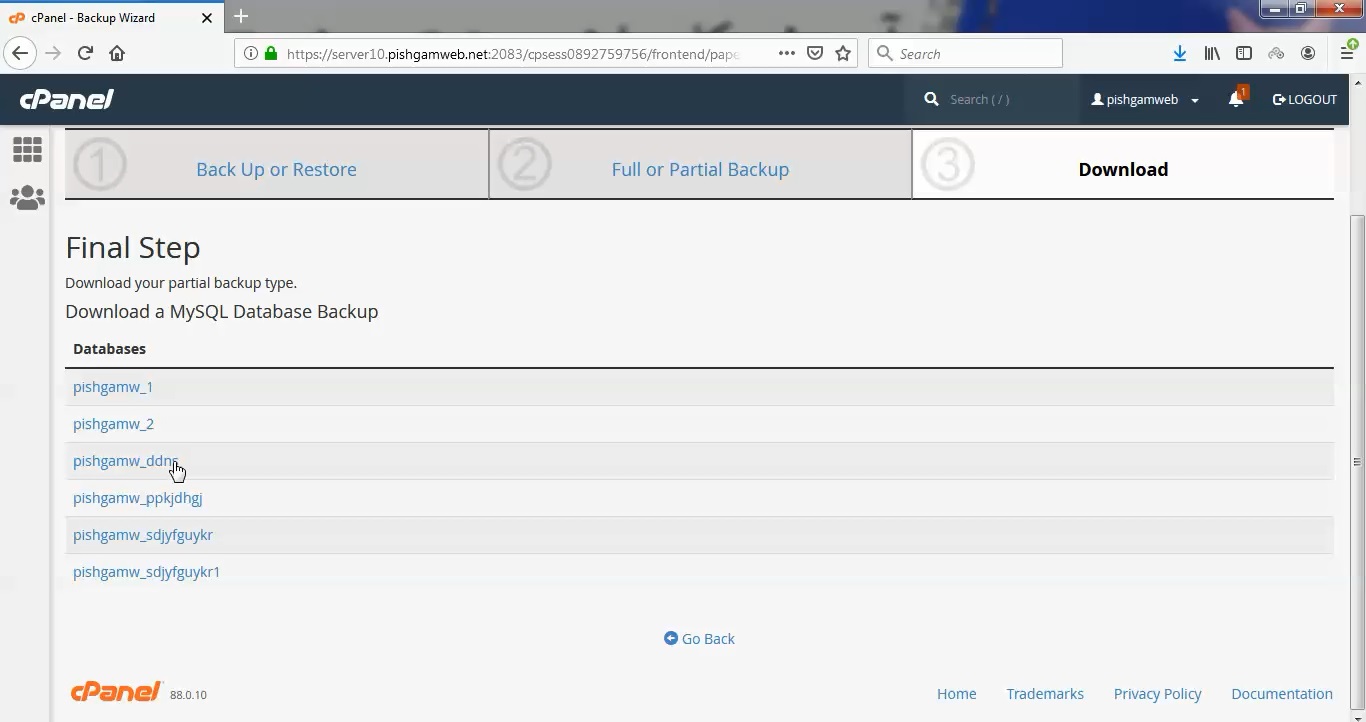
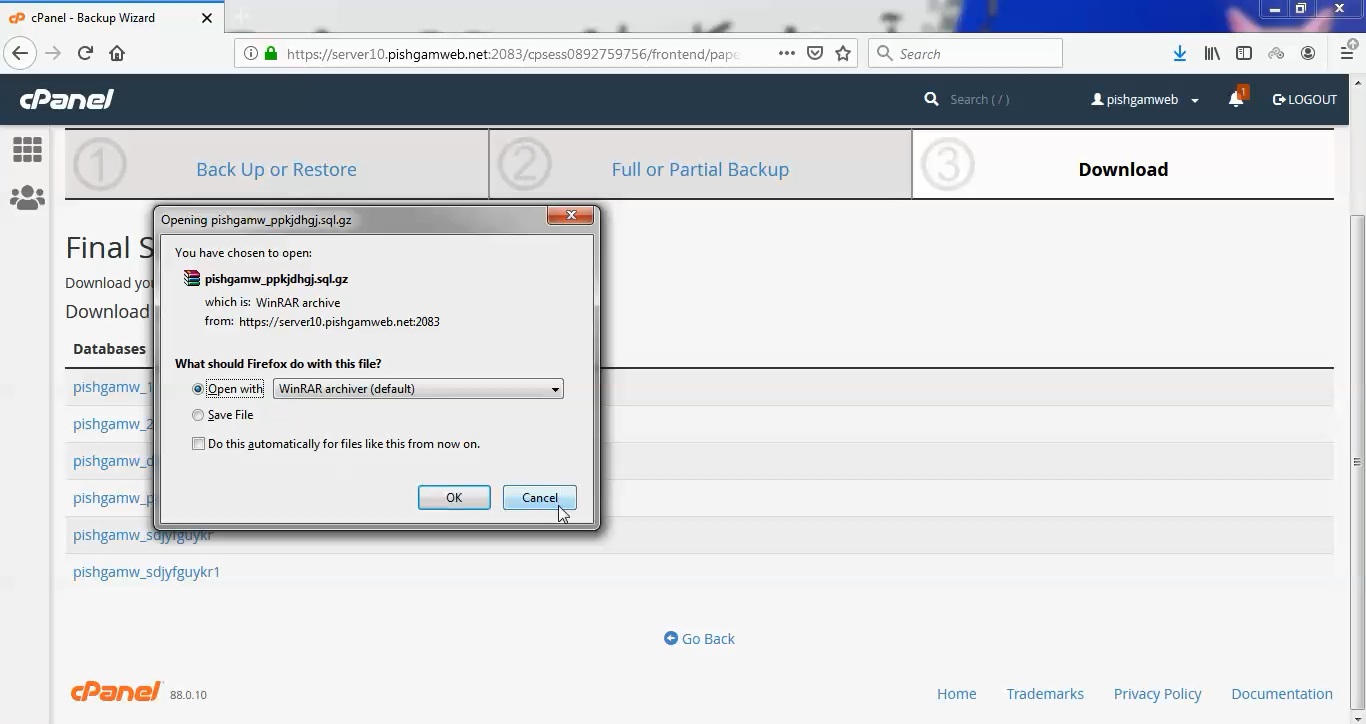
Upload: با استفاده از این گزینه میتوانید فایل های مورد نظر را بر روی وب سایت خود بیاووید. برای این کار ابتدا بر روی Upload file کلیک کنید.
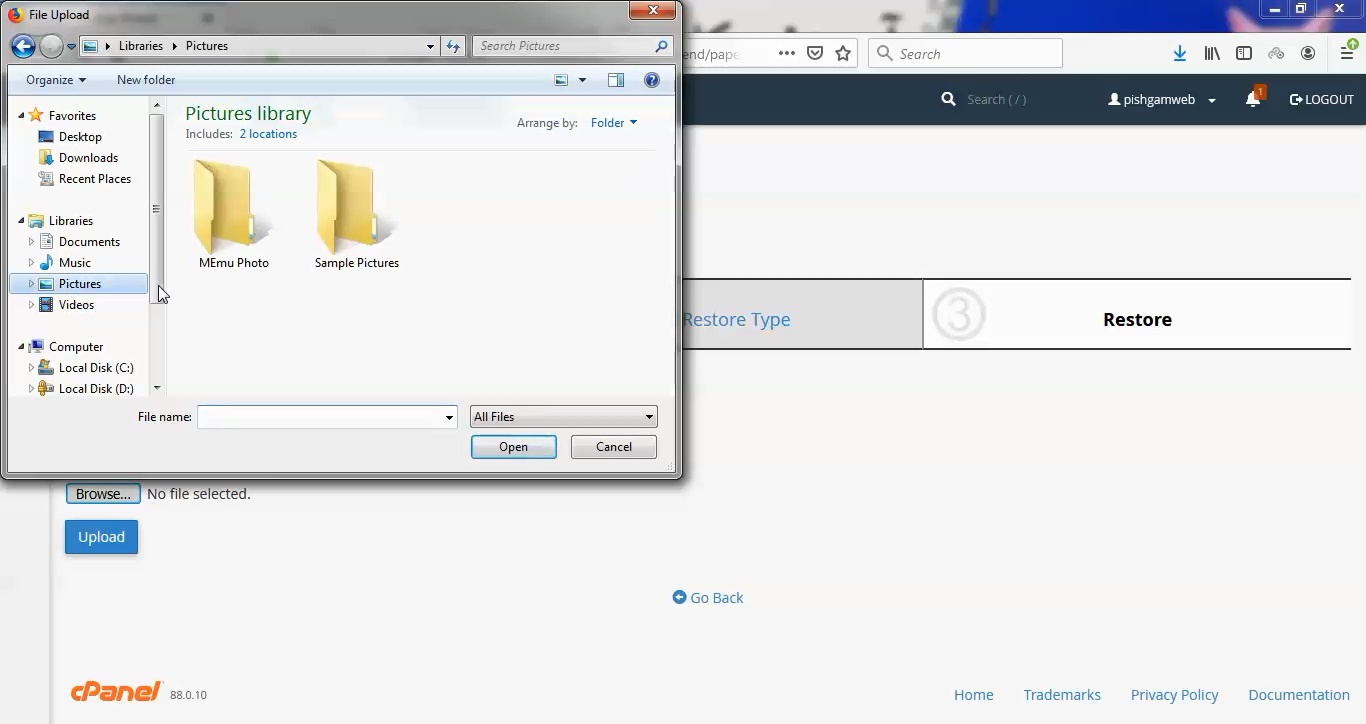
در صفحه باز شده فایلی را که میخواهید Upload کنید انتخاب کنید. برای این کار بر روی دکمه Browse کلیک کنید از کادر باز شده فایل موردنظر را انتخاب و بر روی open کلیک کنید. در نهایت فایل به صورت اتوماتیک در حال upload است.
Delete: با استفاده از این گزینه میتوان فایل ها و پوشه های غیرضروری را حذف کنید. فایل یا پوشه موردنظر را انتخاب کنید و بر روی Delete کلیک کنید.
Rename: برای تغییر نام فایل ها و پوشه ها استفاده میشود.
Edit: می توان فایلهای مورد نظر را ویرایش کرد. فایل را انتخاب کرده و بر روی Edit کلیک میکنیم. در کادر باز شده تغییرات را اعمال کنید و بر روی save کلیک میکنیم.
Code editor: همانند گزینه Edit برای ویرایش کد ها استفاده میشود.
Permissions: با این گزینه می توان سطح دسترسی را مشخص کرد.
Compress: برای فشردهسازی فایل ها استفاده میشود.
Extract: فایل ها را از حالت فشرده خارج میکند.
Html Editor: از این گزینه برای ویرایش کد های Html استفاده میکنیم.
این قسمت مکانی که اکنون در آن هستیم را نشان می دهد و همچنین می توانیم محلی را که می خواهیم برویم مشخص کنیم تا به پوشهای دیگر منتقل شویم.
Home: این گزینه ما را به مسیر اصلی می برد.
Up one level: شما را به یک پوشه بالاتر می برد.
Back: شما را به یک پوشه عقب تر میبرد.
Forward: شما را به یک پوشه جلوتر میبرد.
Reload: این گزینه بازخوانی مجدد صفحه را انجام می دهد.
Select all: با این گزینه می توان تمامی فایلهای صفحه را انتخاب کرد.
Unselect: با این گزینه تمامی فایل های انتخاب شده به حالت آزاد در میآید.
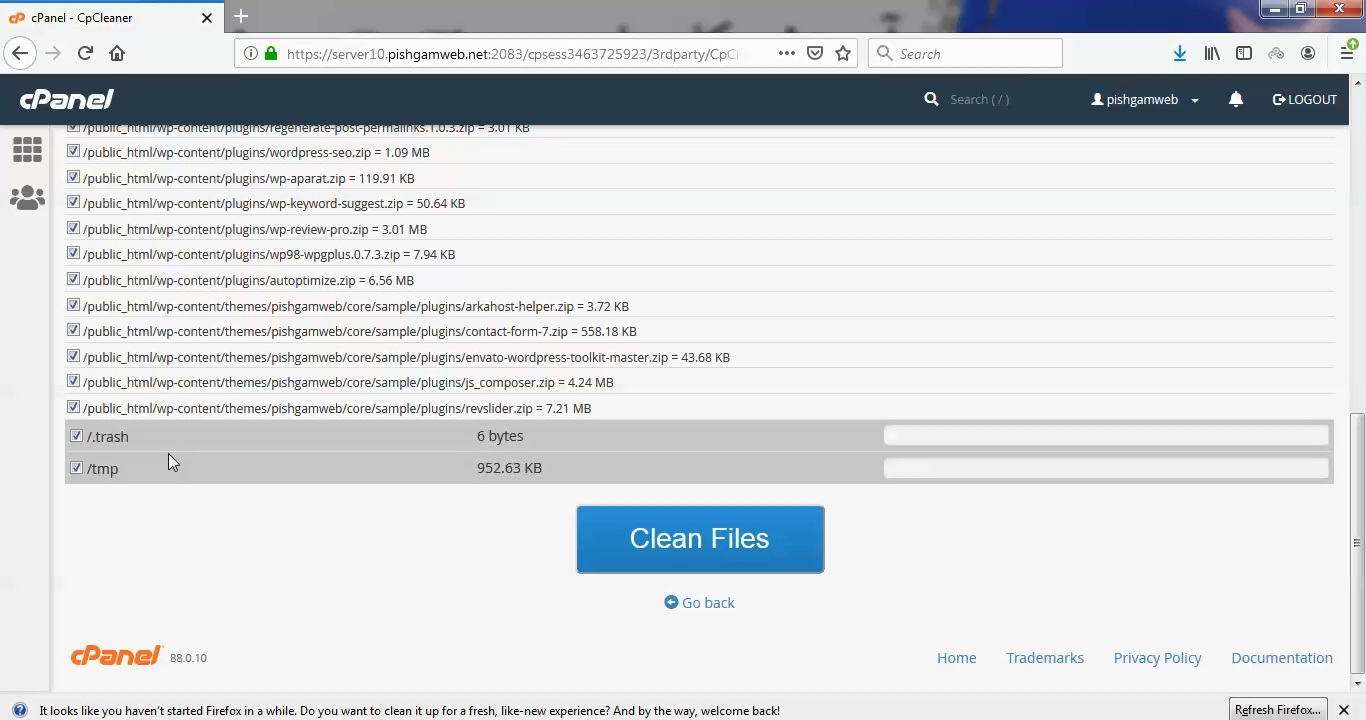
View trash: فایل های پاک شده را که به سطل زباله فرستاده شده را نشان میدهد.
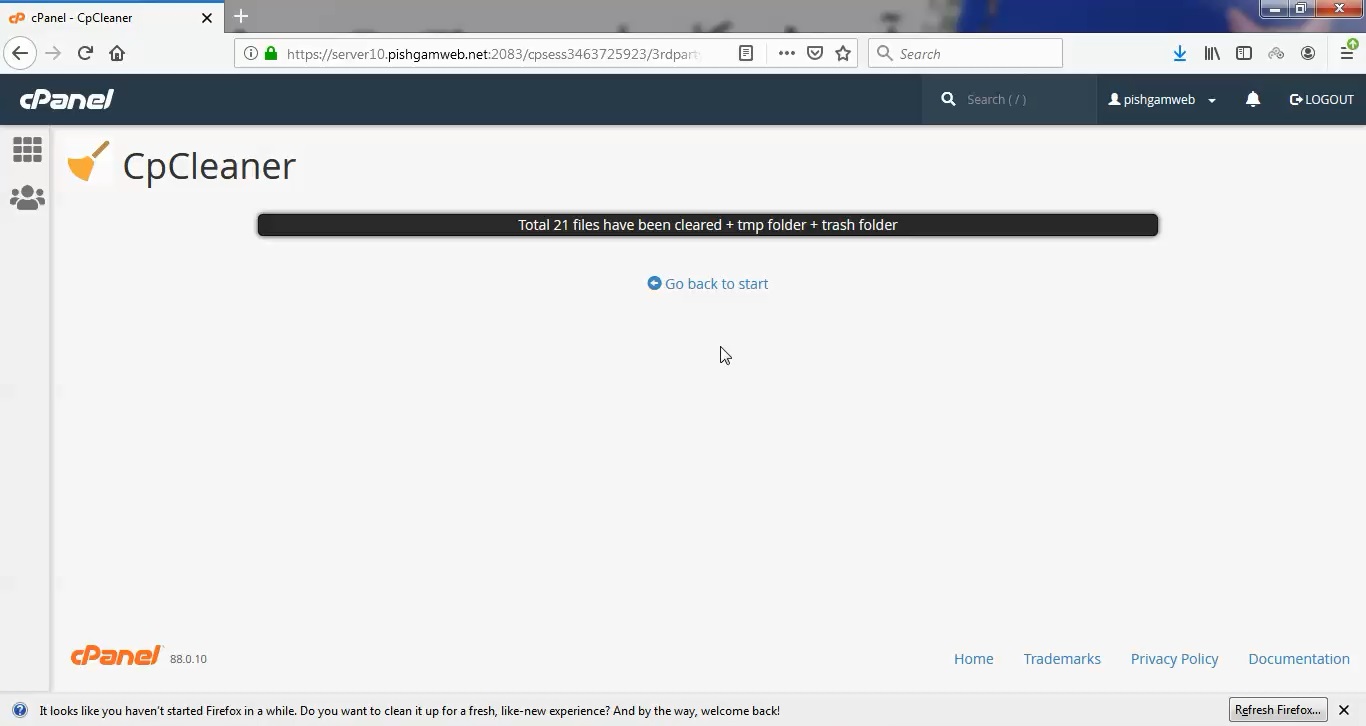
Empty trash: سطل زباله را پاک میکند
مشاهده فیلم آموزشی از سایت آپارات
برای دانلود فیلم آموزش از قسمت تنظیمات روی گزینه دانلود کلیک کرده و کیفیت مد نظر خود را انتخاب کنید تا فیلم آموزش دانلود گردد.
نکته : هر چقدر که عدد این قسمت بیشتر باشد ، کیفیت فیلم دانلودی بالاتر خواهد بود.
آموزش های ابتدایی :
دوستان عزیز آموزش که خدمتتون ارائه کردیم از سری آموزش های ابتدایی پیشگام وب هست و این آموزش جزو پایه ای ترین آموزش های سایت هست امیدوارم که آموزشممون کامل باشه.
منتظر نظرات و پیشنهادات شما در قسمت دیدگاه های سایت هستیم.
learn from cpanel
Overview
cPanel organizes all the files in your account into folders. Use the File Manager interface to manage and edit your files.Note:
- Whenever you access a folder that contains a Git™ repository, we strongly recommend that you do not update any files or directories. Changes could cause serious problems with the repository, regardless of whether you created it in the Git Version Control interface (cPanel >> Home >> Files >> Git™ Version Control).
- When a toolbar action isn’t available, the icon displays in gray.
- You can only use certain File Manager actions with one file at a time. Select the desired file before you attempt these actions.
- Any attempt to rename, edit, or view multiple files at the same time will only affect the first listed file in the folder.
Change Settings
To change the folder in which the File Manager interface opens, perform the following steps:
- Click Settings. The Preferences interface will appear.
- Select a folder to open by default:
- Home Directory — The main folder for your account.
- Web Root (public_html or www) — The most direct route to your files.
- Public FTP Root (public_ftp) — The folder for your FTP files.
- Document Root for: — The folder for the domain that you select from the menu.
- To display hidden files in the interface, select Show Hidden Files (dotfiles).
- To prevent messages about character encodings from displaying, select Disable Character Encoding Verification Dialogs.
- Click Save.
Character encoding verification dialogs
When you edit a file with the Edit or HTML Editor actions, an interface appears to confirm the file’s character encoding. Use the menu to select the correct character encoding for the file. Then, click Edit to continue.
- Click Toggle Help for more information about how to select the correct character encoding.
- Click Disable Encoding Check to turn off future encoding verifications.
Warning:
If you select the wrong initial encoding, your file may become corrupt. If your file displays as a series of special characters, immediately abort your action and select the correct encoding. Do not save the file.
Working with files and folders
The File Manager interface allows you to perform many actions on your files and folders.
Create or copy files or folders
To create a new file or folder, perform the following steps:
- Click + File or + Folder in the toolbar. A new interface will appear.
- Enter the new item’s name in the New File Name: or New Folder Name: text box.Note: To rename a folder or file, click the name. Then, enter the new name in the text box. Press the Return key to save the change.
- Enter the location in which the system will create the item in the New file will be created in: or New folder will be created in: text box.
- Click Create New File or Create New Folder.
To copy one or more files, perform the following steps:
- Select the files you want to copy.Note: You cannot create a copy of an item within the same folder.
- Click Copy from the toolbar at the top of the interface. The Copy interface will appear.Note: You can also right-click and select Copy from the menu.
- In the Copy interface, enter the file path for which you want to save the item in the Enter the file path that you want to copy this file to: text box.
- Click Copy File(s) to copy the files.
Move files or folders
To move one or more files, perform the following steps:
- Select the file or files that you want to move.
- Click Move in the toolbar at the top of the interface. The Move interface will appear.
- Enter the file path that you want to move the file to in the Enter the file path that you want to move this file to: text box.
- Click Move File(s) to move the file.
You can also move files by:
- Dragging a file icon into a new destination folder.
- Clicking on a file and then clicking Rename in the toolbar.
Update file or folder permissions
To modify a file or folder’s permissions, perform the following steps:
- Select the file or folder for which to change the permissions.
- From the toolbar, click Permissions. The Change Permissions interface will appear.
- Use the checkboxes or text boxes to change the item’s permissions. This setting defaults to
0644. - Click Change Permissions to save your changes.
Delete or restore files and folders
Note:
- When you delete files or folders, the system does not permanently delete the files. Instead, the system moves the files to the Trash folder.
- Click Empty Trash to permanently delete the Trash folder’s contents.
To delete a file or folder, perform the following steps:
- Select the file or folder you want to delete.
- In the toolbar, click Delete. The Trash interface will appear.
- Click Confirm to confirm that you want to delete the file or folder.
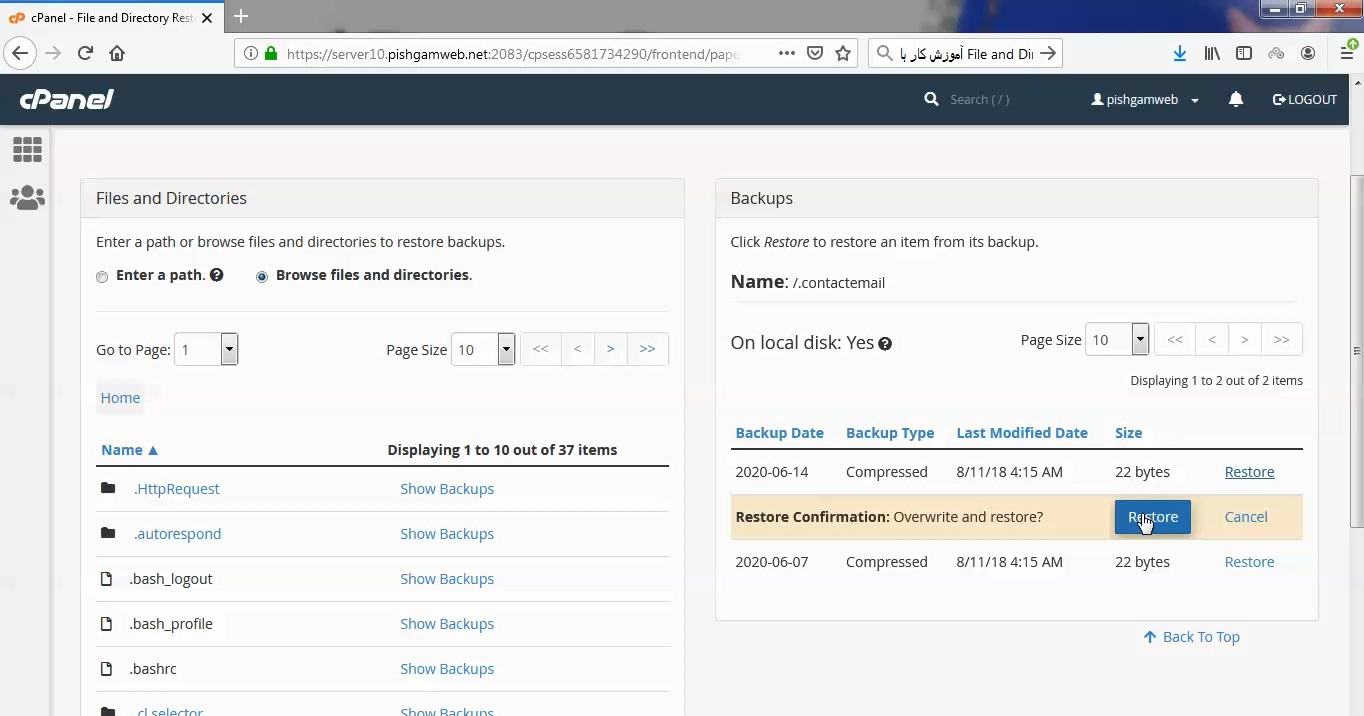
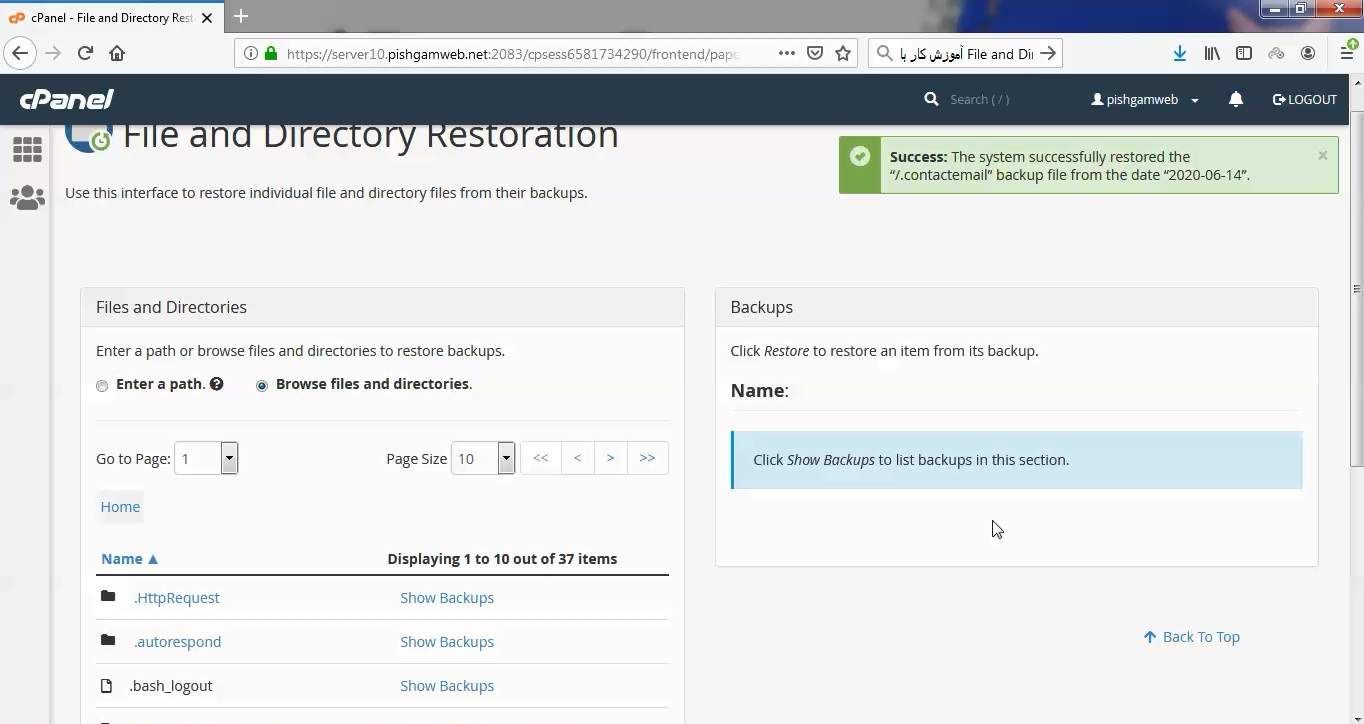
To restore a file or folder, perform the following steps:
- Click View Trash from the toolbar.
- Select the file or folder that you want to restore.
- Click Restore in the toolbar.
- Confirm that you want to restore the item.
Other item actions
Note:
The Compress and Extract actions will only work with the .zip format if Zip exists on your server. Your hosting provider can use WHM’s EasyApache 4 interface (WHM >> Home >> Software >> EasyApache 4) to install this PHP extension.
Right-click files or folders to select from a menu of actions that the system customizes based on the file’s type.
| Feature | Displays for | Description |
|---|---|---|
| Upload | Files | Upload individual items, such as files or images.Note: You cannot upload a folder through this interface. Create a new folder and upload the desired files into it. |
| Download | Files | Download files to save them locally. |
| Rename | Files, Compressed Files, Folders | Rename the file or folder. |
| Edit | Files | Open the selected file in an editor.Warning: You cannot edit a file in this interface if it contains more than one megabyte (1 MB) of data. To edit the file, you must download it and use a local editor. |
| HTML Editor | Files | Open the selected HTML file in a visual HTML editor.Warning: You cannot edit a file in this interface if it contains more than one megabyte (1 MB) of data. To edit the file, you must download it and use a local editor. |
| View | Files | View the contents of the selected file. |
| Extract | Compressed Files | Extract the selected *.zip, *.Gz, or *.Bz2 archive and store the files in a folder. |
| Compress | Files, Compressed Files, Folders | Compress the selected files or folders to a single *.zip, *.Gz, or *.Bz2 archive and store the compressed file to a specified folder. |
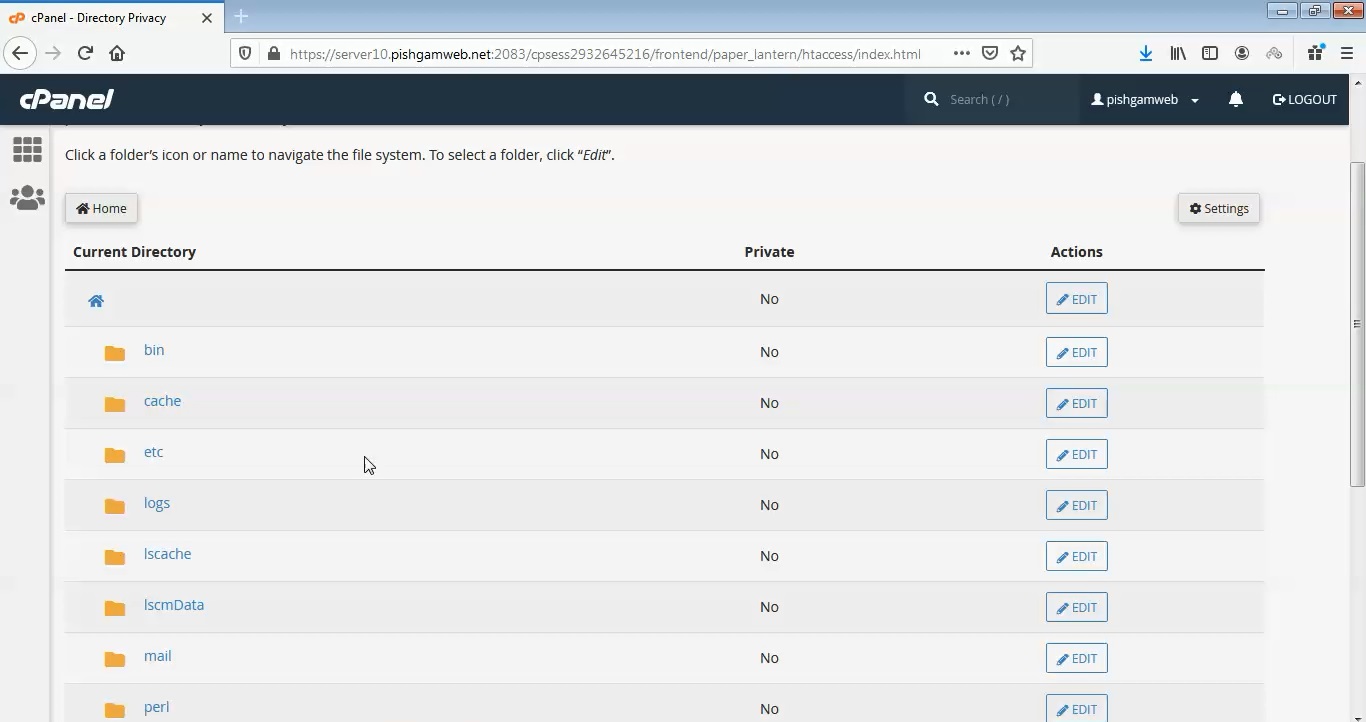
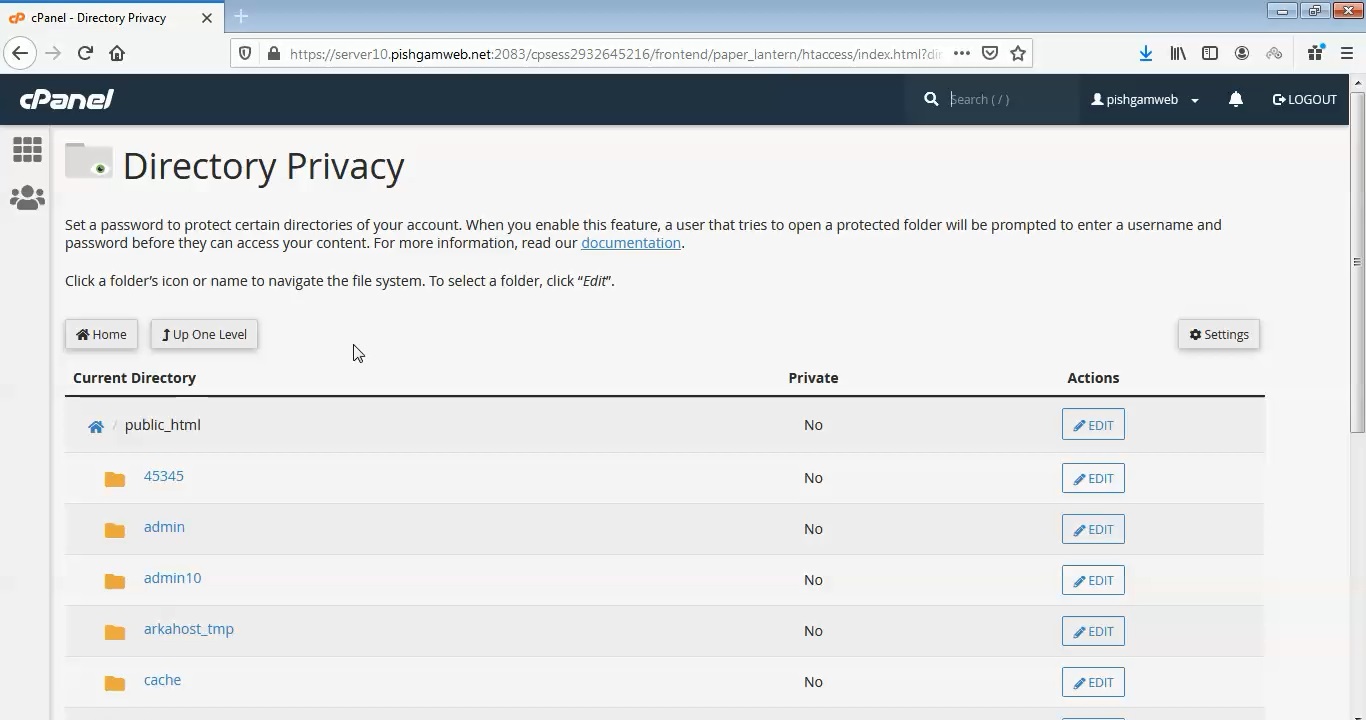
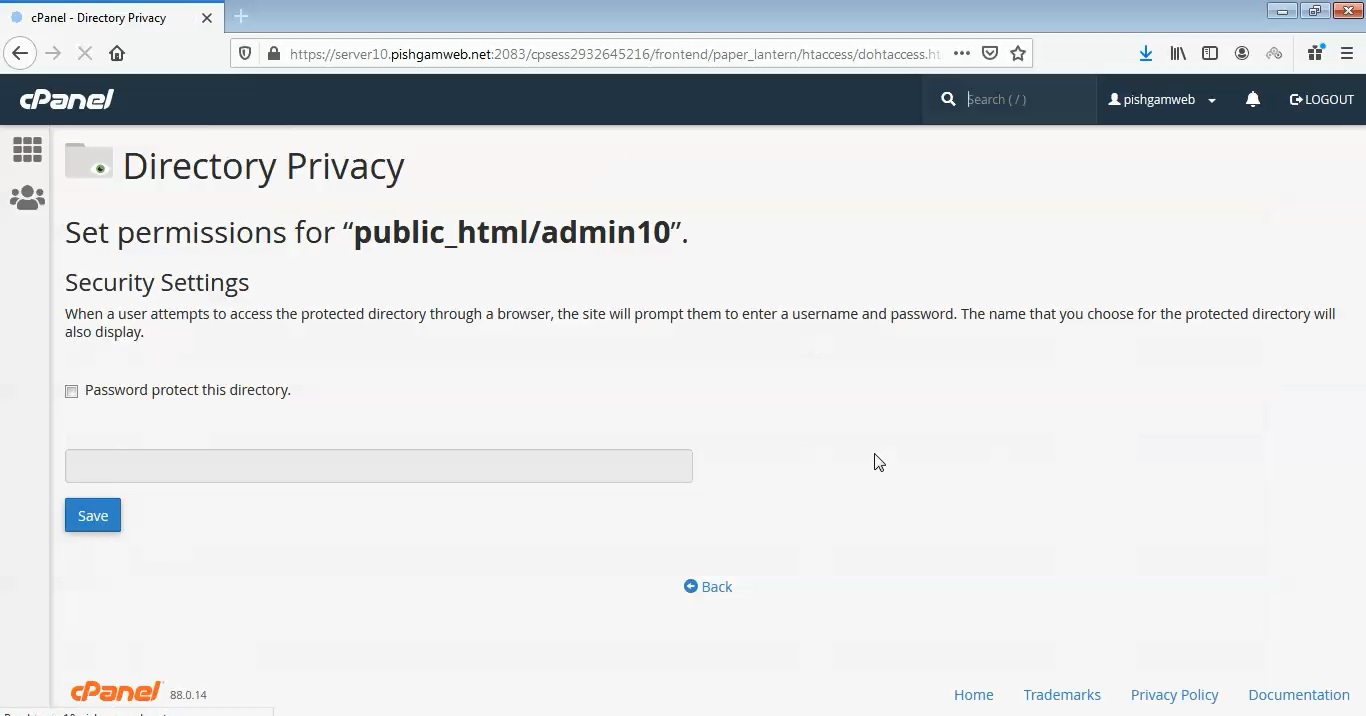
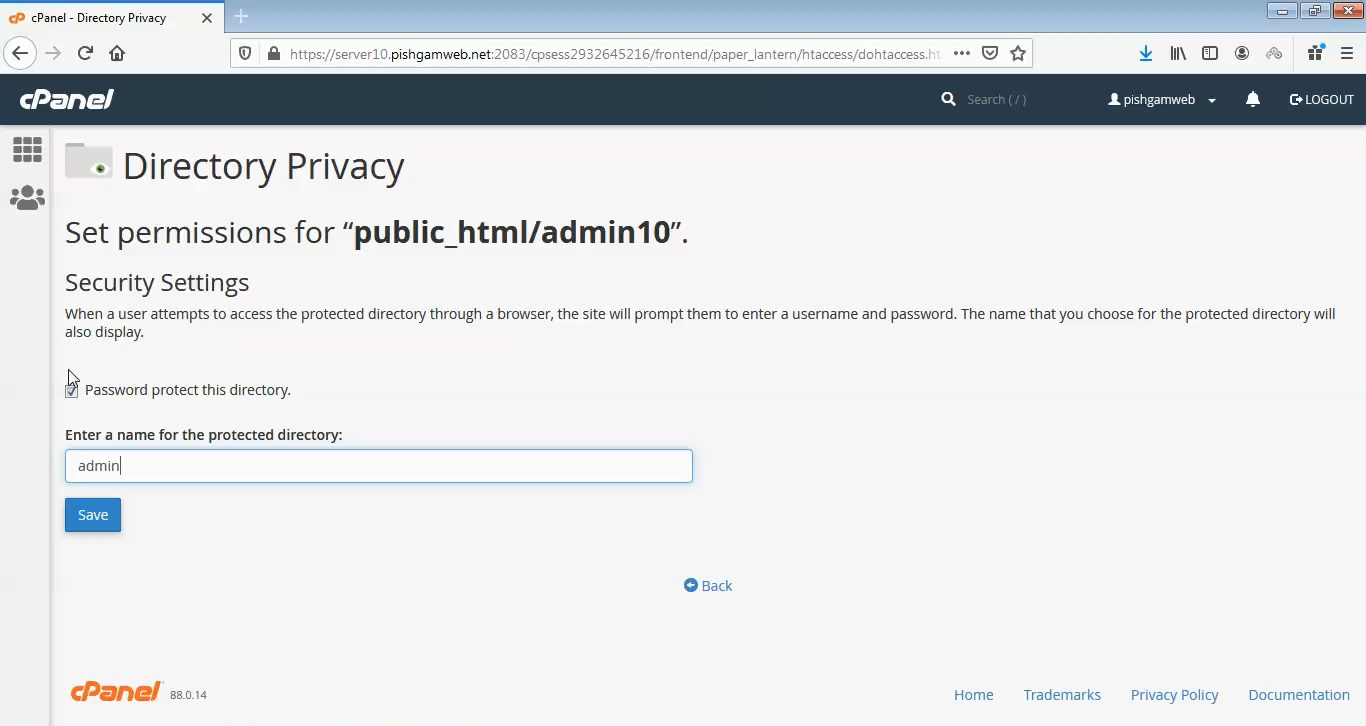
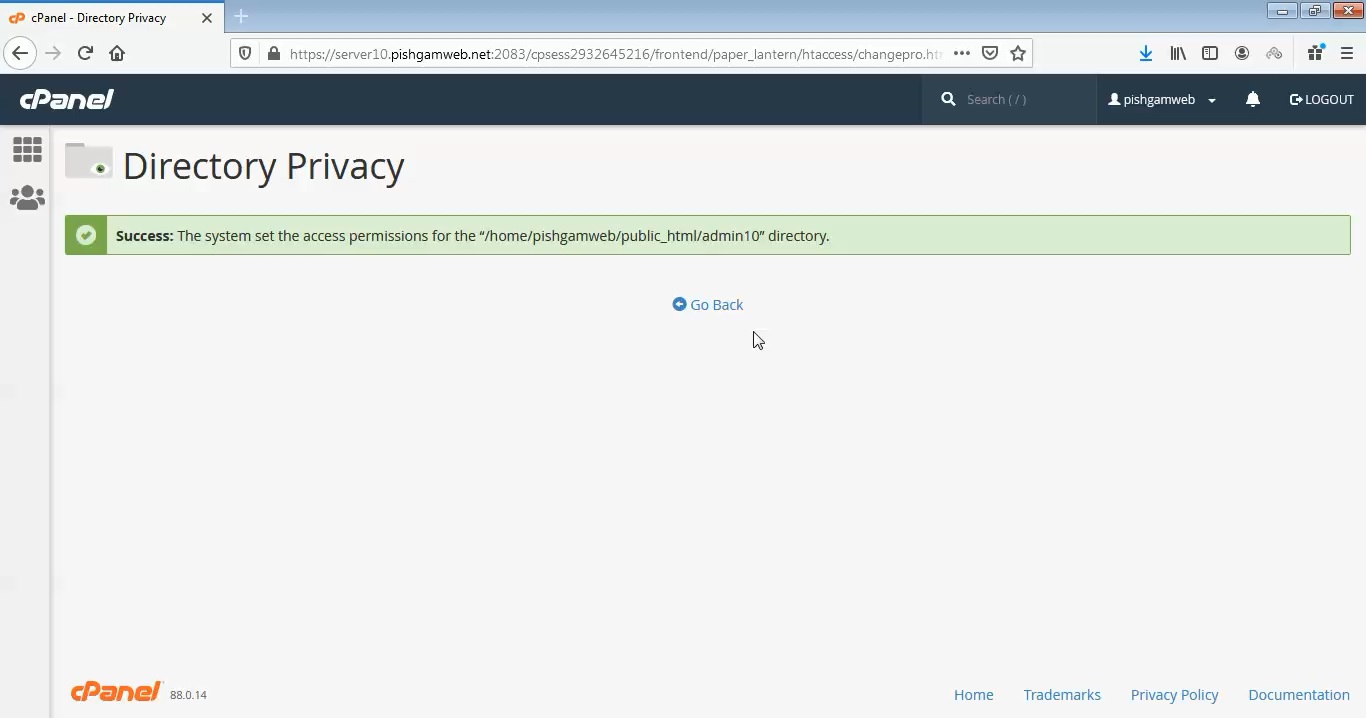
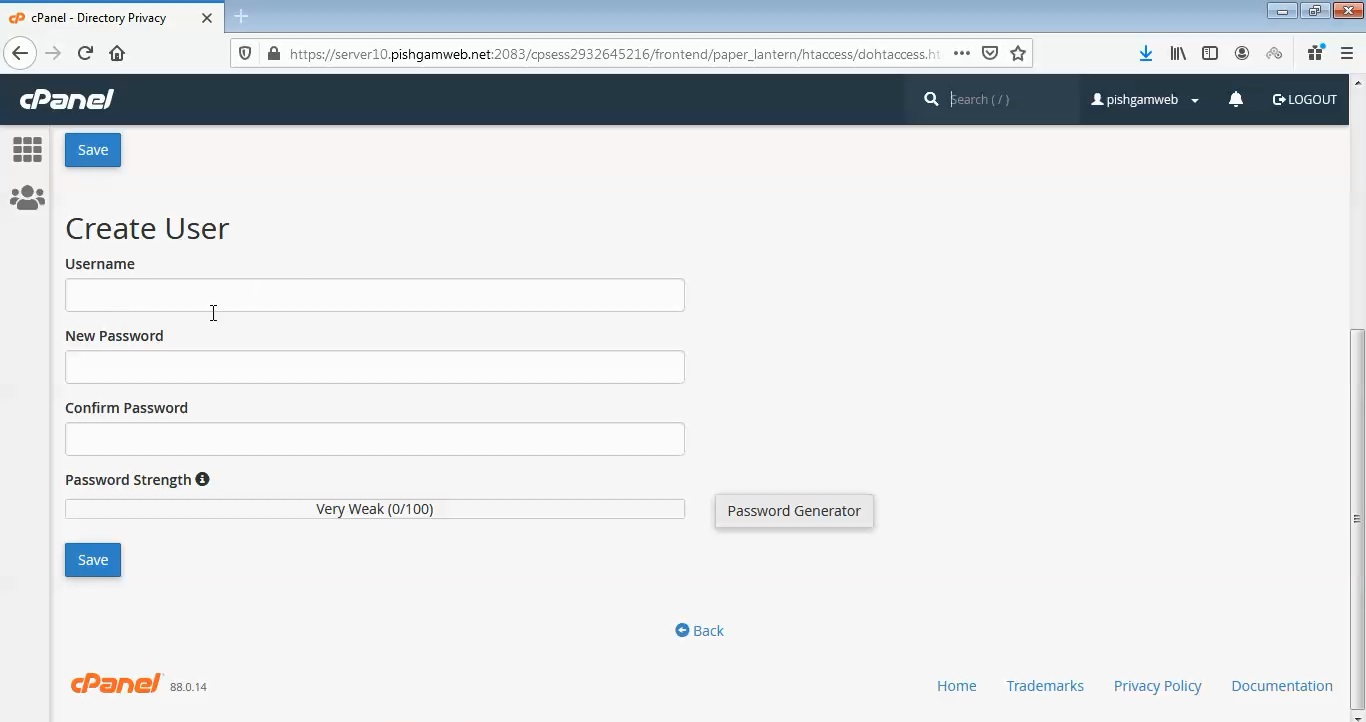
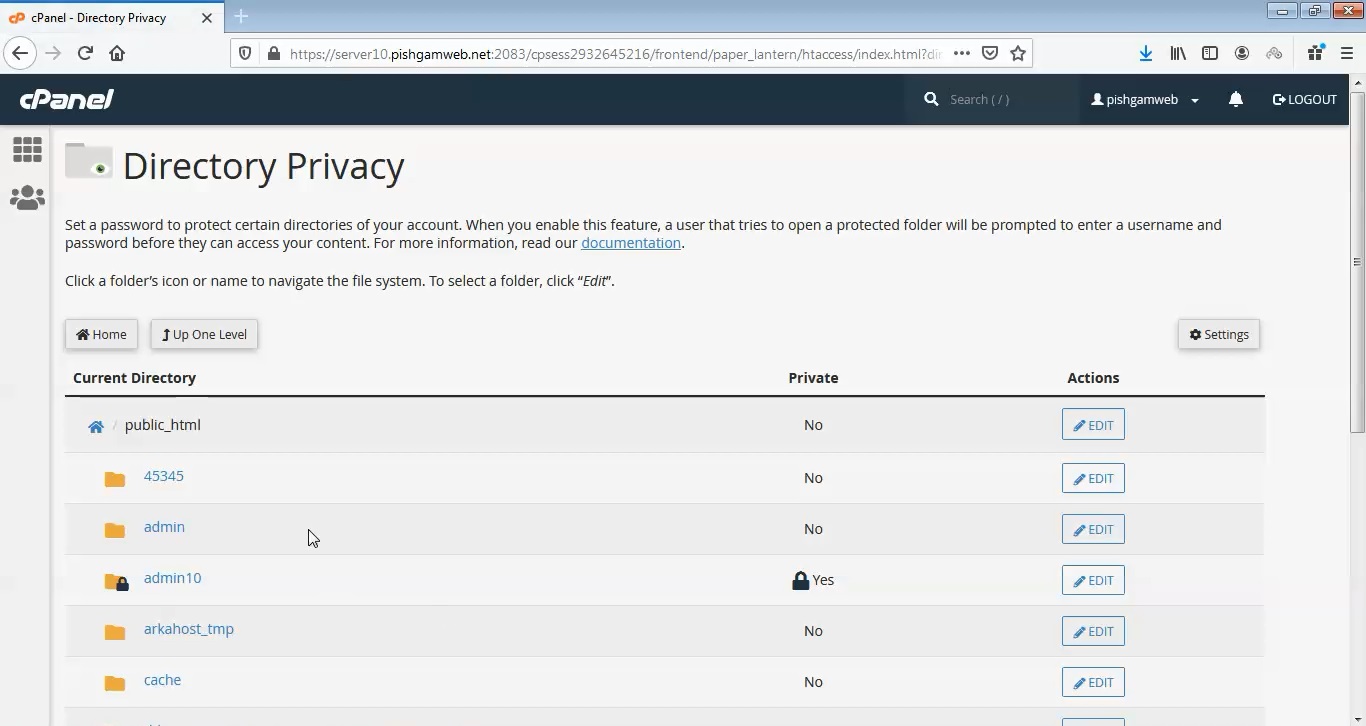
| Password Protect | Folders | Set a username and password to restrict access to a folder.Note: Your hosting provider must enable this feature. |
| Leech Protection | Folders | Redirect users who have shared the password to a restricted area of your site. The system will redirect accounts that exceed a set number of logins in a two hour period to a selected URL, or receive an internal server error message.Note: Your hosting provider must enable this feature. |
| Manage Indices | Folders | Customize the way users view a folder on the web.Note: Your hosting provider must enable this feature. |
Search for an item
The Search text box at the top-right corner of the interface allows users to search for a specific file. By default, the Search text box searches all files in the home folder. You can limit the search to the document root at /home/user/public_html, where user represents your cPanel username. You can also limit the search to the folder in the interface.
To search for a file, perform the following steps:
- Use the Search menu to select the folder to search. You can select from the following options:
- All Your Files
- only public_html
- Current Directory
- Enter the desired file name in the text box.
- Click Go.
A new interface displays the filenames that match your search.
- To go to a folder, or go to the folder that contains the file, double-click the desired item in the list.
- If no files that include your search term exist, a No records found message appears