ایمیل
ایمیل  چت آنلاین
  پشتیبانی
 آموزش کار با Forwarders در cpanel

دوستان عزیز پیشگام وبی امیدوارم که حالتون خوب باشه ، امروز با آموزش کار با Forwarders در cpanel خدمتتون هستیم و امیدوارم توضیحاتی که در این مطلب و یا در انتها مطلب که بصورت فیلم قرارداده شده بتونه به شما کمک کنه و هر روز بیشتر پیشرفت کنید.
خوب اصلا این قسمت به چه دردی میخوره کجا بهش نیاز داریم و در کل کاربردش چی هست؟
فورواردر ها وظیفه دارند ایمیل های شما را به آدرس/آدرسهای دیگری که تعیین میکنید ارسال نمایند. مثلا فرض کنیم شما مایل هستید تمام ایمیل هایی که به آدرس ایمیل [email protected] شما ارسال میشوند را در اکانت ایمیل دیگر خود با آدرس [email protected] دریافت کنید. برای این کار لازم است روی ایمیل اول یک Forwarder تنظیم نمایید تا ایمیل های دریافت شده را به طور اتوماتیک به آدرس دوم ارسال نماید.
این قسمت برای تغییر پسورد در سی پنل میباشد که با عنوان Forwarders در قسمت Email موجود میباشد.
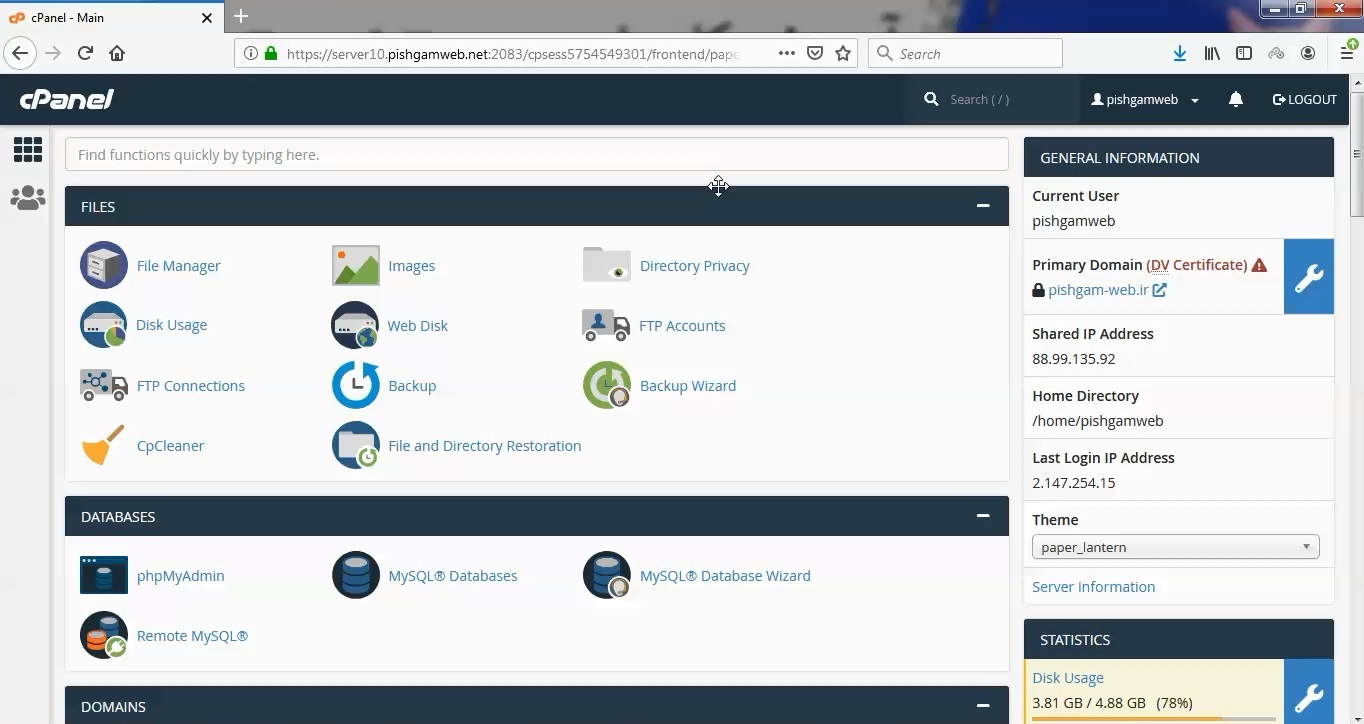
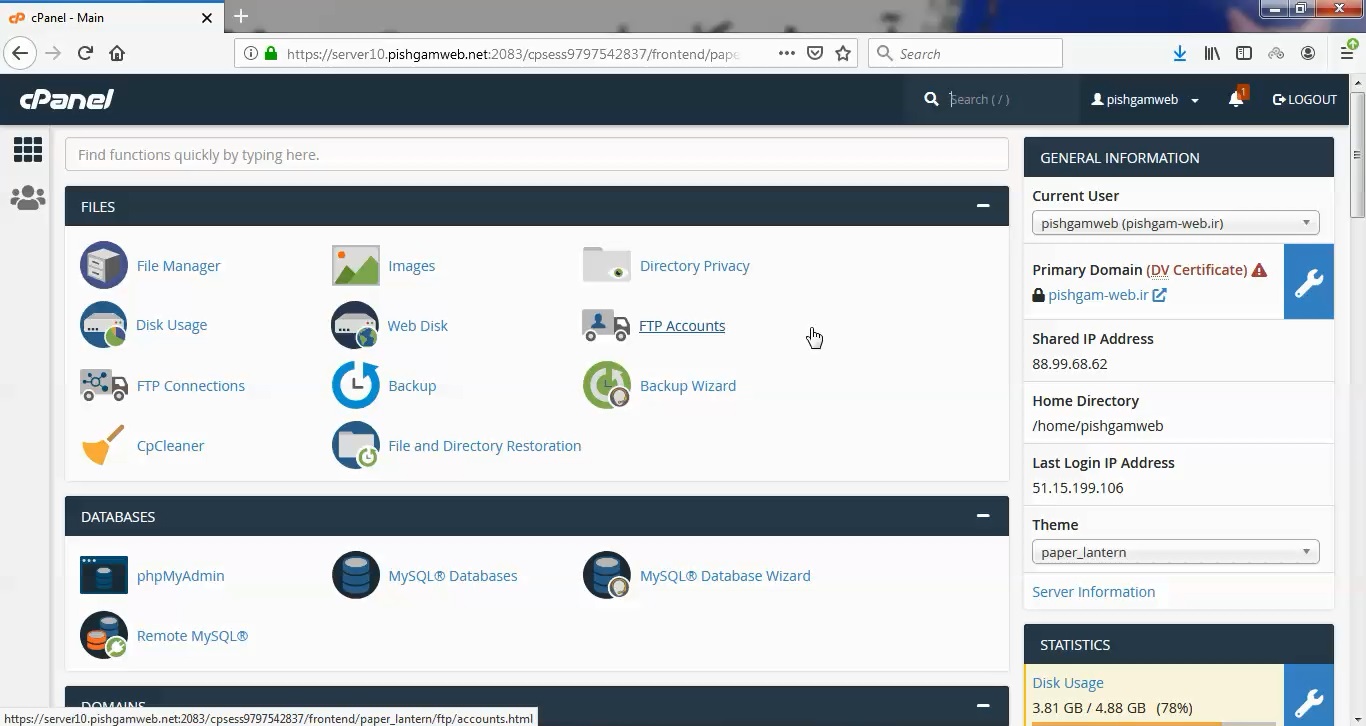
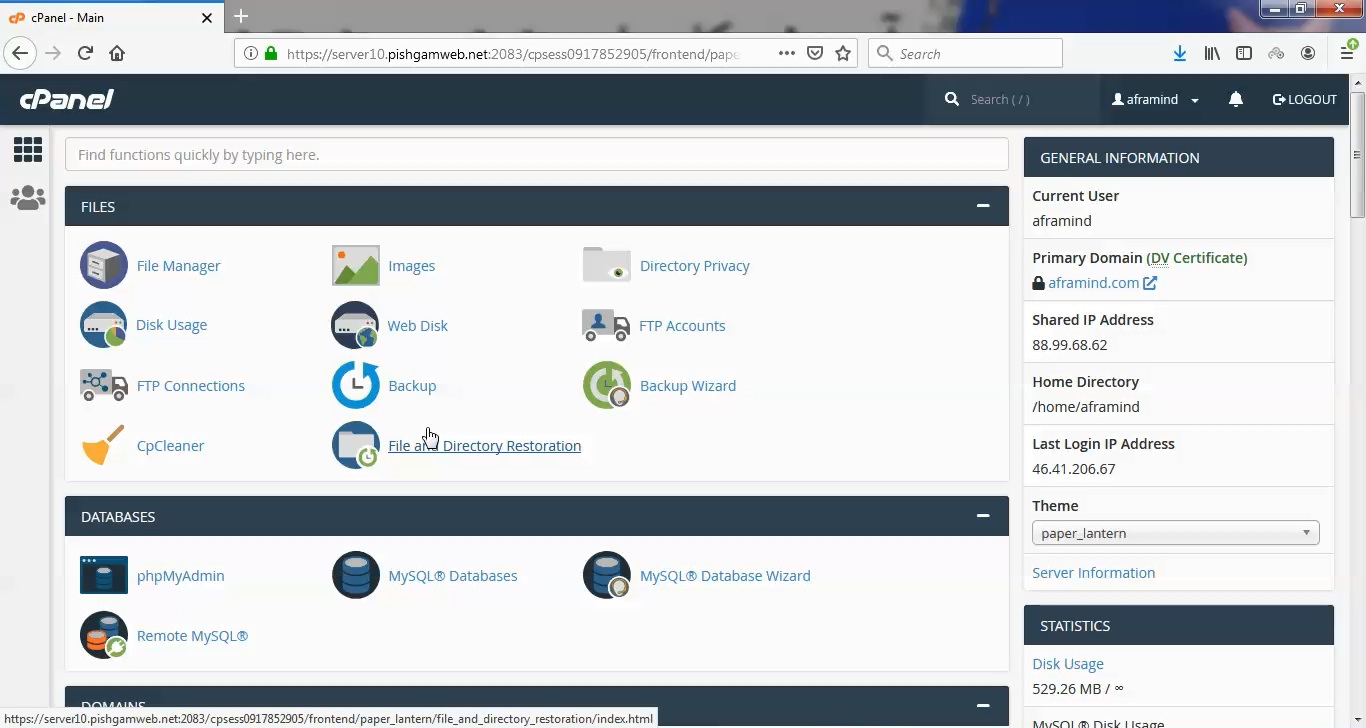
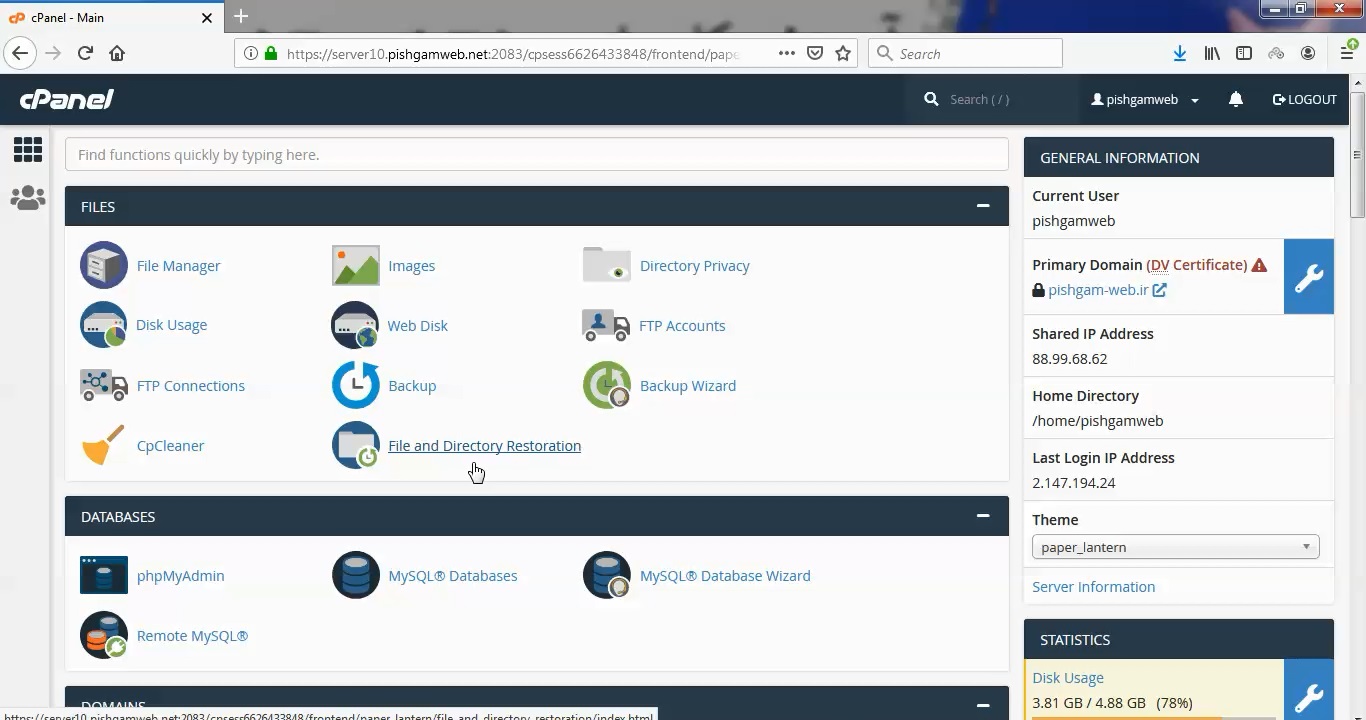
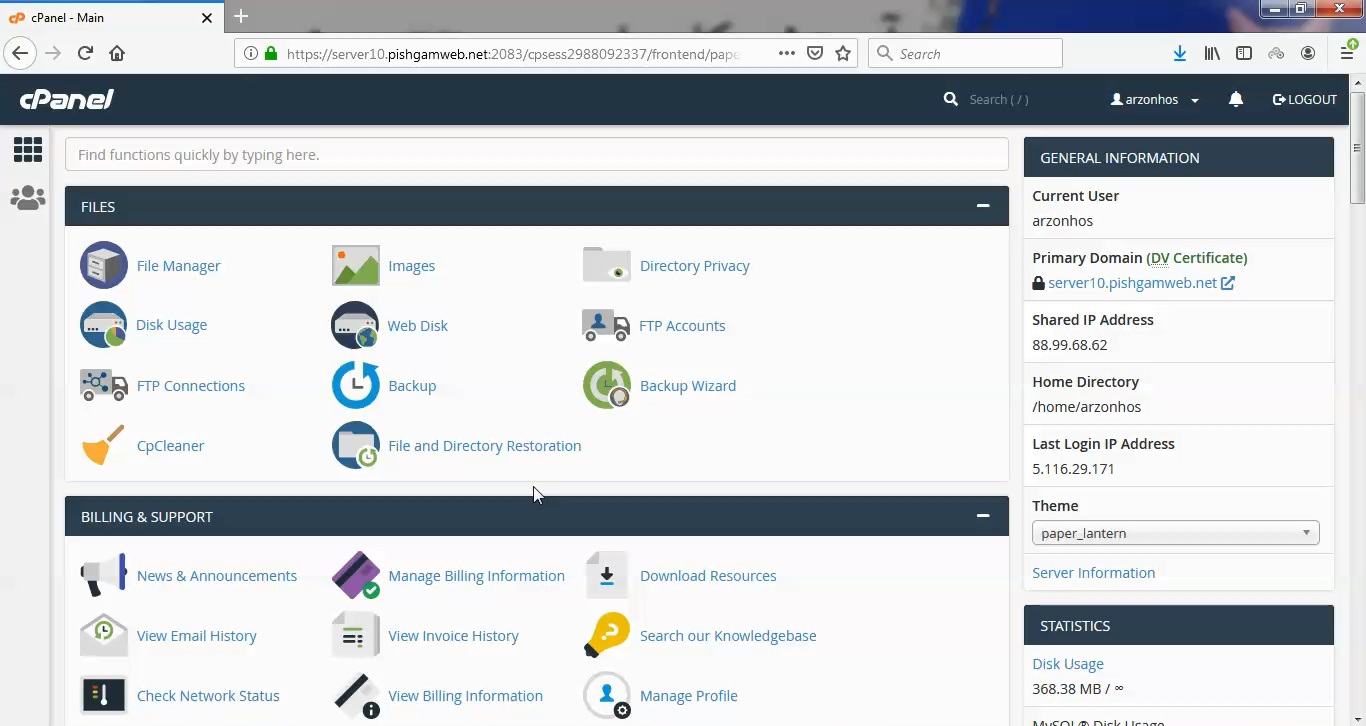
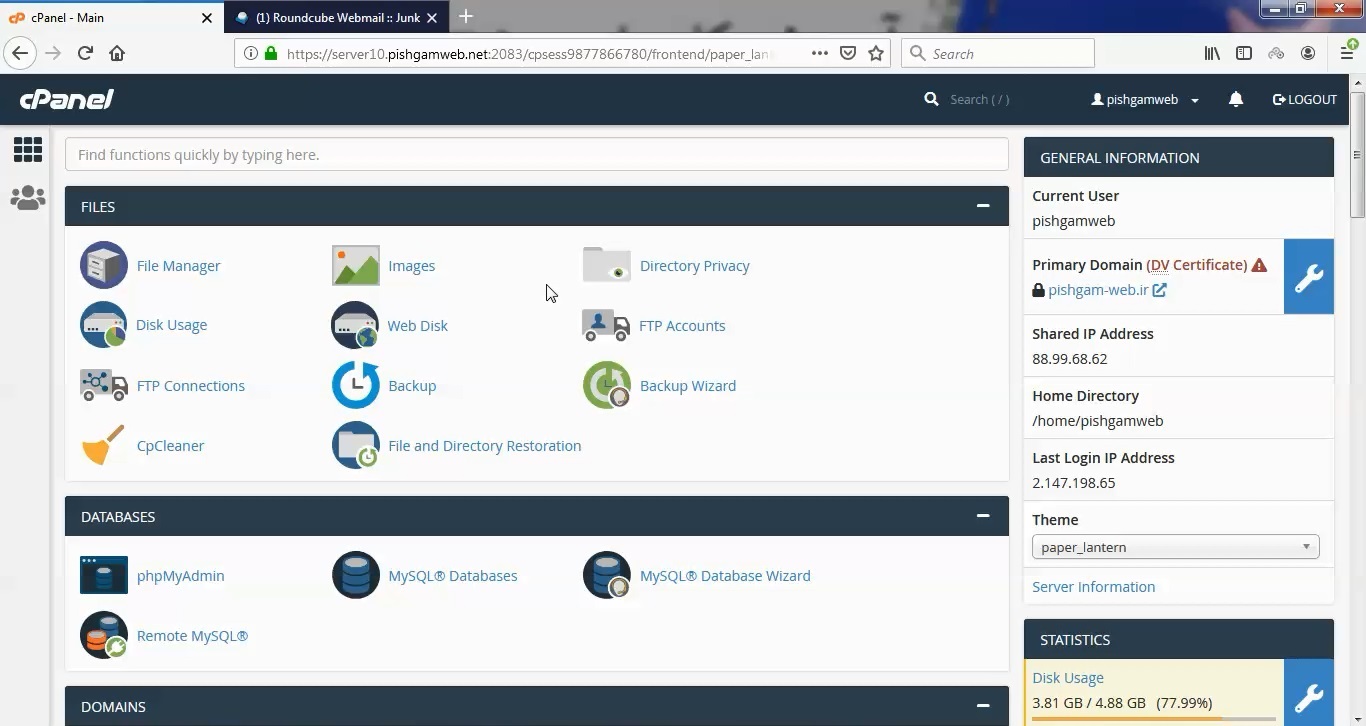
ابتدا وارد هاستمون داخل سایت پیشگام وب میشویم.
میتوانید از سایت پیشگام وب قسمت سرویس های من ، سرویس مورد نظر را انتخاب کرده و ورود به سی پنل را بزنید تا بصورت اتوماتیک وارد هاستتون بشید و همچنین میتوانید از لینک سایت خودتون ، البته اگر که دی ان اس های ( DNS ) پیشگام وب را درست ست کرده باشید و 24 ساعت گذشته باشد از طریق پورت 2082 و یا 2083 وارد بشید.
فقط نکته ای که هست و باید بهش توجه کنید ، اگر سایت را با http باز میکنید از پورت 2082 و اگر با https باز میکنید از 2083 استفاده کنید ، نمونه لینک در زیر مشخص شده است.
البته به این نکته توجه داشته باشید که باید جای آدرس سایت ما آدرس سایت خودتان را وارد کنید.
راه آخر جهت لاگین هم در صورتی که دی ان اس ها ( DNS ) را ست نکرده اید یا 24 ساعت از تنظیم آنها نگذشته است و دوست ندارید بطور مثال اطلاعات ناحیه کاربری رو به طراح بدید استفاده از لینک پیشفرض پیشگام وب هست که در زمان خرید هاست برای شما ارسال شده و اگر هم نتونستید پیدا کنید میتوانید تیکت بدهید تا به شما داده شود ، پایین هم میتوانید نمونه لینک رو مشاهده کنید.
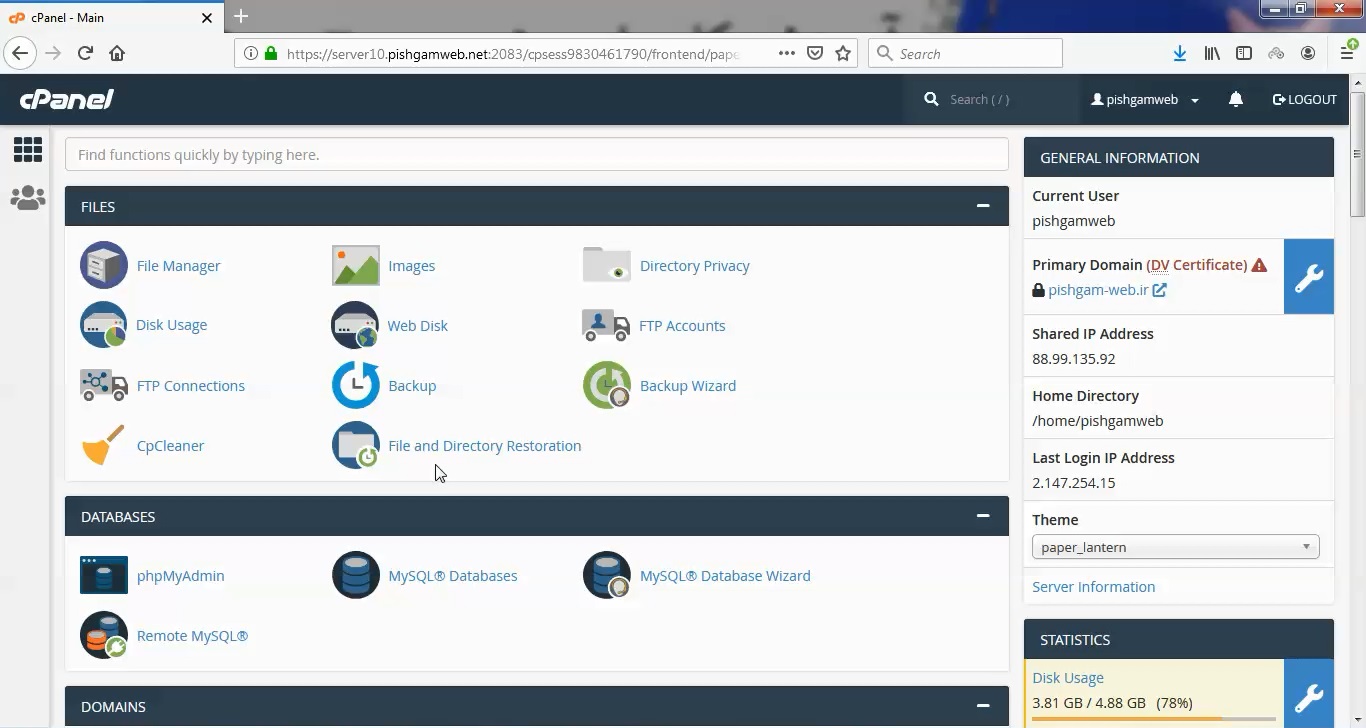
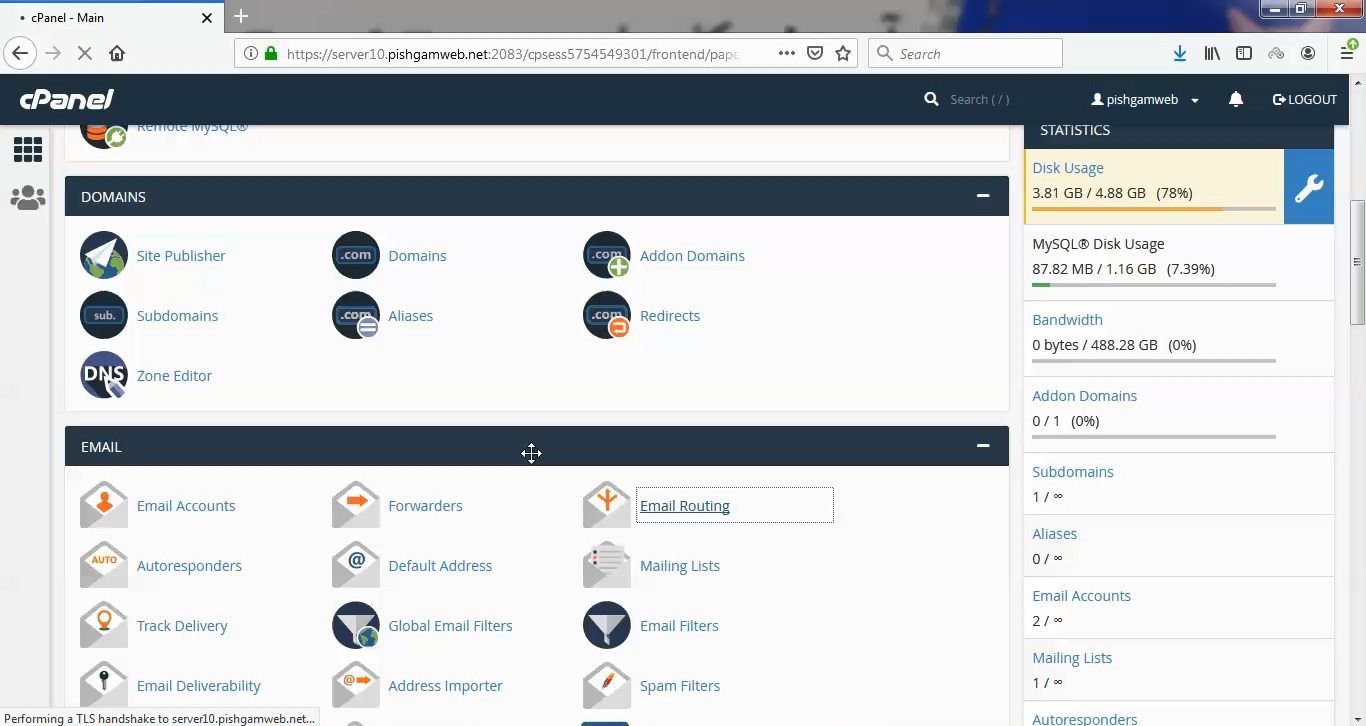
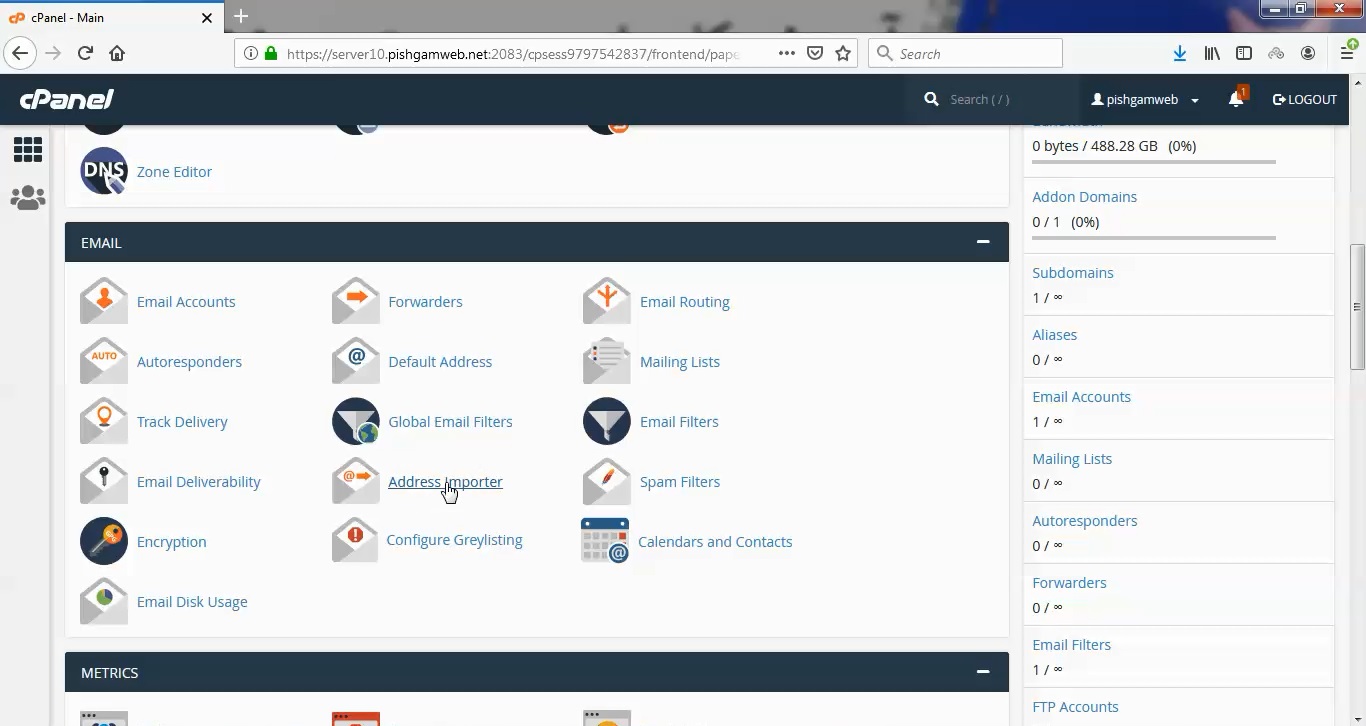
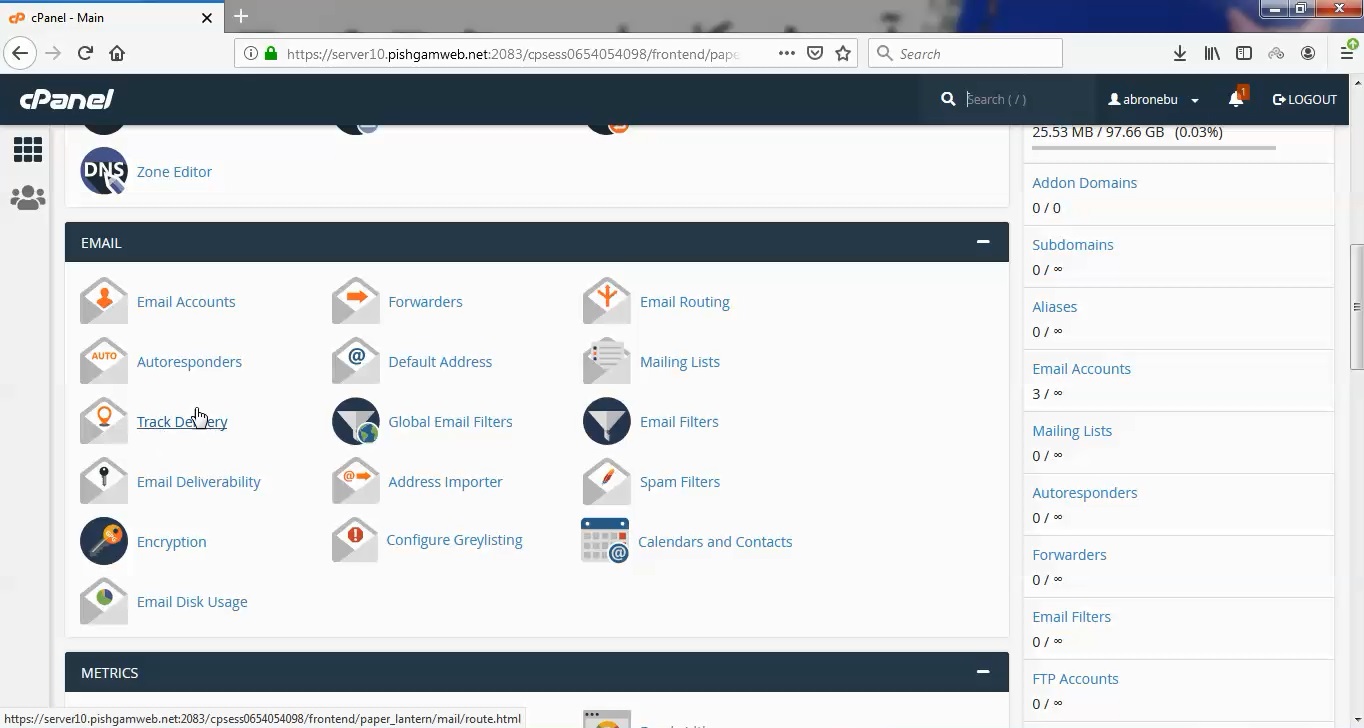
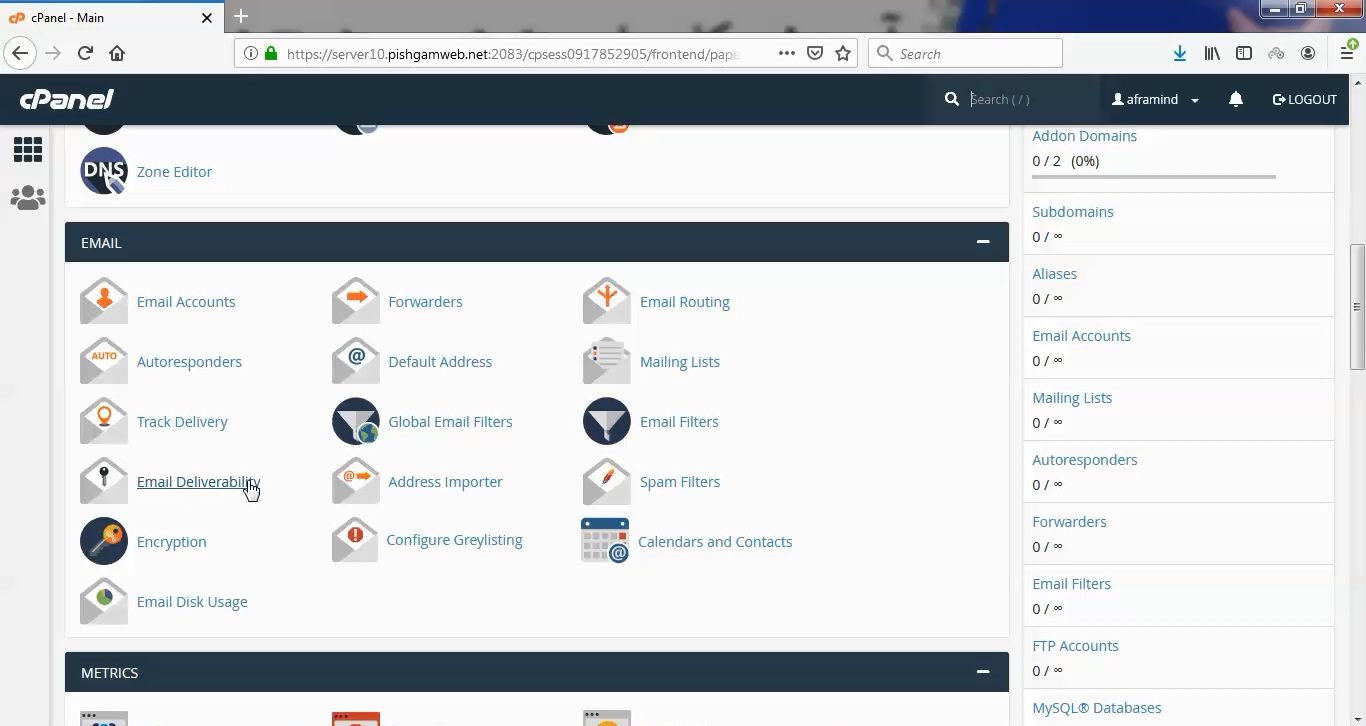
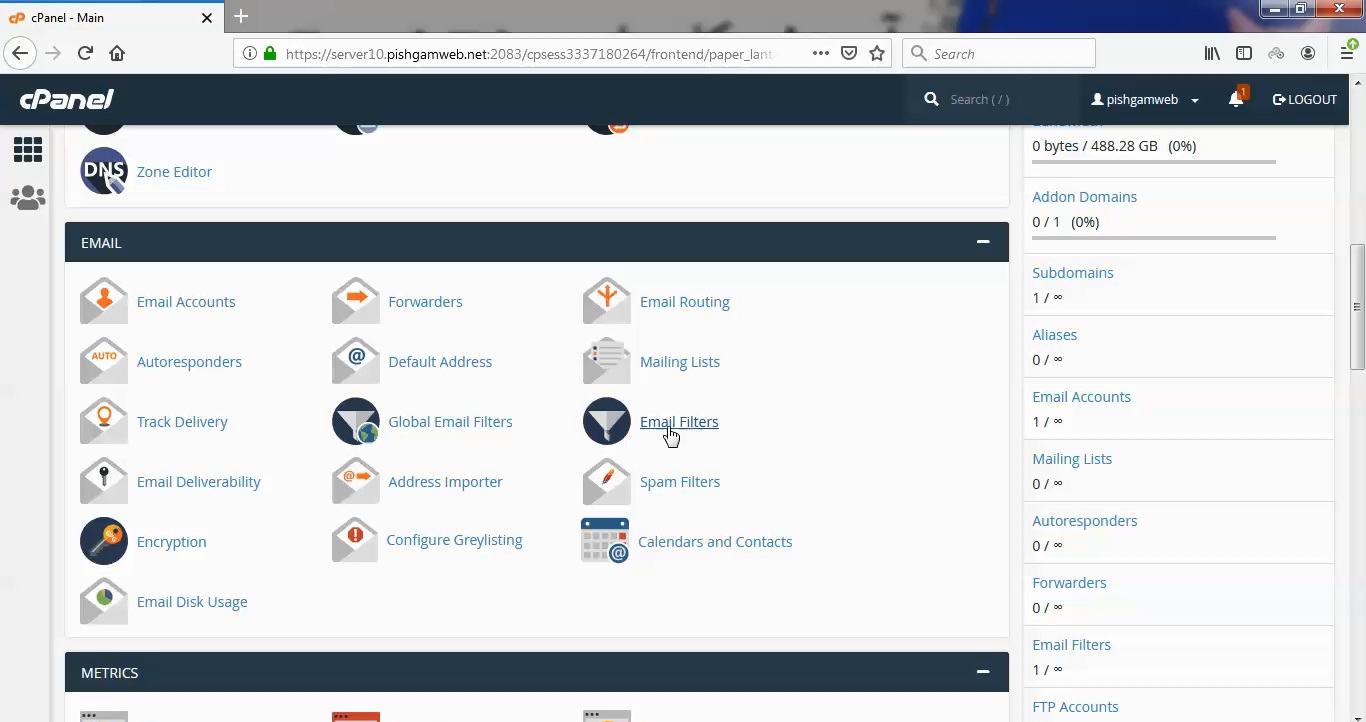
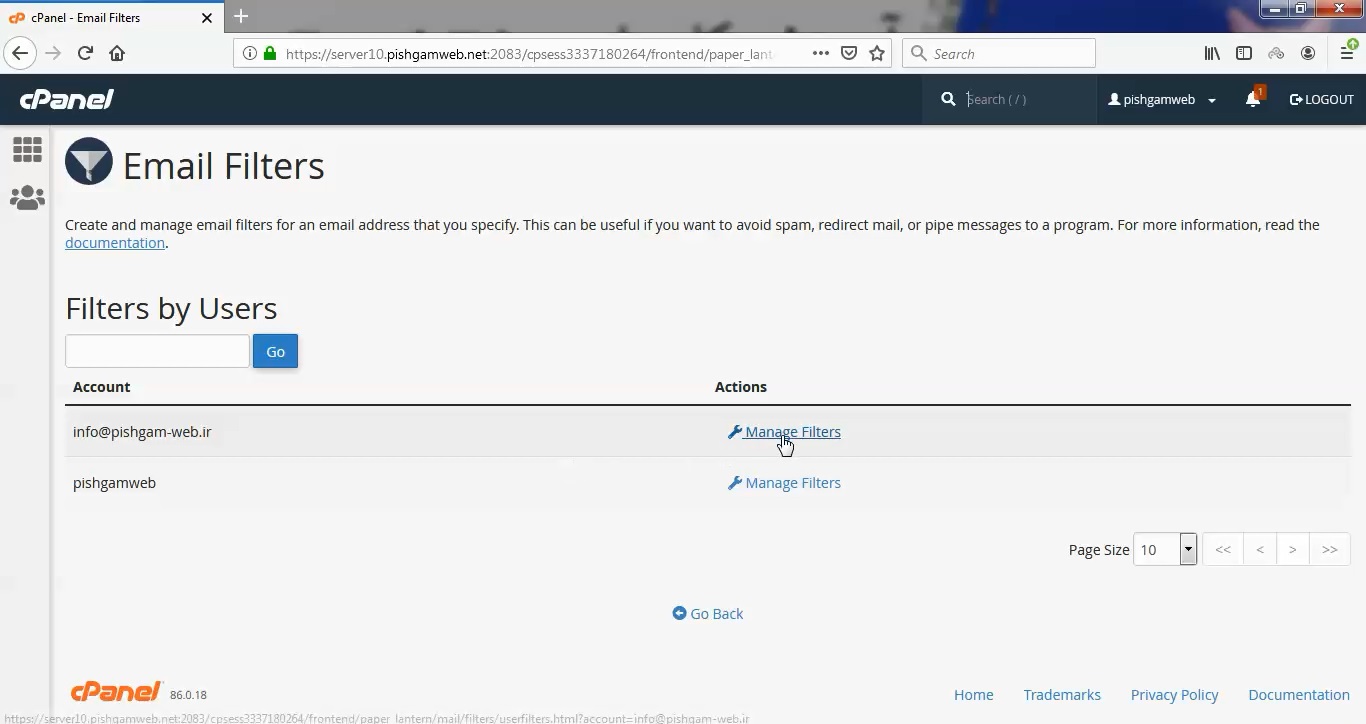
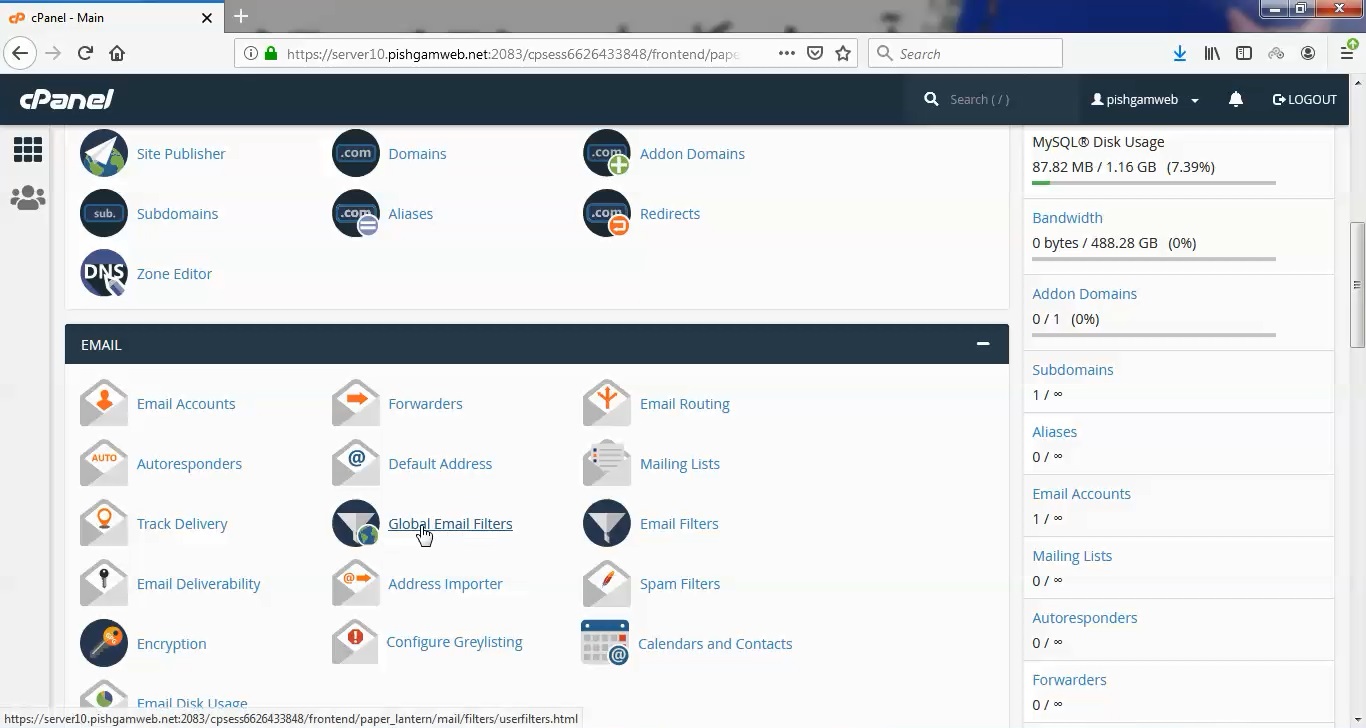
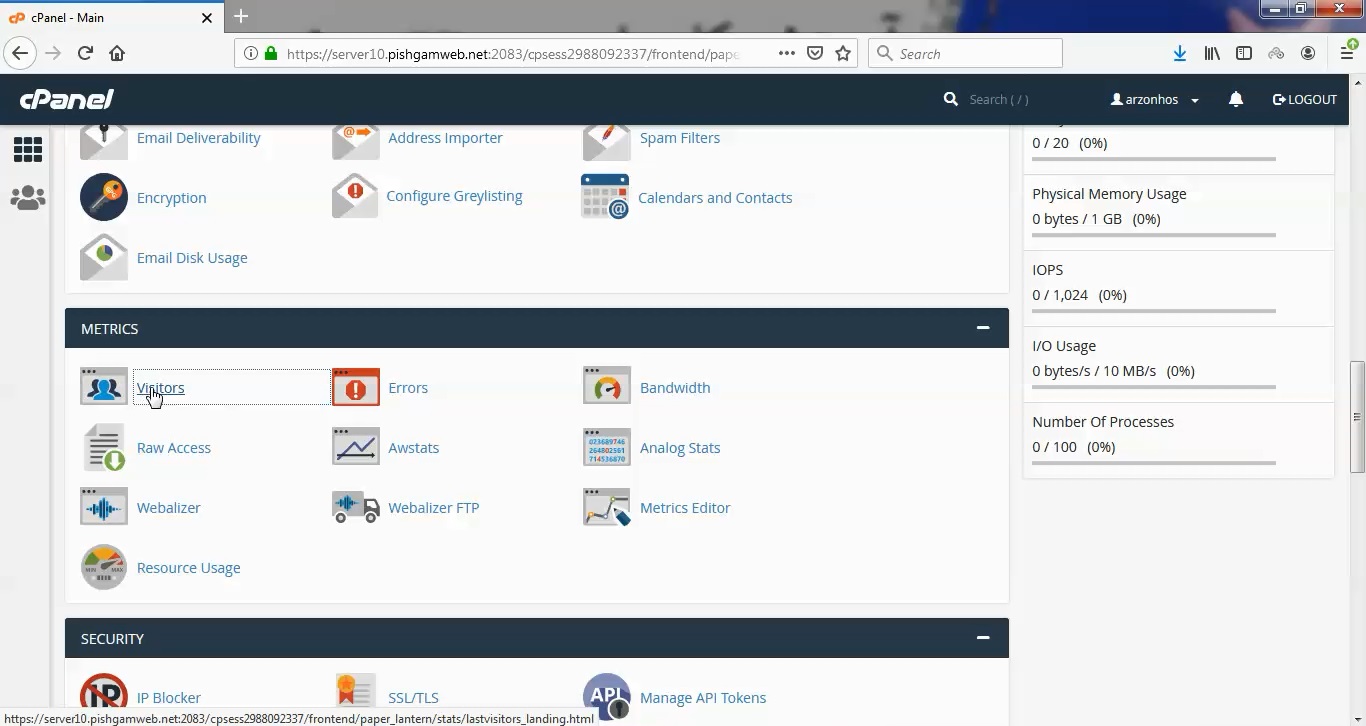
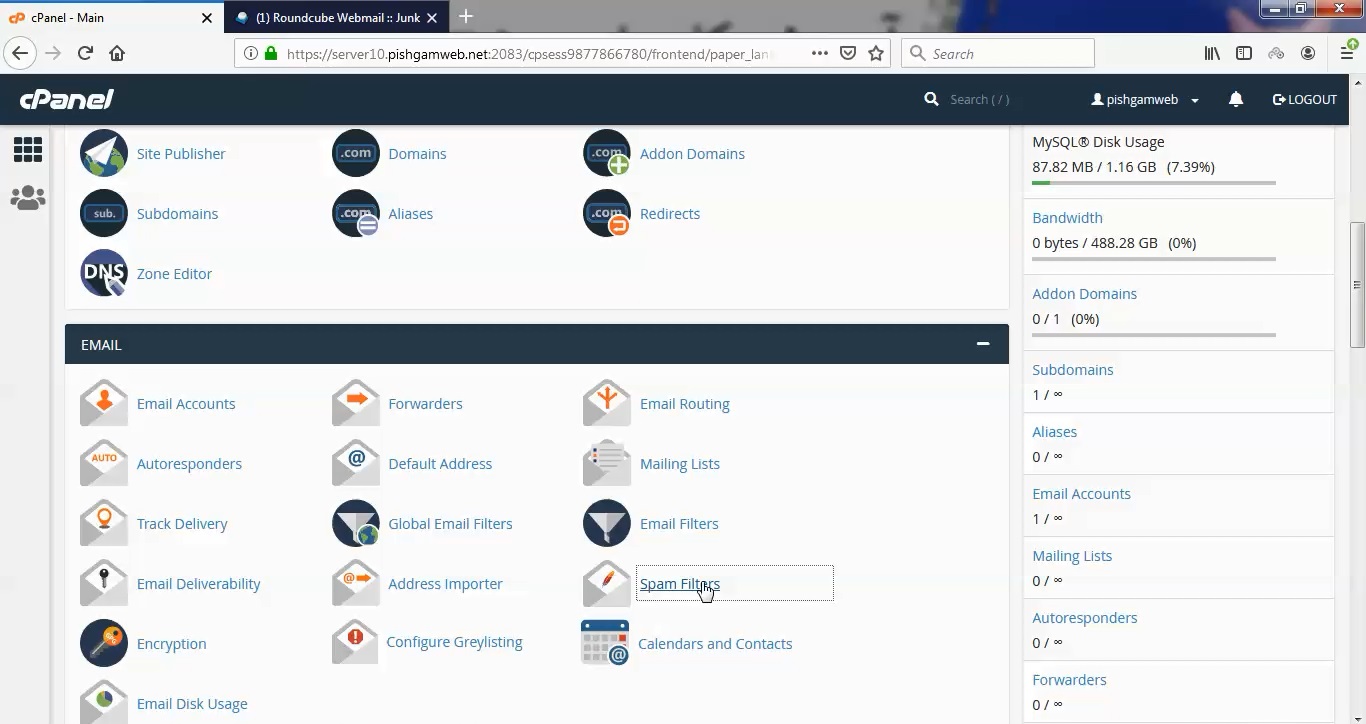
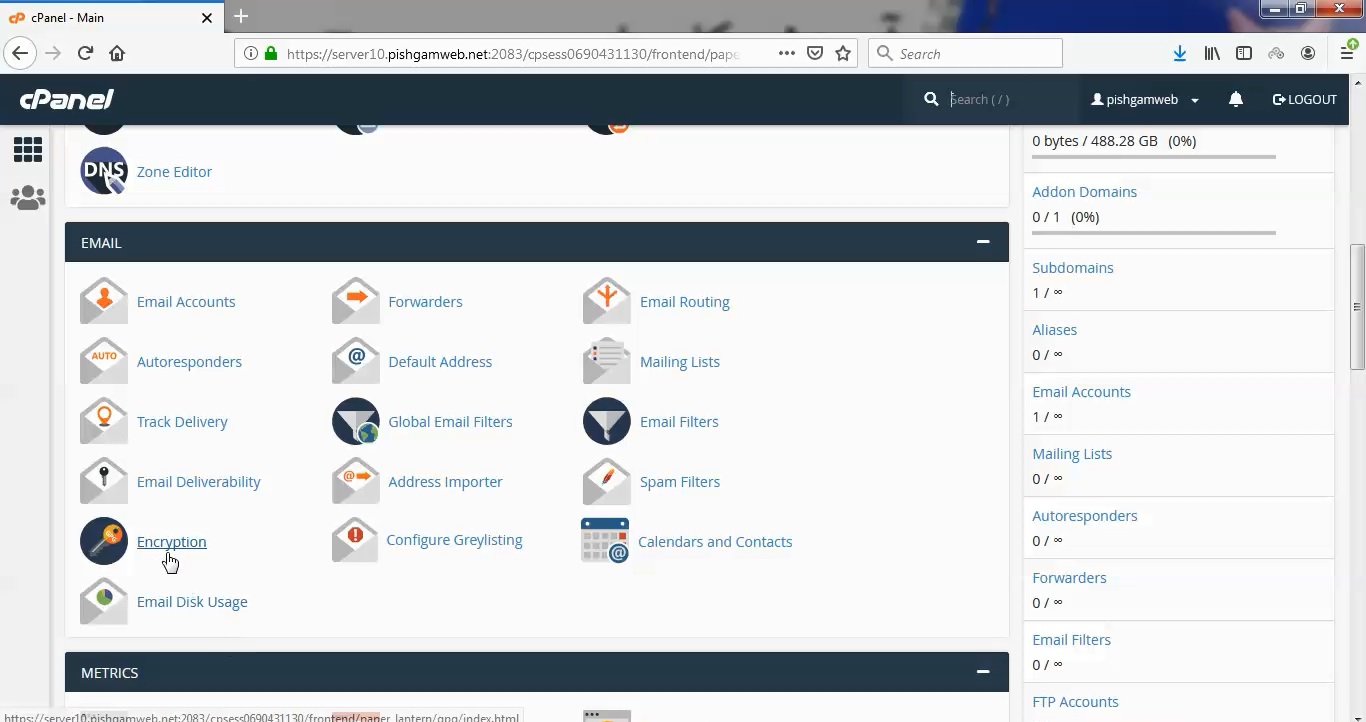
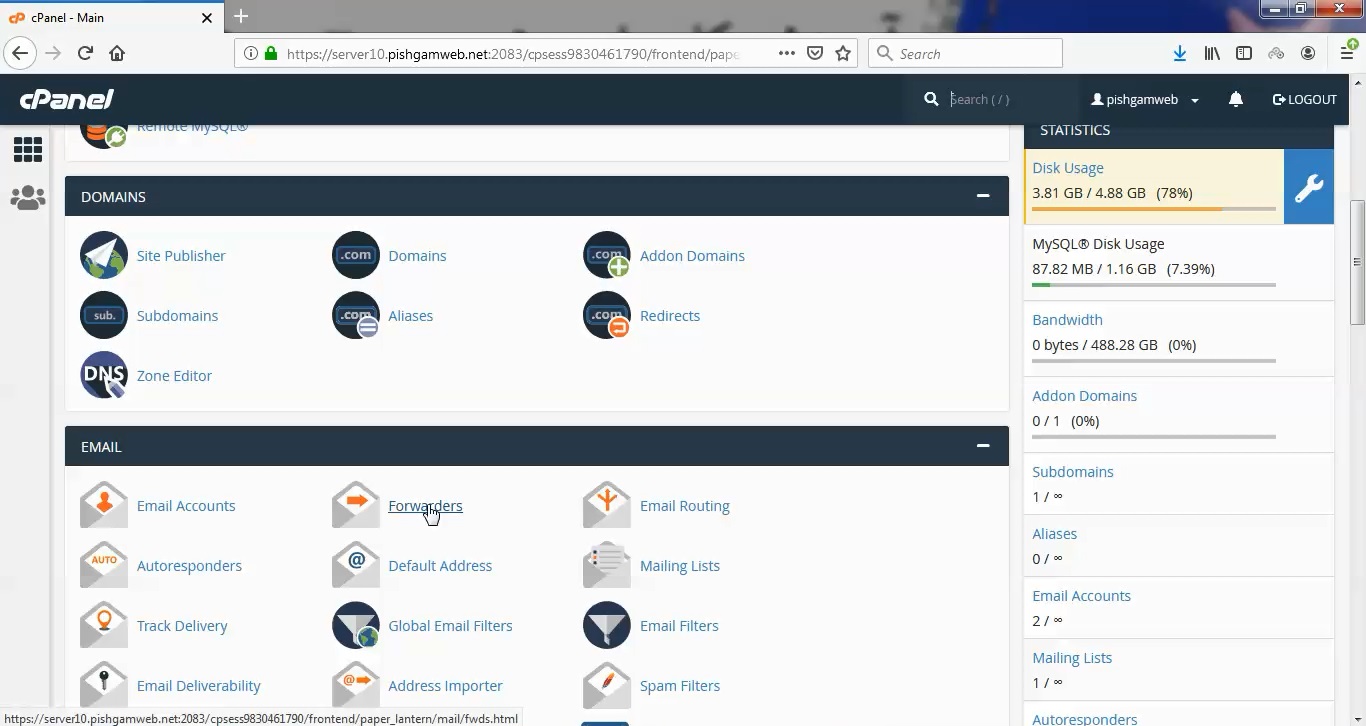
از قسمت ایمیل روی گزینه Forwarders کلیک کنید.
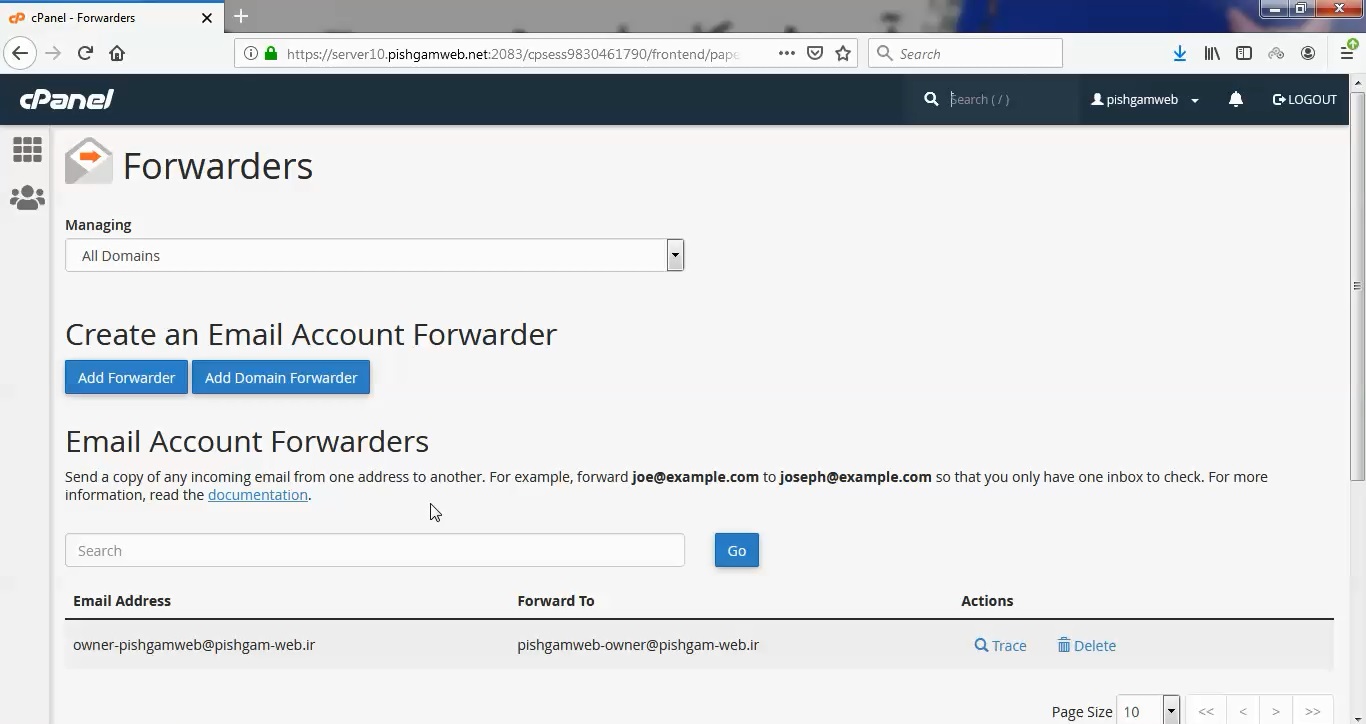
در صفحه از شده دو گزینه وجود دارد.
گزینه Add Forwarder برای انتقال یک ایمیل مورد استفاده قرار میگیرد.
گزینه Add Domain Forwarder برای انتقال کلیه ایمیل های دامنه مورد استفاده قرار میگیرد.
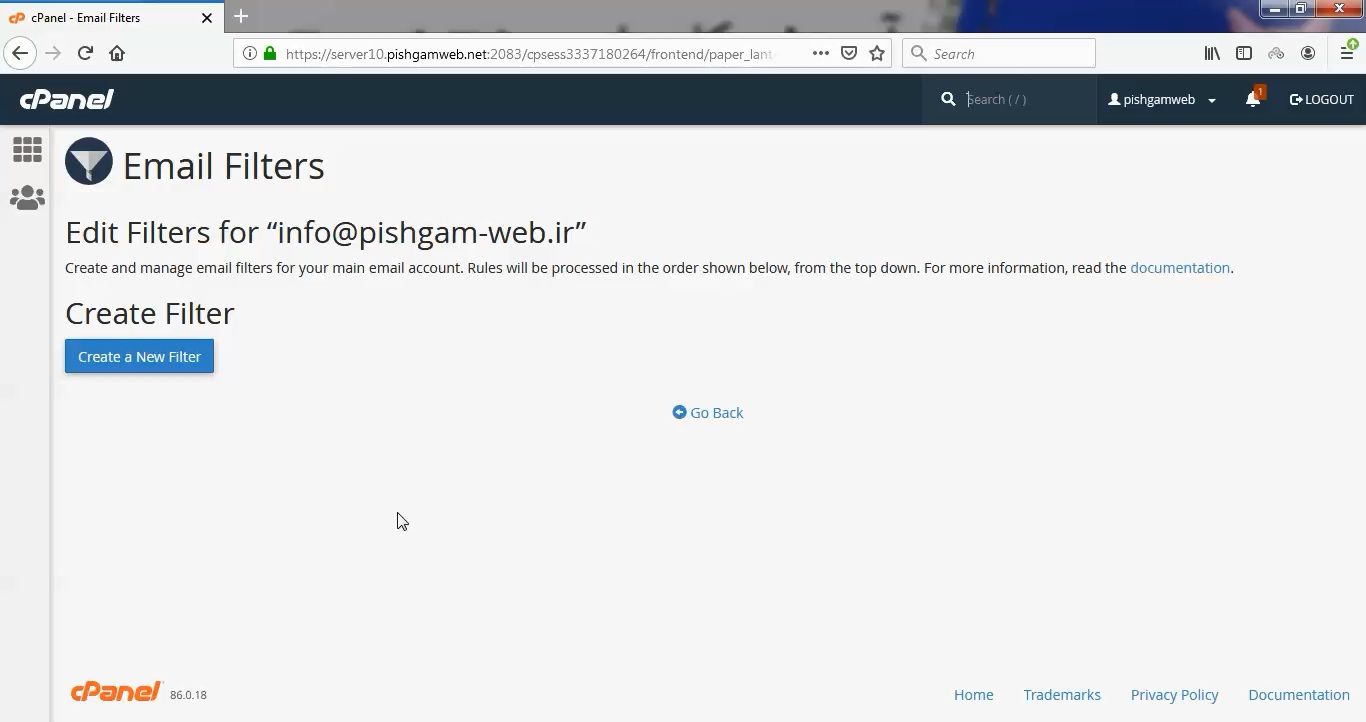
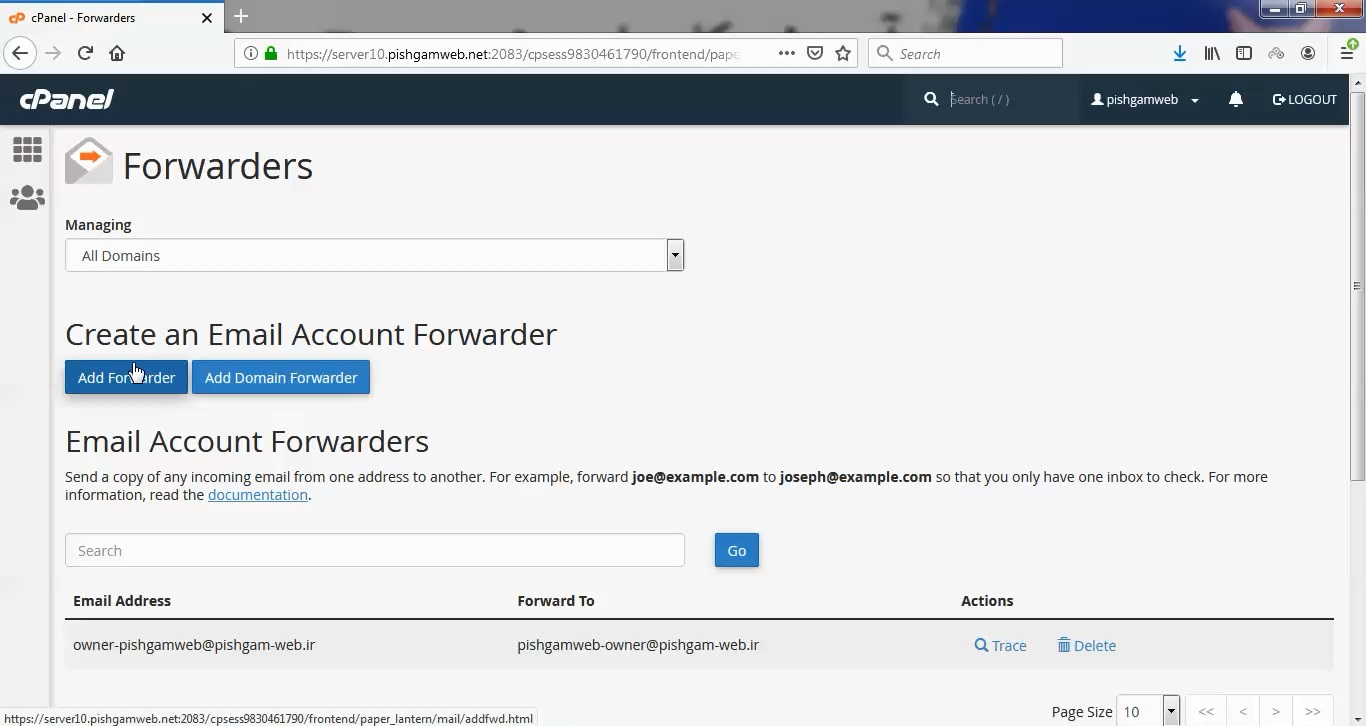
روی گزینه Add Forwarder کلیک میکنیم.
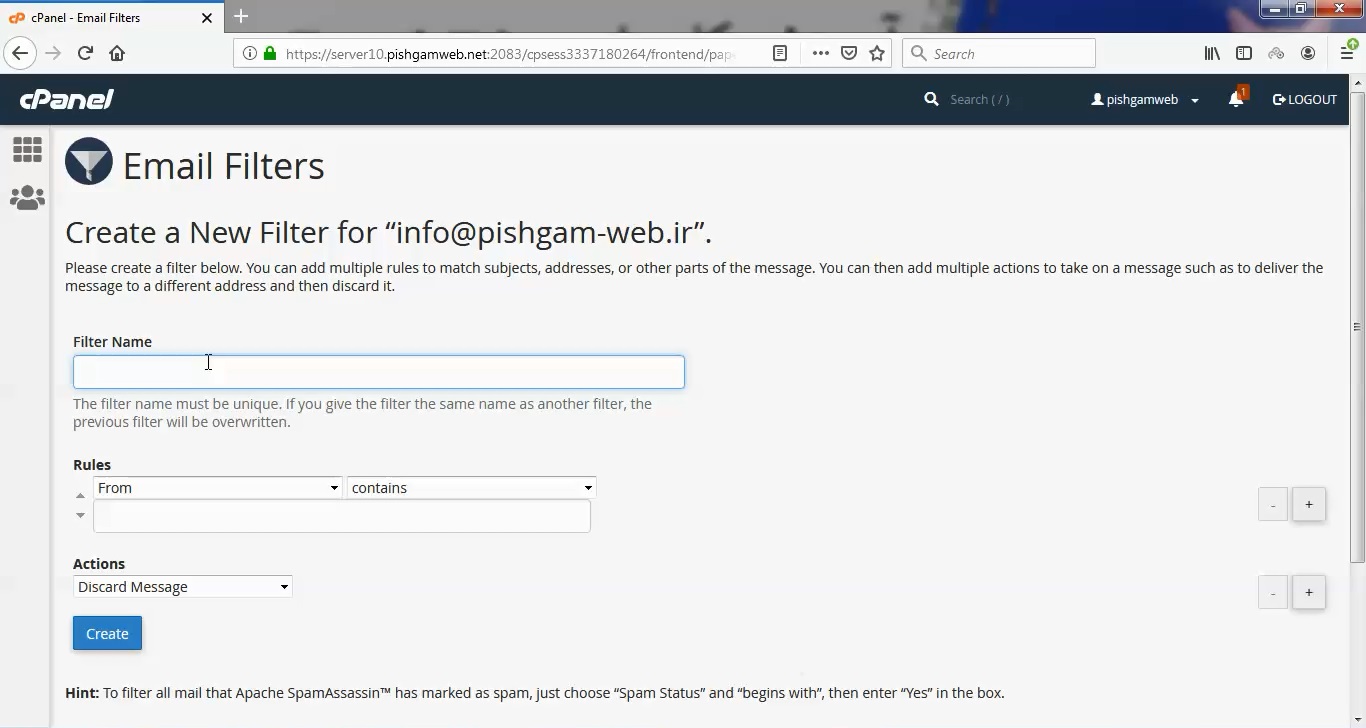
در قسمت Address to Forward: مطور مثال info را وارد میکنیم. که با انتخاب دامنه صورت [email protected] در می آید.
با انتخاب Forward to Email Address ایمیل مورد نظر هست فوروارد را مشخص میکنیم.
با انتخاب Discard and send an error to the sender (at SMTP time). Failure Message (seen by sender) میتوانید به شخص فرسده پیام مد نظر را ارسال کنید.
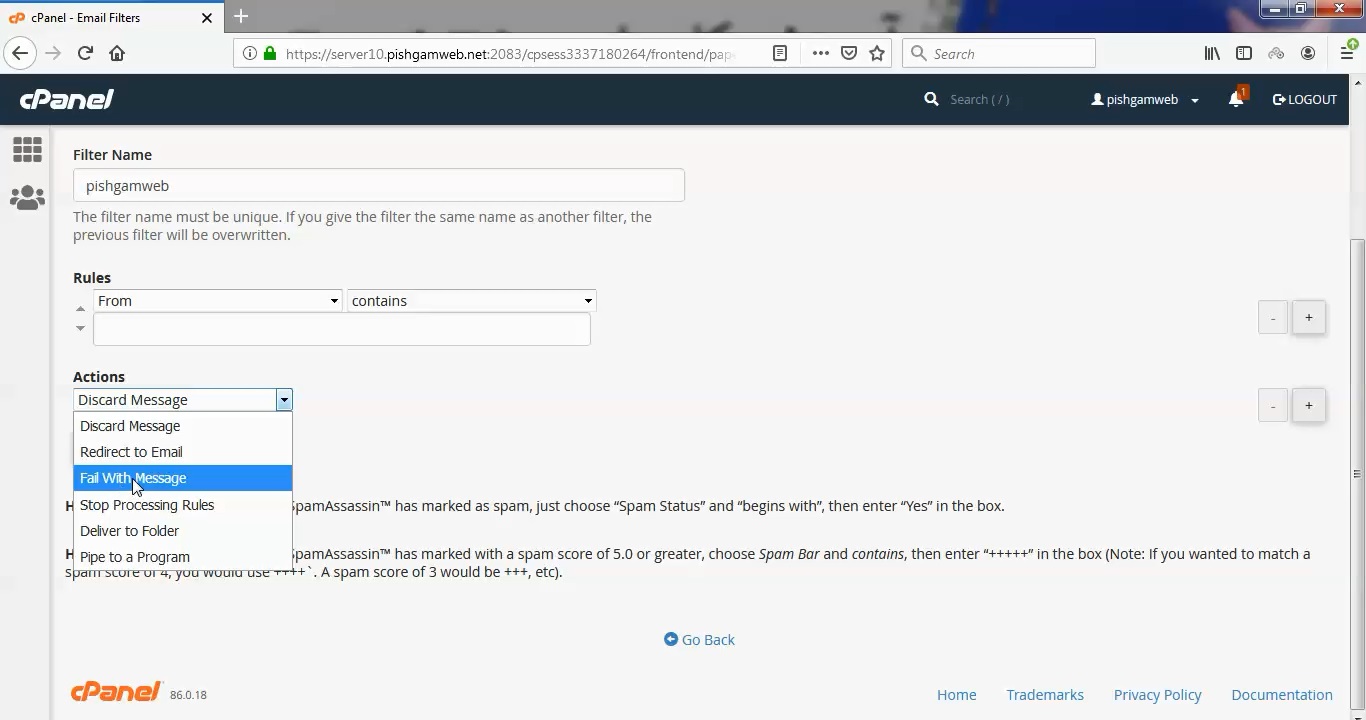
اگر روی گزینه Advanced Options کلیک کنید میتوانید تنظیمات بیشتری اعمال کنید.
با انتخاب گزینه Forward to a system account به ایمیل دیفالت سی پنل که پس از ساخته شدن هر اکانت ایجاد میشود منتقل میگردد.
با انتخاب گزینه Pipe to a Program میتوان ایمیل را به اسکریپت و یا برنامه دست ساز جهت اقدامات بعدی منتقل کنید.

با انتخاب گزینه Discard (Not Recommended) هم هیچ انتقالی انجام نمیگردد.

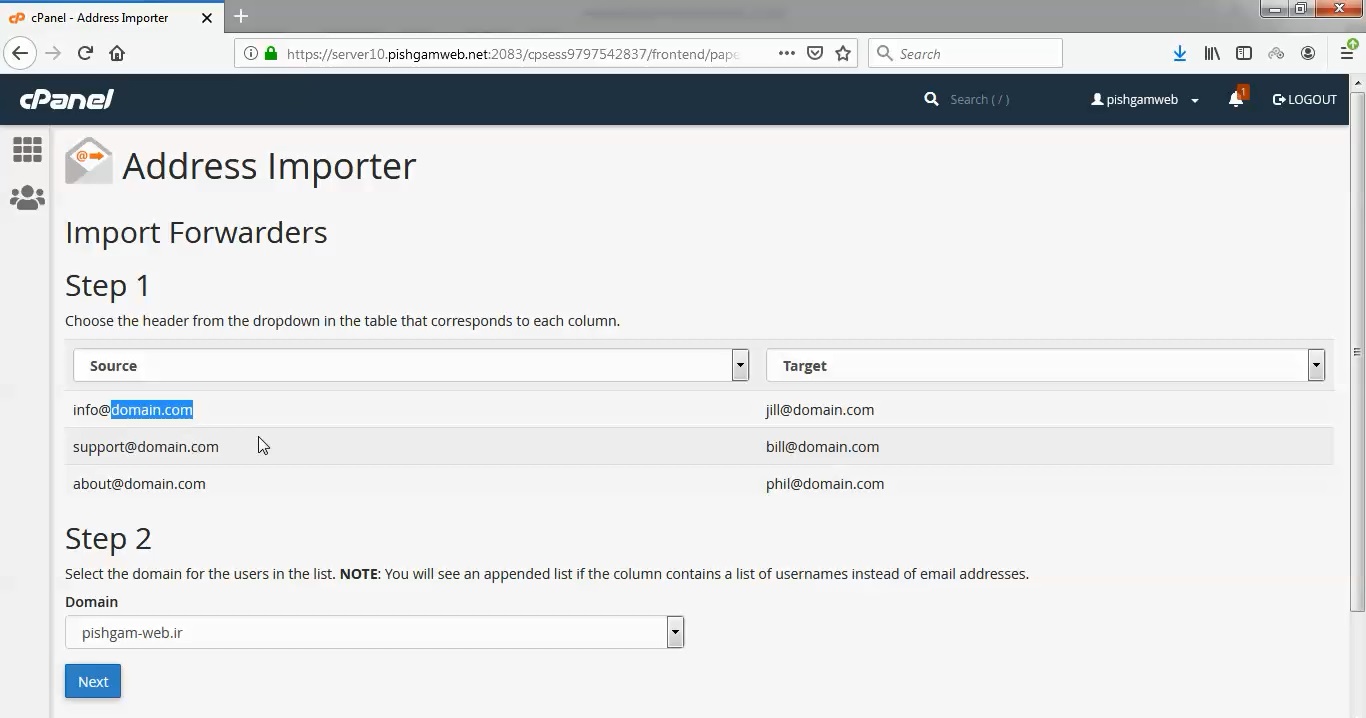
در این قسمت دامنه مد نظر را انتخاب کرده و در کادر روبرو قسمت to دامنه جدید که قصد انتقال ایمیل ها را داریم وارد کرده و اد را میزنیم .
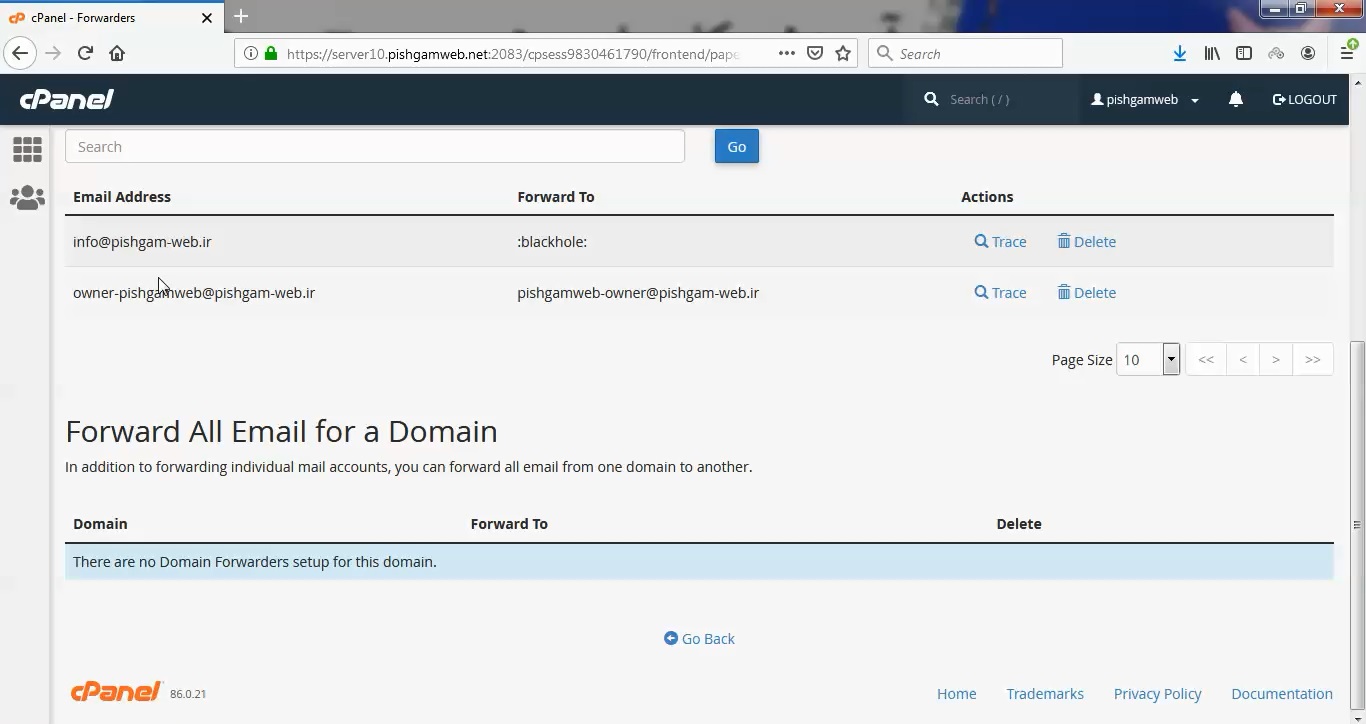
در تصویر بالا هم موارد ایجاد شده را میتوانید مشاهده کنید.
مشاهده فیلم آموزشی از سایت آپارات
برای دانلود فیلم آموزش از قسمت تنظیمات روی گزینه دانلود کلیک کرده و کیفیت مد نظر خود را انتخاب کنید تا فیلم آموزش دانلود گردد.
نکته : هر چقدر که عدد این قسمت بیشتر باشد ، کیفیت فیلم دانلودی بالاتر خواهد بود.
آموزش های ابتدایی :
دوستان عزیز آموزش که خدمتتون ارائه کردیم از سری آموزش های ابتدایی پیشگام وب هست و این آموزش جزو پایه ای ترین آموزش های سایت هست امیدوارم که آموزشممون کامل باشه.
منتظر نظرات و پیشنهادات شما در قسمت دیدگاه های سایت هستیم.
learn from cpanel
Account forwarders
You can easily add and delete e-mail account forwarders.
Adding an account forwarder
To add an e-mail forwarder in cPanel, follow these steps:
- Log in to cPanel.If you do not know how to log in to your cPanel account, please see this article.
- In the EMAIL section of the cPanel home screen, click Forwarders:
- Under Create an Email Account Forwarder, click Add Forwarder.
- Under Address, in the Address to Forward text box, type the e-mail username that you want to forward.
- In the Domain list box, select the domain for the e-mail address.
- Under Destination, select a destination for the forwarded message:
- To forward the message to another address, type the e-mail address in the Forward to Email Address text box.
- To discard the message and send an error to the sender, click Discard and send an error to the sender (at SMTP time). You can also optionally set the text for the error message that the sender receives in the Failure Message (seen by sender) text box.
- To view advanced options for the forwarder, click Advanced Options:
- To forward the message to a system account, click Forward to a system account, and then type the system account name in the text box.
- To pipe the message text to another program, click Pipe to a Program, and then type the command in the text box.
- To discard the message entirely, click Discard (Not Recommended).
- Click Add Forwarder. cPanel adds the forwarder.
Deleting an account forwarder
You can delete an e-mail forwarder when you no longer need it. However, you cannot modify an existing e-mail forwarder. If you need to modify an e-mail forwarder, delete it and create a new one.
To delete an e-mail forwarder, follow these steps:
- Log in to cPanel.If you do not know how to log in to your cPanel account, please see this article.
- In the EMAIL section of the cPanel home screen, click Forwarders:
- Under Email Account Forwarders, locate the forwarder you want to delete, and then under Actions, click Delete.
- Click Delete Forwarder to confirm. cPanel deletes the forwarder.
Domain forwarders
You can easily add and delete domain forwarders.
Adding a domain forwarder
To add a domain forwarder in cPanel, follow these steps:
- Log in to cPanel.If you do not know how to log in to your cPanel account, please see this article.
- In the EMAIL section of the cPanel home screen, click Forwarders:
- Under Create an Email Account Forwarder, click Add Domain Forwarder.
- Under Add a New Domain Forwarder, in the Domain list box, select the domain for which you want to forward e-mail messages.
- In the to text box, select the destination domain for the forwarded messages.
- Click Add Domain Forwarder. cPanel adds the forwarder.
Deleting a domain forwarder
You can delete a domain forwarder when you no longer need it. However, you cannot modify an existing domain forwarder. If you need to modify a domain forwarder, delete it and create a new one.
To delete a domain forwarder, follow these steps:
- Log in to cPanel.If you do not know how to log in to your cPanel account, please see this article.
- In the EMAIL section of the cPanel home screen, click Forwarders:
- Under Forward All Email for a Domain, locate the forwarder you want to delete, and then click Delete.
- Click Delete Domain Forwarder to confirm. cPanel deletes the forwarder.
Related Articles
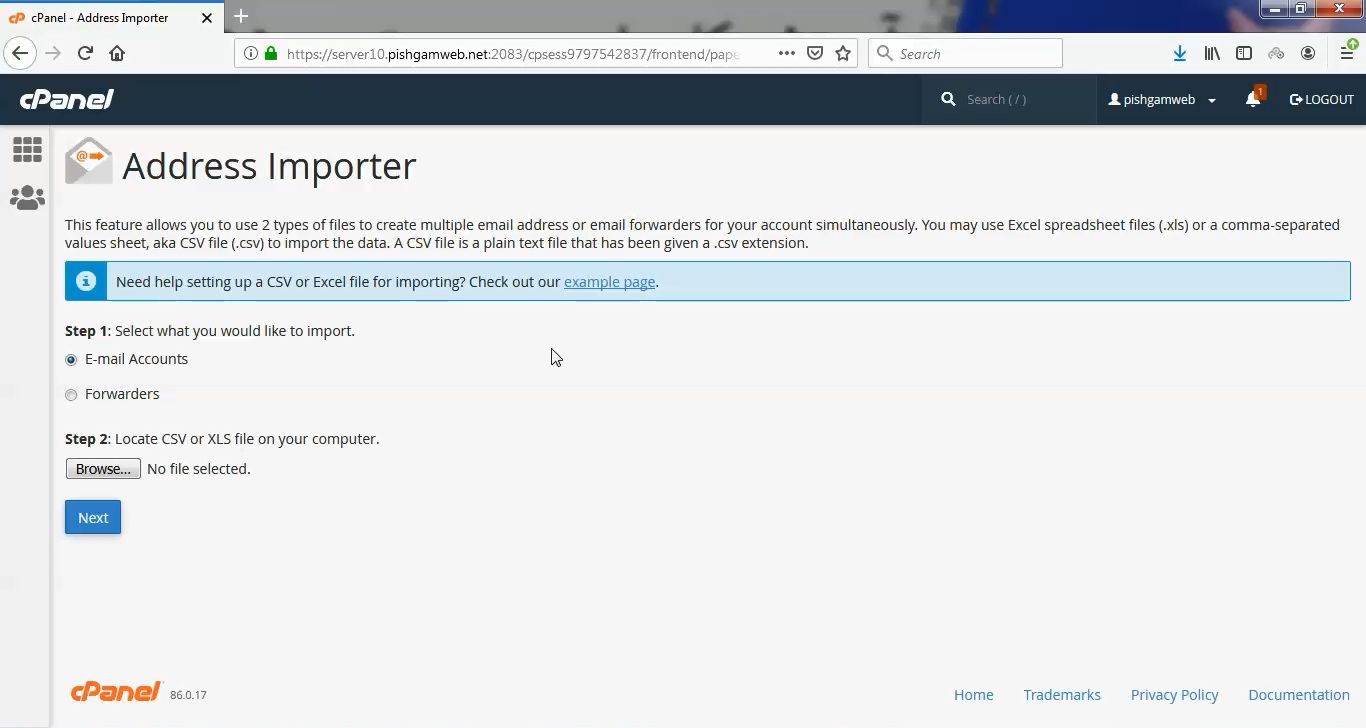
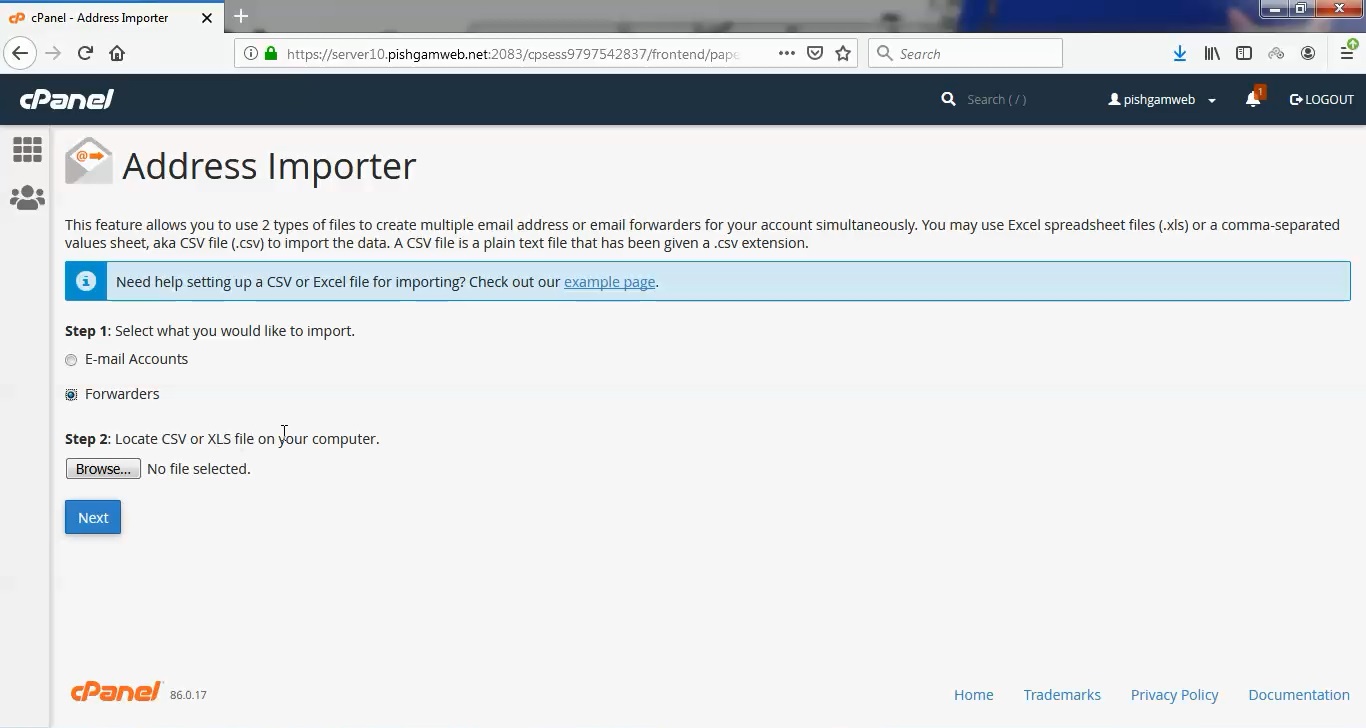
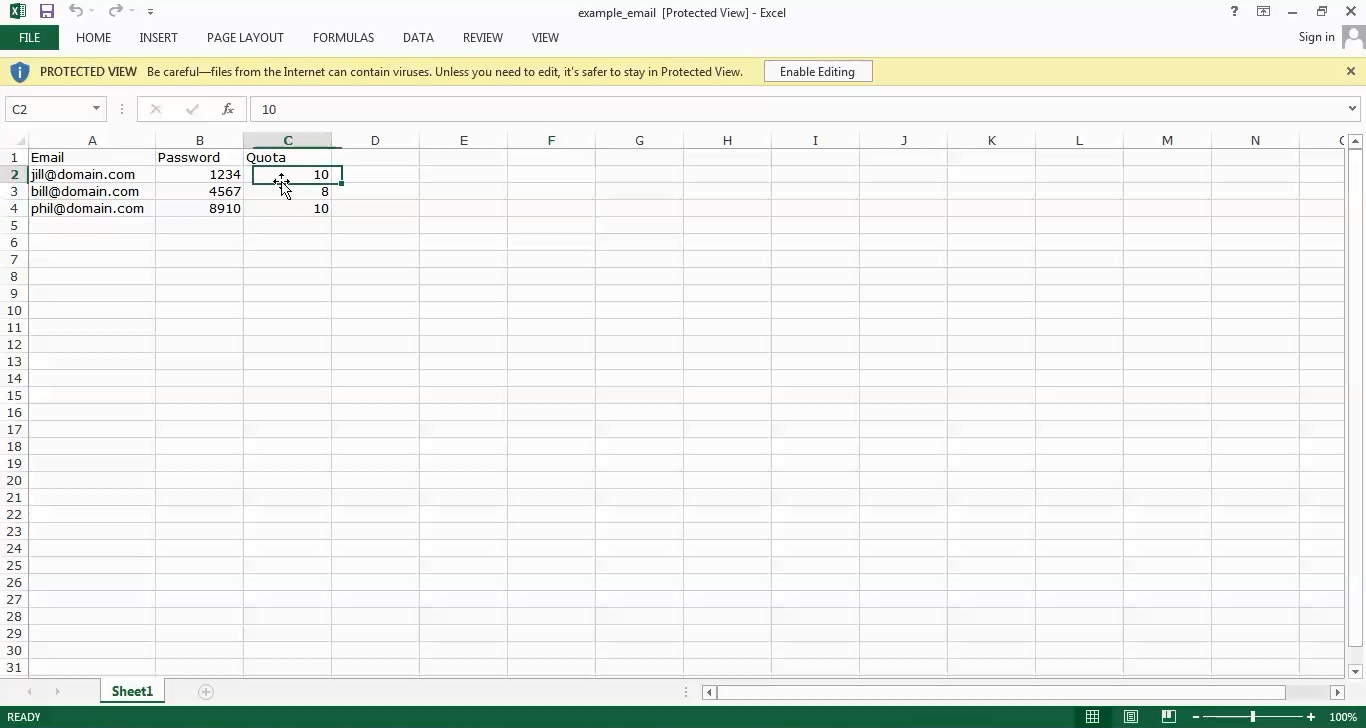
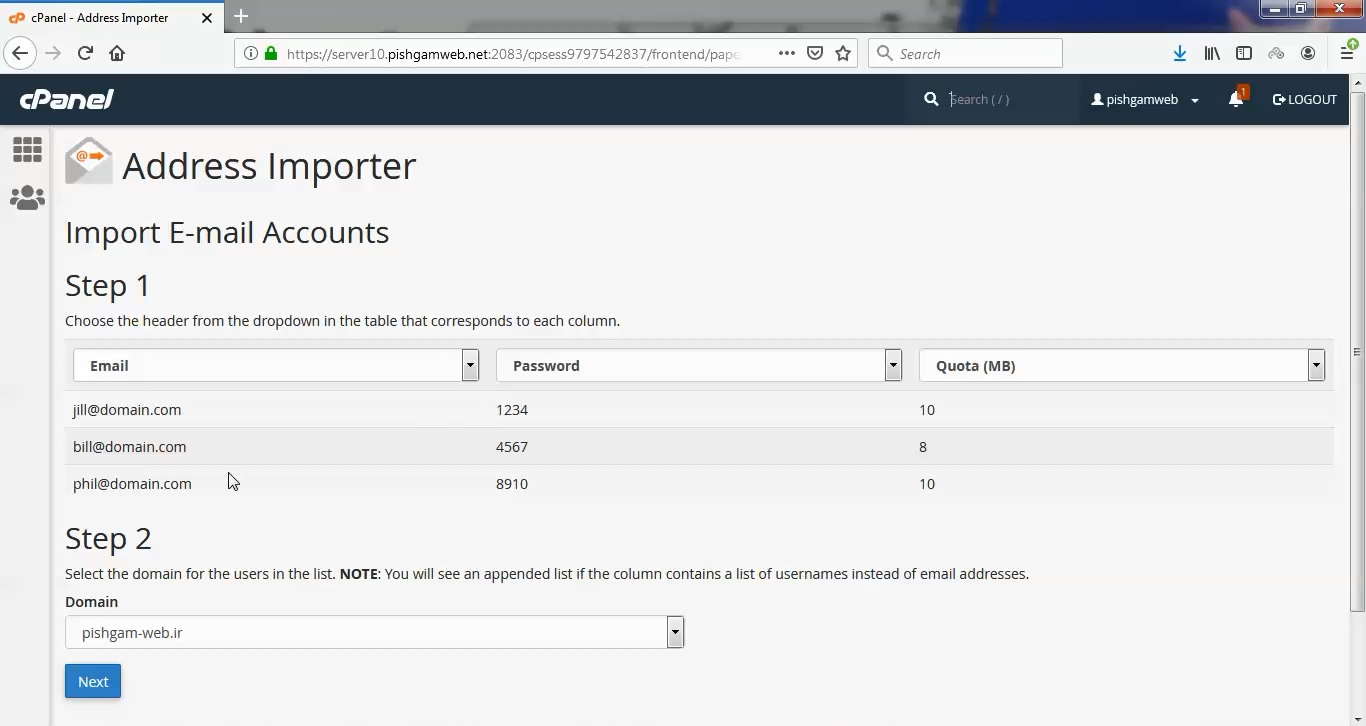
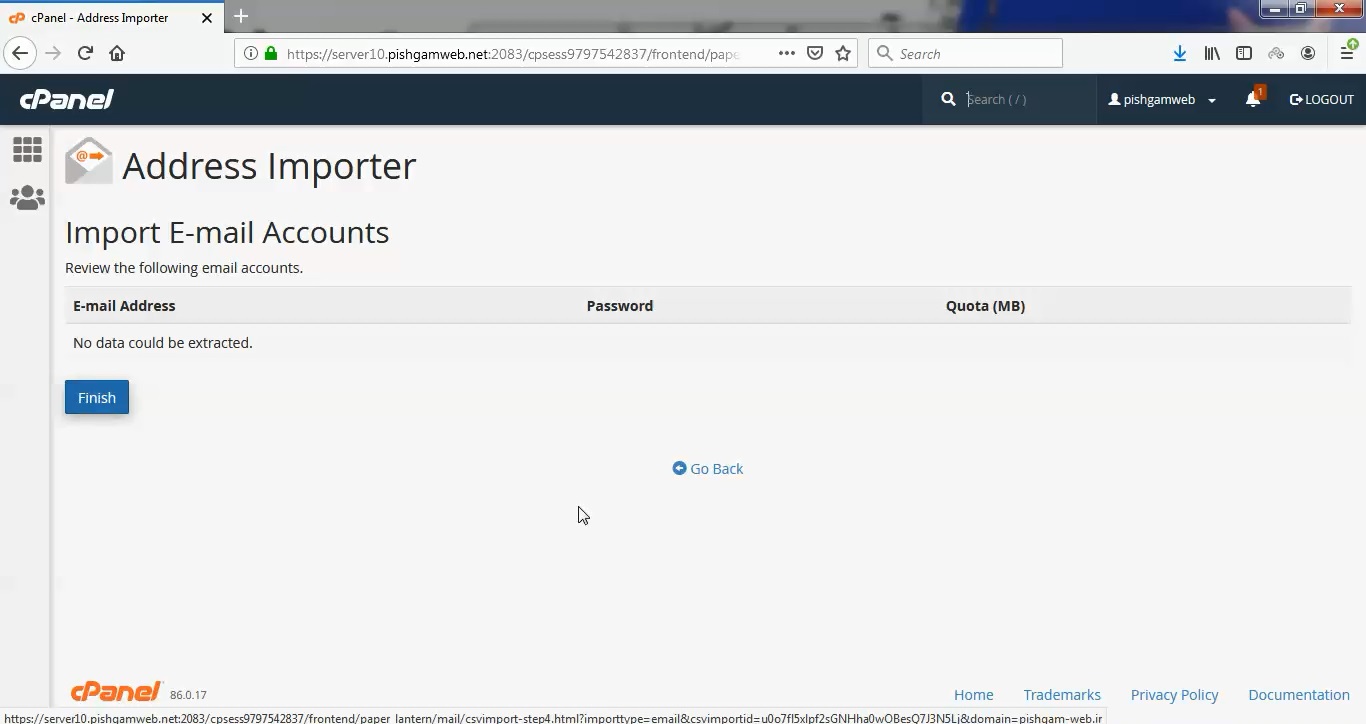
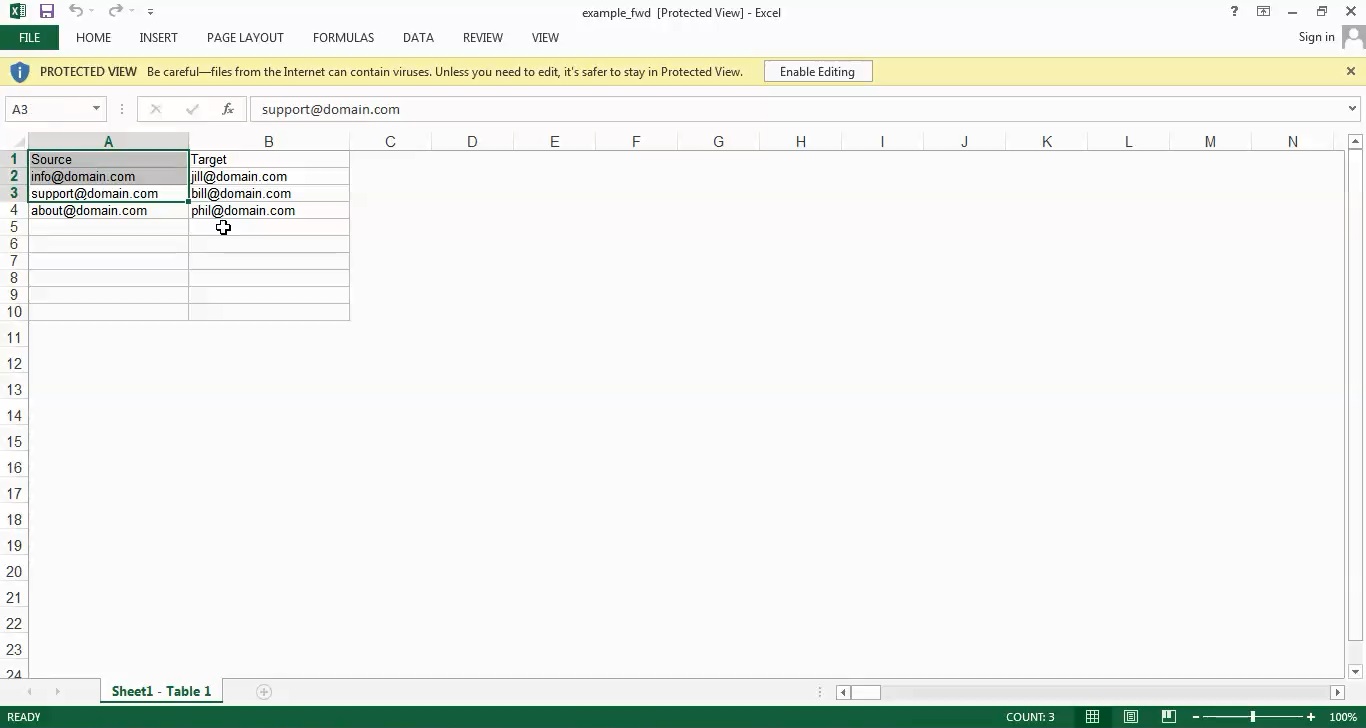
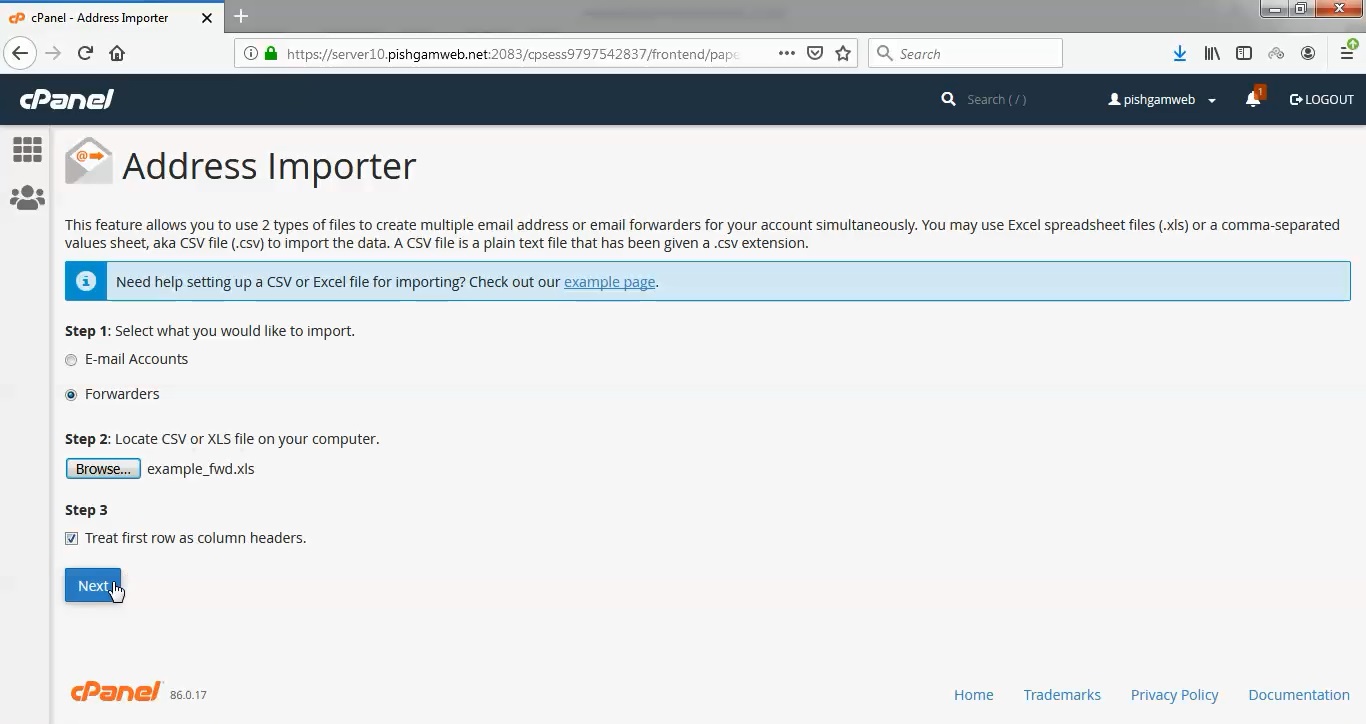
- Import e-mail accounts and forwardersYou can use cPanel to import lists of e-mail addresses and forwarders all at once, which can save you a lot of time and effort.
- AutorespondersYou can configure e-mail autoresponders to send response messages automatically for your e-mail accounts.
- E-mail AccountsYou can use cPanel to manage your web site’s e-mail accounts. Learn how here.
- Mailing ListsLearn how to create mailing lists in cPanel and simplify sending e-mail messages to multiple recipients at the same time.
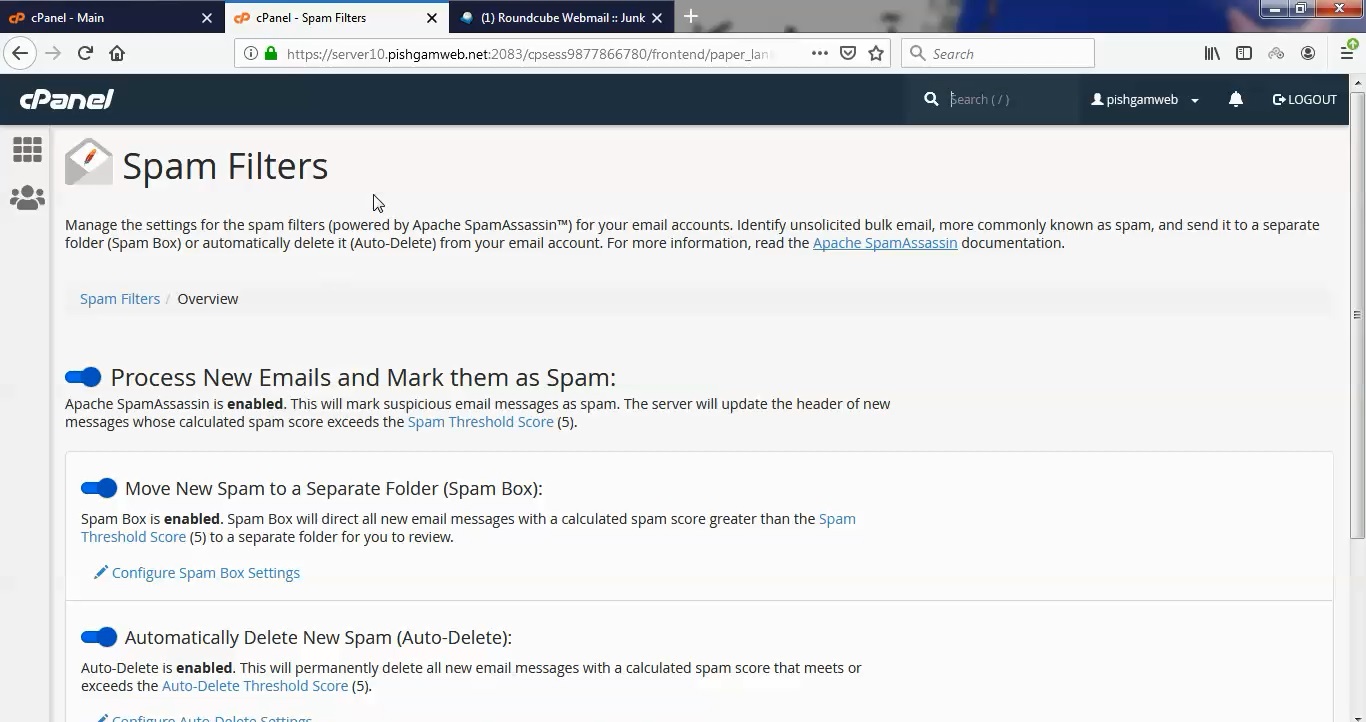
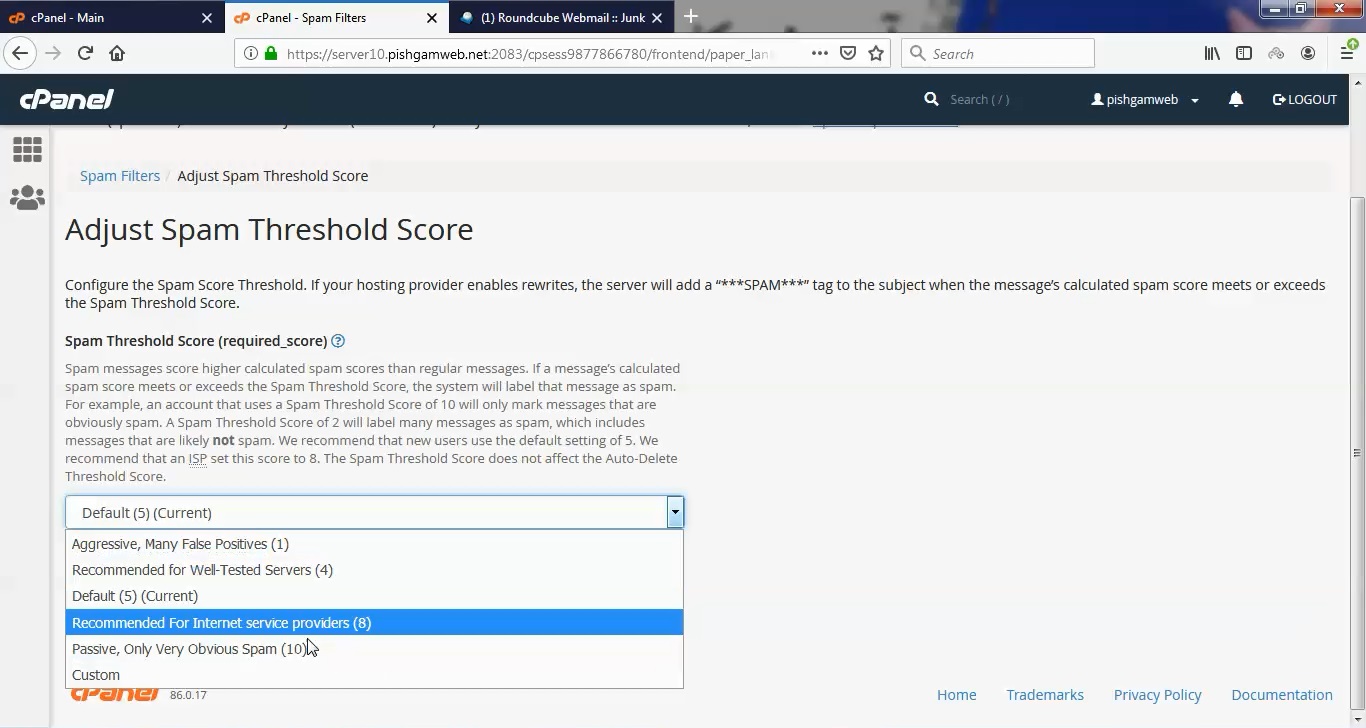
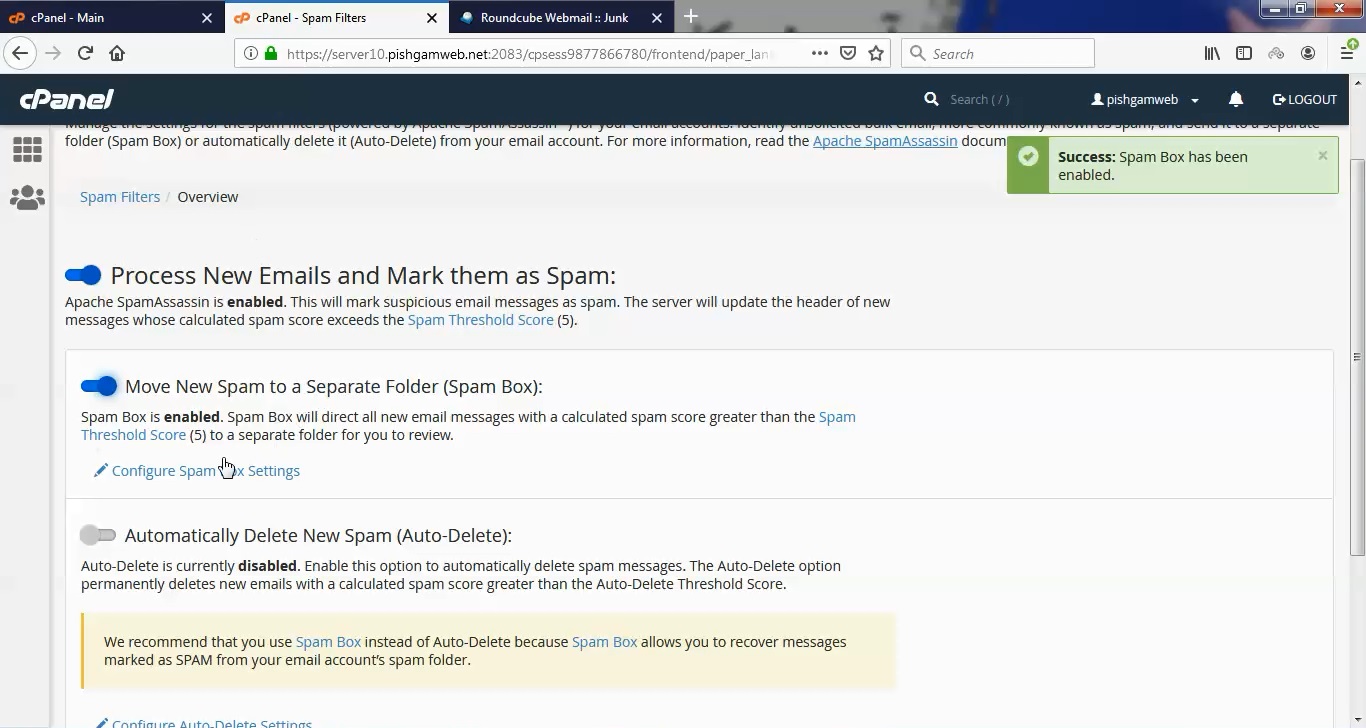
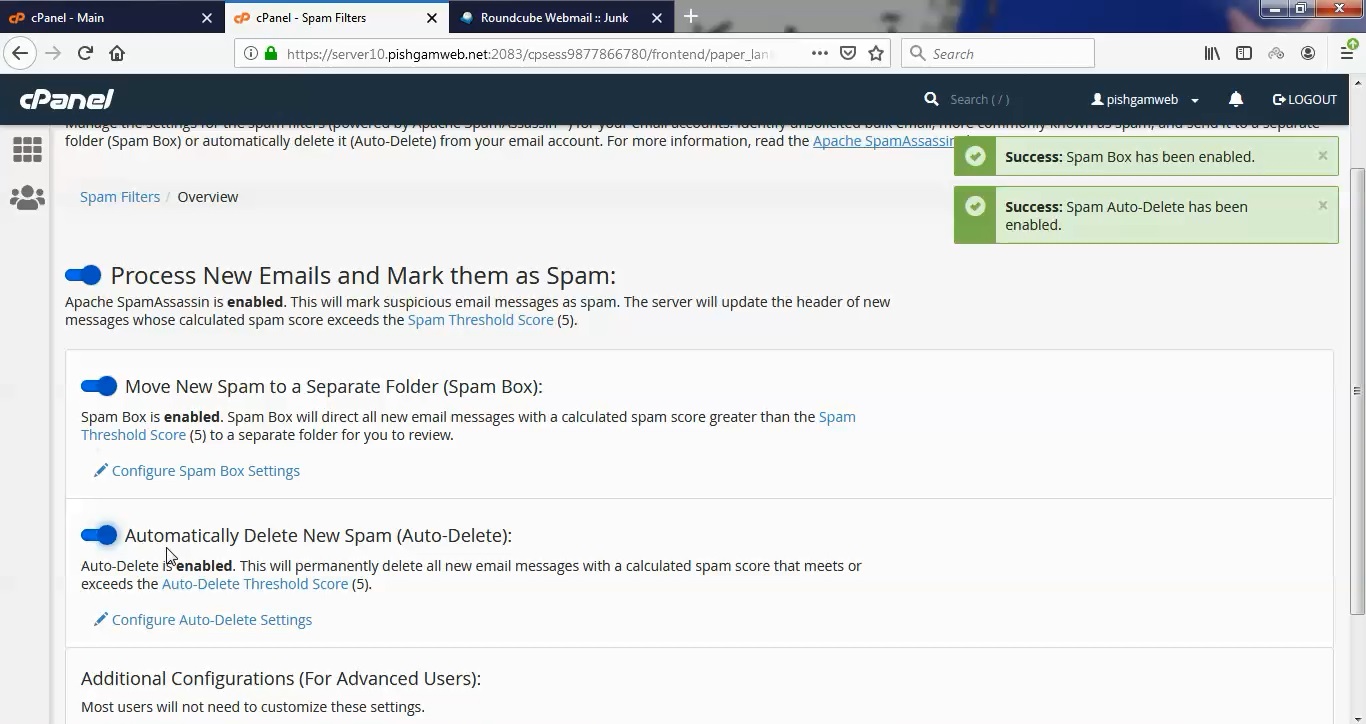
- Unwanted email (spam)Unsolicited e-mail (spam) is annoying. Learn how to enable and configure Spam Filters (powered by Apache SpamAssassin™) in cPanel to reduce the amount of spam your e-mail accounts receive.