ایمیل
ایمیل  چت آنلاین
  پشتیبانی
 آموزش کار با Backup Wizard در cpanel
دوستان عزیز پیشگام وبی امیدوارم که حالتون خوب باشه ، امروز با آموزش کار با Backup Wizard در cpanel خدمتتون هستیم و امیدوارم توضیحاتی که در این مطلب و یا در انتها مطلب که بصورت فیلم قرارداده شده بتونه به شما کمک کنه و هر روز بیشتر پیشرفت کنید.
خوب اصلا این قسمت به چه دردی میخوره کجا بهش نیاز داریم و در کل کاربردش چی هست؟
با کمک ویژگی Backup Wizard در سی پنل می توانید خیلی ساده و گام به گام از حساب cPanel خود نسخه پشتیبان تهیه کرده و سایتتان را به راحتی بازیابی نمایید.
قابلیت Backup Wizard در cPanel برای آن دسته از کاربرانی تهیه شده که خیلی در امر پشتیبان گیری حرفه ای نیستند.
Backup Wizard مخصوص این افراد است که فرآیند بکاپ گیری و بازیابی را برایشان ساده کرده است.
این قسمت برای تغییر پسورد در سی پنل میباشد که با عنوان Backup Wizard در قسمت Files موجود میباشد.
ابتدا وارد هاستمون داخل سایت پیشگام وب میشویم.
میتوانید از سایت پیشگام وب قسمت سرویس های من ، سرویس مورد نظر را انتخاب کرده و ورود به سی پنل را بزنید تا بصورت اتوماتیک وارد هاستتون بشید و همچنین میتوانید از لینک سایت خودتون ، البته اگر که دی ان اس های ( DNS ) پیشگام وب را درست ست کرده باشید و 24 ساعت گذشته باشد از طریق پورت 2082 و یا 2083 وارد بشید.
فقط نکته ای که هست و باید بهش توجه کنید ، اگر سایت را با http باز میکنید از پورت 2082 و اگر با https باز میکنید از 2083 استفاده کنید ، نمونه لینک در زیر مشخص شده است.
البته به این نکته توجه داشته باشید که باید جای آدرس سایت ما آدرس سایت خودتان را وارد کنید.
راه آخر جهت لاگین هم در صورتی که دی ان اس ها ( DNS ) را ست نکرده اید یا 24 ساعت از تنظیم آنها نگذشته است و دوست ندارید بطور مثال اطلاعات ناحیه کاربری رو به طراح بدید استفاده از لینک پیشفرض پیشگام وب هست که در زمان خرید هاست برای شما ارسال شده و اگر هم نتونستید پیدا کنید میتوانید تیکت بدهید تا به شما داده شود ، پایین هم میتوانید نمونه لینک رو مشاهده کنید.
این قسمت برای دوستانی ایاد دشه است که از بک آپ گیری اطلاعات کافی ندارند.
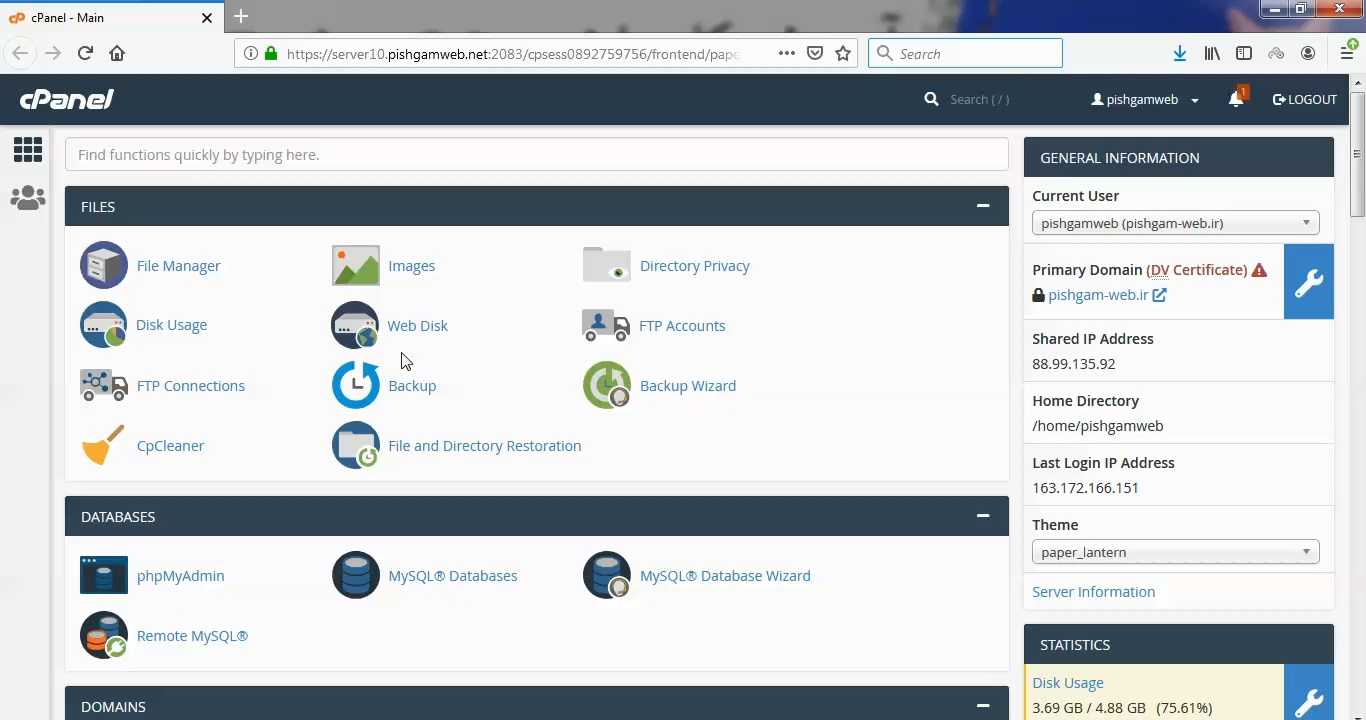
از قسمت فایل روی گزینه Backup Wizard کلیک کنید.
در این قسمت هم بک آپ و هم ریستور در دسترس میباشد که معمولا بخش ریستور توسط مدیران سرور محدود و یا غیر فعال میباشد.
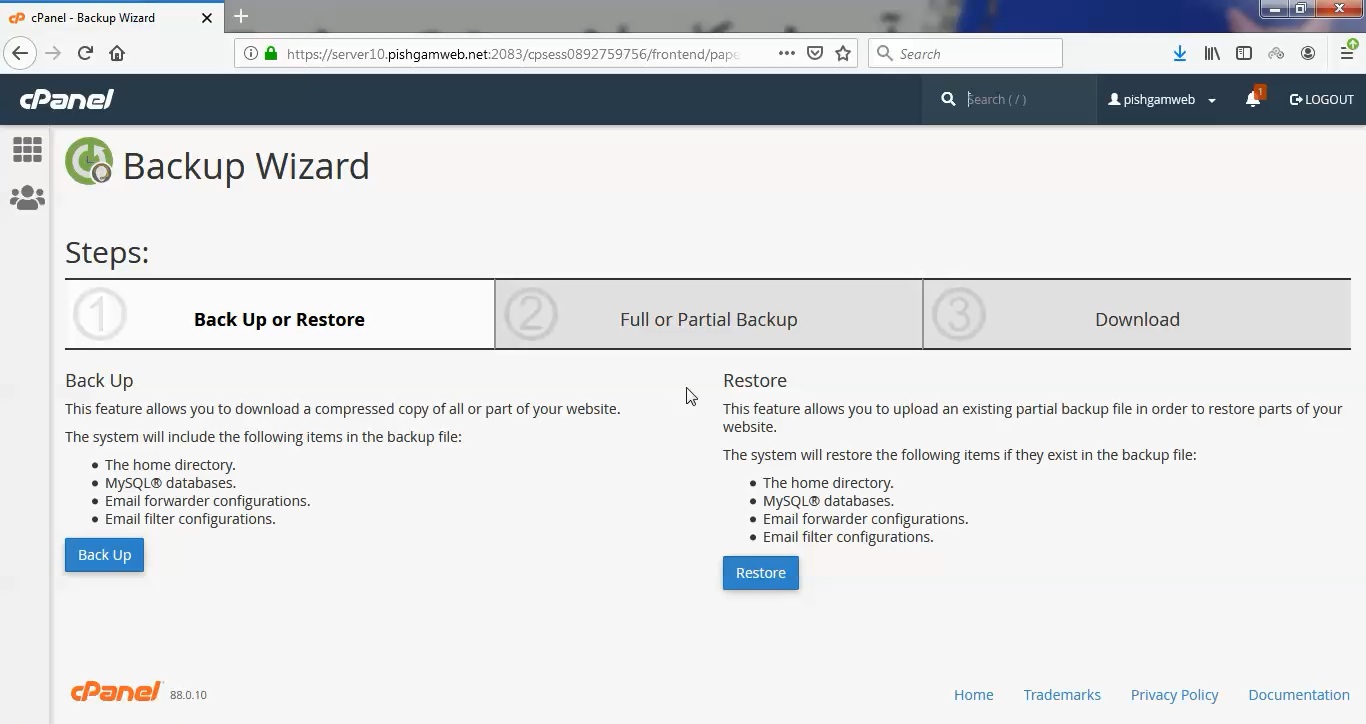
روی گزینه بک آپ کلیک کنید تا به مرحله دوم بروید.
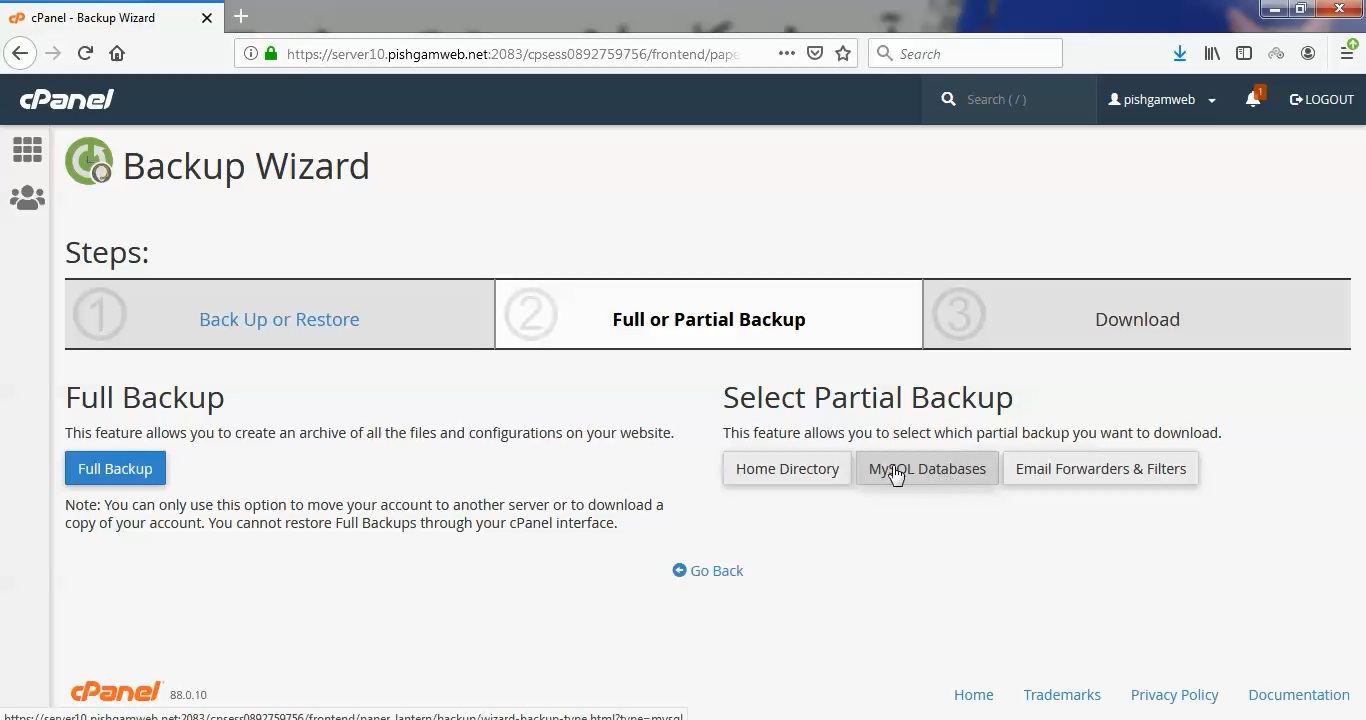
در مرحله دوم سه قسمت وجود دارد یک مورد بک آپ از هوم دایرکتوری یا روت هاستمون مورد بعدی بک آپ از دیتابیس و مورد آخر بک آپ از ایمیل ها وجود دارد و در سمت چپ هم گزینه فول بک اپ برای دریافت کامل بک اپ وجود دارد.
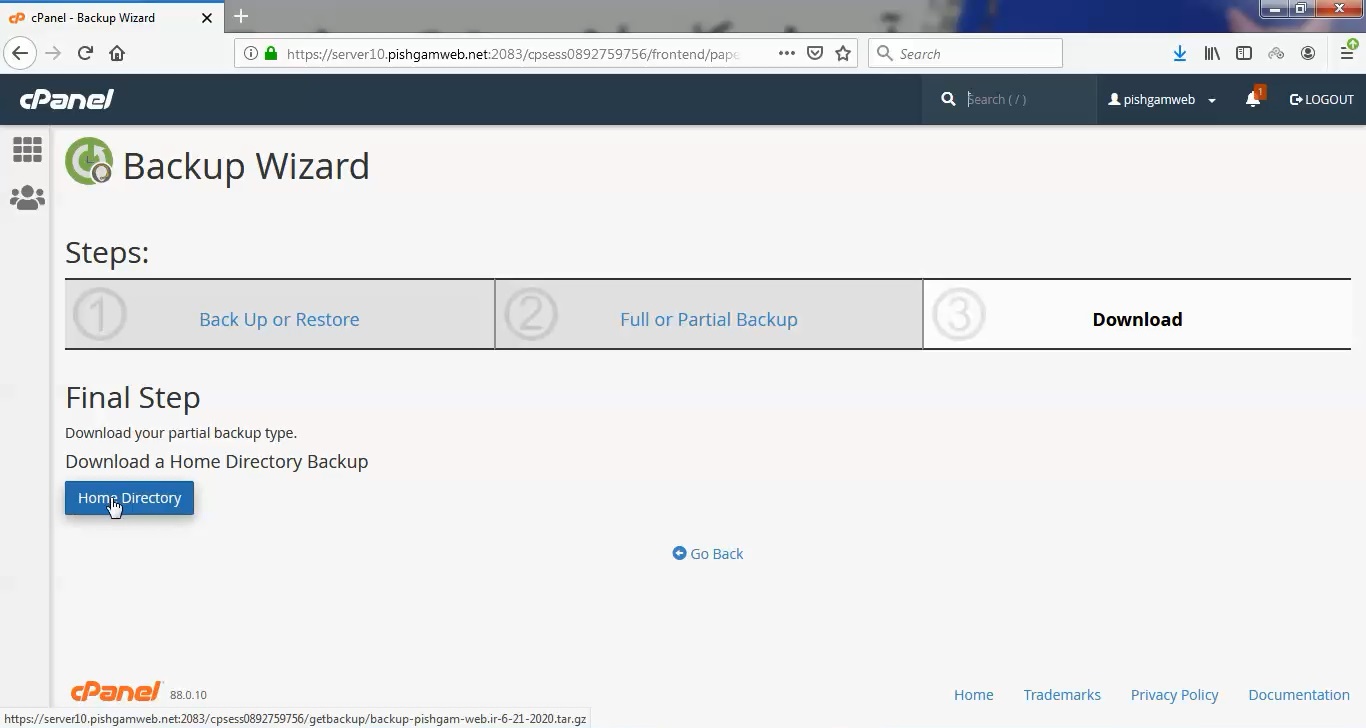
در این مرحله اقدام به بک آپ گیری از هوم دایرکتوری میکنیم.
روی گزینه آبی رنگ هوم دایرکتوری جهت دانلود بک آپ کلیک میکنیم.
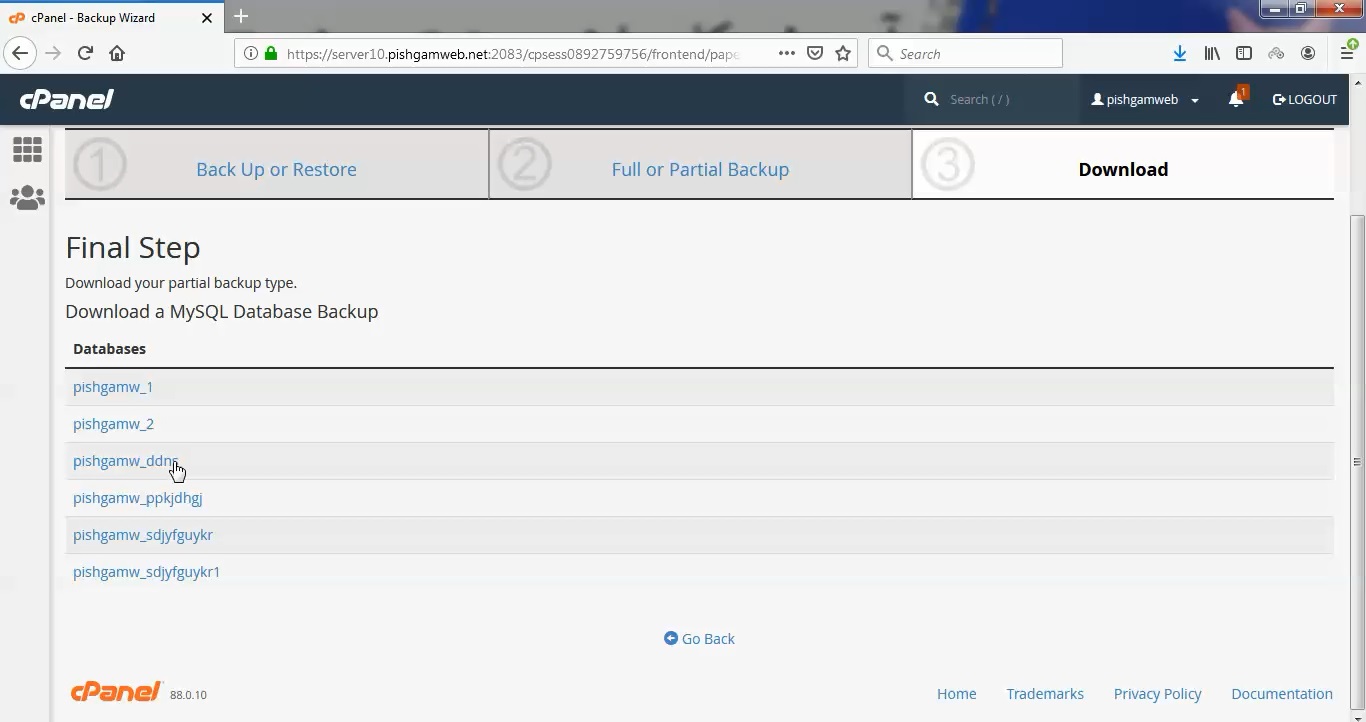
در این مرحله اقدام به بک آپ گیری از دیتابیس ها میکنیم.
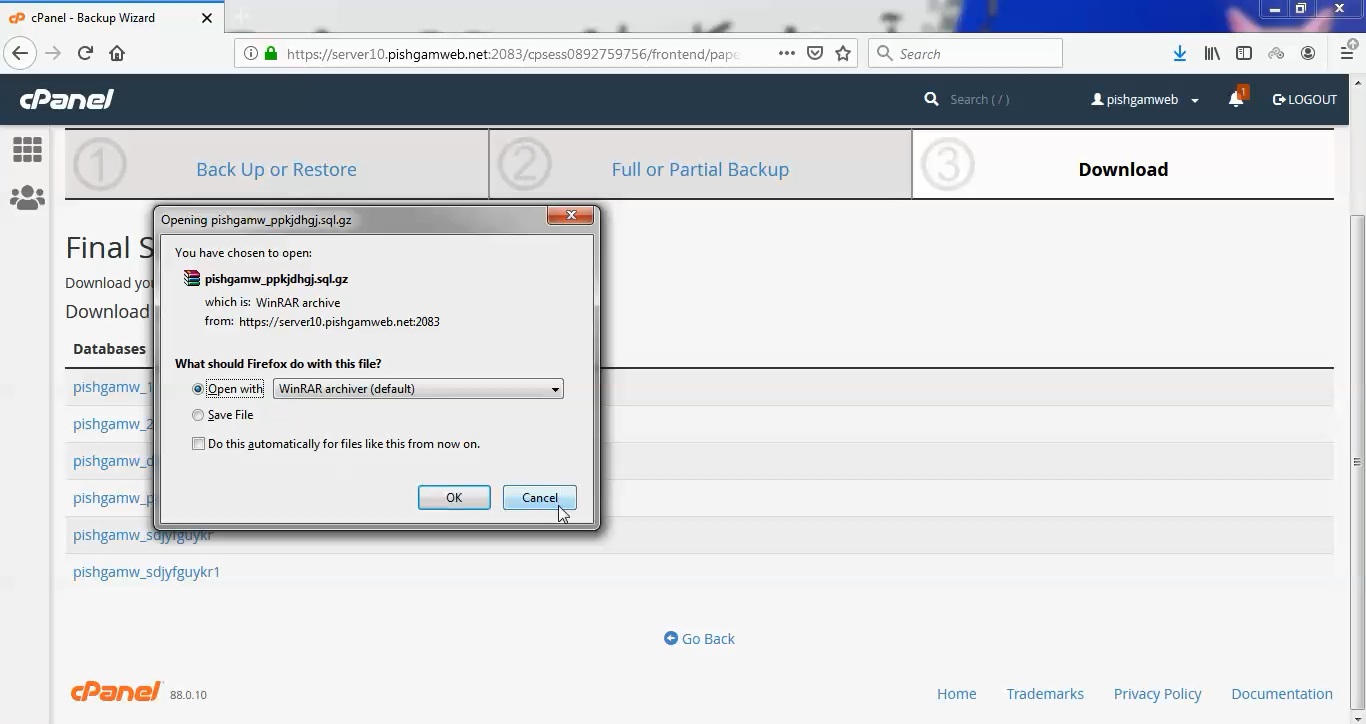
کافیست فقط روی نام دیتابیس کلیک کنیم تا بک اپ دیتابیس مورد نظر را دانلود کنیم.
در این مرحله اقدام به بک آپ گیری از ایمیل میکنیم.
روی ادرس مورد نظر کلیک کنید تا بک اپ مورد نظر آماده دانلود گردد.
برای ریستور به صفحه اصلی بک آپ ویزارد رفته و روی گزینه ریستور کلیک کنید.
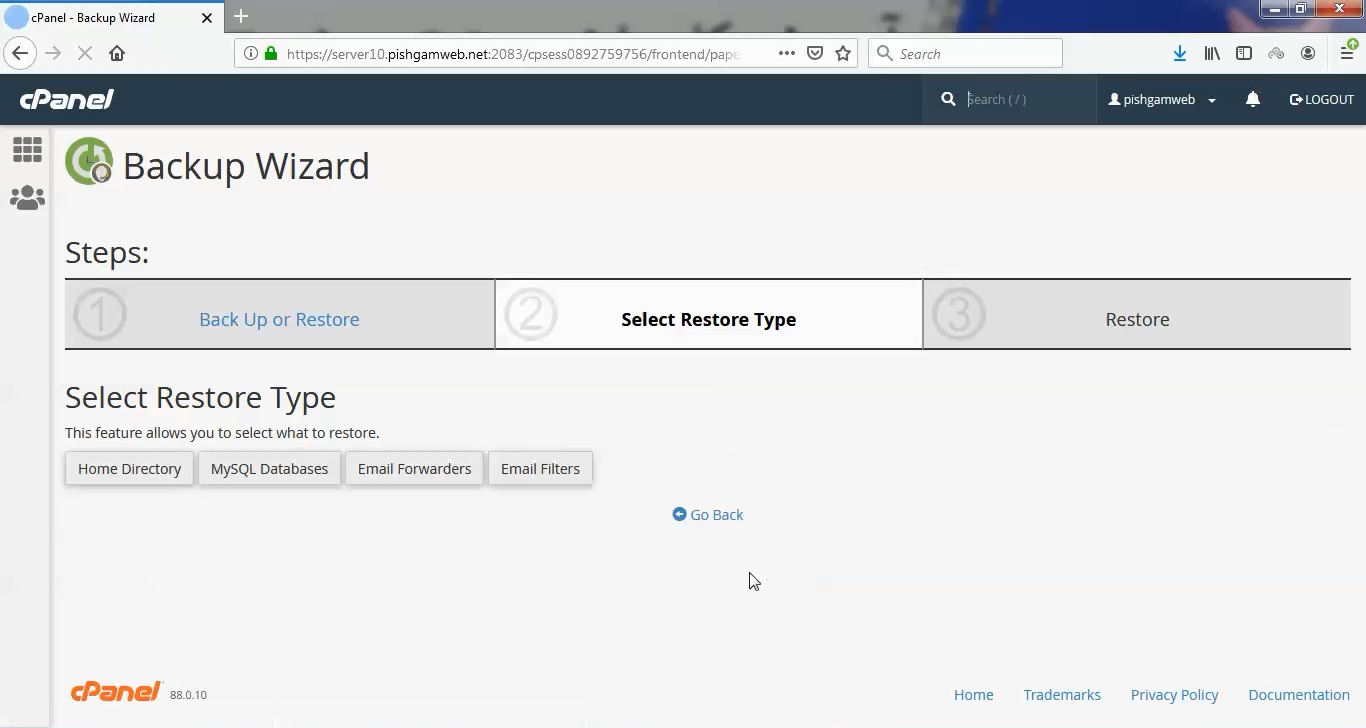
در مرحله دوم نوع بک پا را انتخاب کنید بطور مثال ما دیتابیس را انتخاب کردیم.

بک اپ را انتخاب کرده و روی گزینه اپلود کلیک کنید تا آپلود و ریستور گردد.
مشاهده فیلم آموزشی از سایت آپارات
برای دانلود فیلم آموزش از قسمت تنظیمات روی گزینه دانلود کلیک کرده و کیفیت مد نظر خود را انتخاب کنید تا فیلم آموزش دانلود گردد.
نکته : هر چقدر که عدد این قسمت بیشتر باشد ، کیفیت فیلم دانلودی بالاتر خواهد بود.
آموزش های ابتدایی :
دوستان عزیز آموزش که خدمتتون ارائه کردیم از سری آموزش های ابتدایی پیشگام وب هست و این آموزش جزو پایه ای ترین آموزش های سایت هست امیدوارم که آموزشممون کامل باشه.
منتظر نظرات و پیشنهادات شما در قسمت دیدگاه های سایت هستیم.
learn from cpanel
Overview
The Backup Wizard interface allows you to back up all or part of your website. This interface also allows you to restore your website from the most recent backup file.
Note:
Experienced users may prefer to use cPanel’s Backup interface (cPanel >> Home >> Files >> Backup).
Back Up
You can choose to create a full backup file or a partial backup file.
Important:
- You cannot use a full backup file to restore your files through the cPanel interface. Contact your hosting provider for assistance.
- You must compress the backup file prior to restoration.
- After you decompress the backup file, you can upload and restore individual portions of your website that the full backup file contains.
- The backup process for an account near or over its quota may fail because the system cannot write necessary files, such as a database lock file.
Create a full backup
To create a full backup file, perform the following steps:
- From the main Backup Wizard interface, click Back Up. The Full or Partial Backup section of the interface will appear.
- Click Full Backup. The Download section of the interface will appear.
- Select one of the following destinations from the Backup Destination menu:
- Home Directory — Select this option to save the backup file on the server.
- Remote FTP Server — Select this option to use FTP to store the backup file on a remote server.
- Remote FTP Server (passive mode transfer) — Select this option to use passive FTP to store the backup file on a remote server.
- Secure Copy (SCP) — Select this option to use SCP to store the backup file on a remote server.Important: Only advanced users should select the Remote FTP Server, Remote FTP Server (passive mode transfer), or Secure Copy (SCP) destination options.
- Perform one of the following actions to configure notifications for this backup file:
- To receive a notification when the backup process finishes, enter your email address in the Email Address text box.
- To disable notifications, select the Do not send email notification of backup completion. checkbox.
- If you selected the Remote FTP Server, Remote FTP Server (passive mode transfer), or Secure Copy (SCP) destinations, enter the remote destination’s information in the available text boxes.
- Click Generate Backup. A confirmation message will appear. Click Go Back to return to the Download section of the interface.Note: If you selected the Home Directory option in step 3, click the filename in the Download section of the interface to download the backup file.
- The backup file is in
backup-MM-DD-YYYYformat, whereMMis the month,DDis the date, andYYYYis the four-digit year. - The system stores full backup files as tarballs that use the
.tar.gzfile extension.
- The backup file is in
Related Documentation
Content by label
There is no content with the specified labels
For Hosting Providers
Content by label
There is no content with the specified labels
Create a partial backup
To back up a portion of your site, perform the following steps:
- From the main Backup Wizard interface, click Back Up. The Full or Partial Backup section of the interface will appear.
- Select which portion of your website that you wish to back up. The Download section of the interface will appear.
- Click the desired backup file to download it.Note: When you create a partial backup, the backup type determines the backup file’s extension:
- Home Directory —
*.tar.gz - Email Forwarders & Filters —
*.net,*.com - MySQL Databases —
*.sql
- Home Directory —
Restore
To restore a portion of your site from an existing backup, perform the following steps:
- Click Restore. The Select Restore Type section of the interface will appear.
- Select which portion of your website that you wish to restore. The Restore section of the interface will appear.
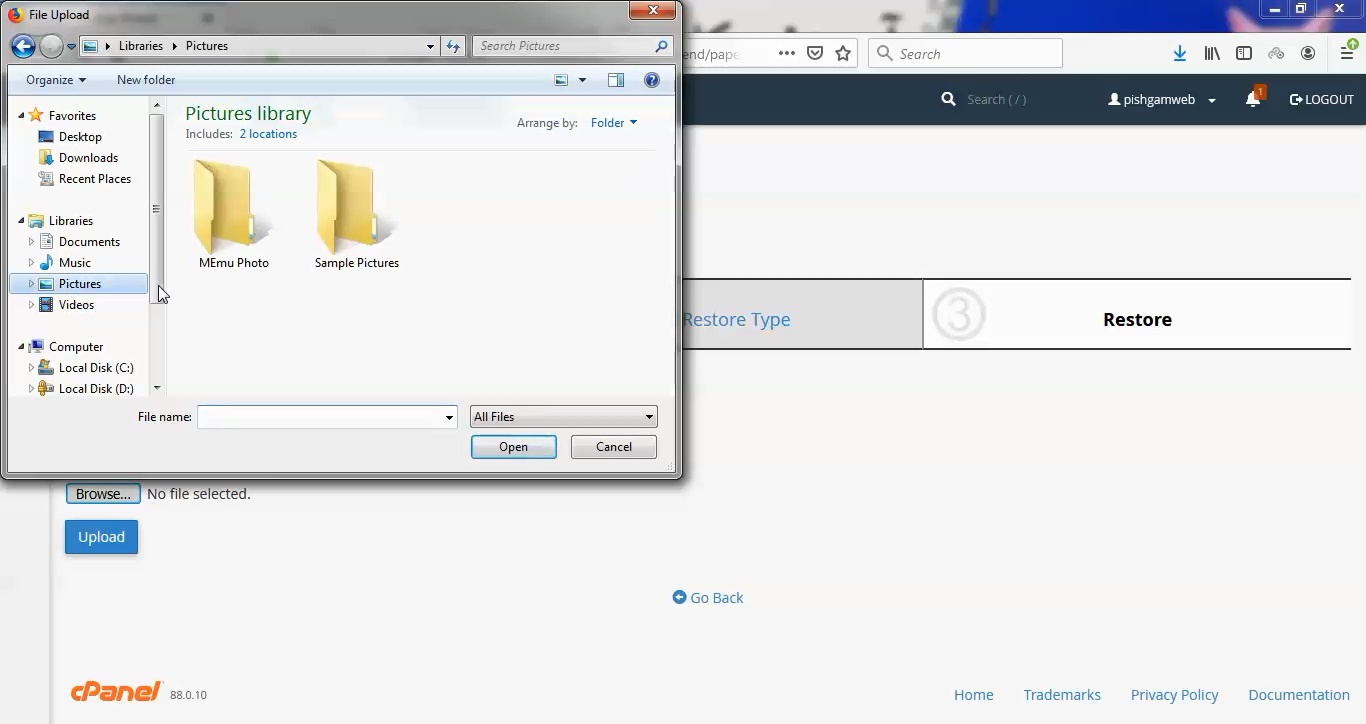
- Click Choose File and select the desired backup file.Remember: The backup file’s extension depends on the portion of your site that you backed up.
- Click Upload to begin the restoration process.
Home Directory backup file contents
When you back up your /home directory, the backup file includes the following files:
- All of the files that you own.
- Files that you do not own, but can access.Note: Backup files do not include files from your
/homedirectory that you do not own and cannot access.
To exclude certain files and directories from a backup file, place a configuration file in your /home directory. For more information, read our How to Exclude Files From Backups documentation.