ایمیل
ایمیل  چت آنلاین
  پشتیبانی
 آموزش کار با Email Disk Usage در cpanel

دوستان عزیز پیشگام وبی امیدوارم که حالتون خوب باشه ، امروز با آموزش کار با Email Disk Usage در cpanel خدمتتون هستیم و امیدوارم توضیحاتی که در این مطلب و یا در انتها مطلب که بصورت فیلم قرارداده شده بتونه به شما کمک کنه و هر روز بیشتر پیشرفت کنید.
خوب اصلا این قسمت به چه دردی میخوره کجا بهش نیاز داریم و در کل کاربردش چی هست؟
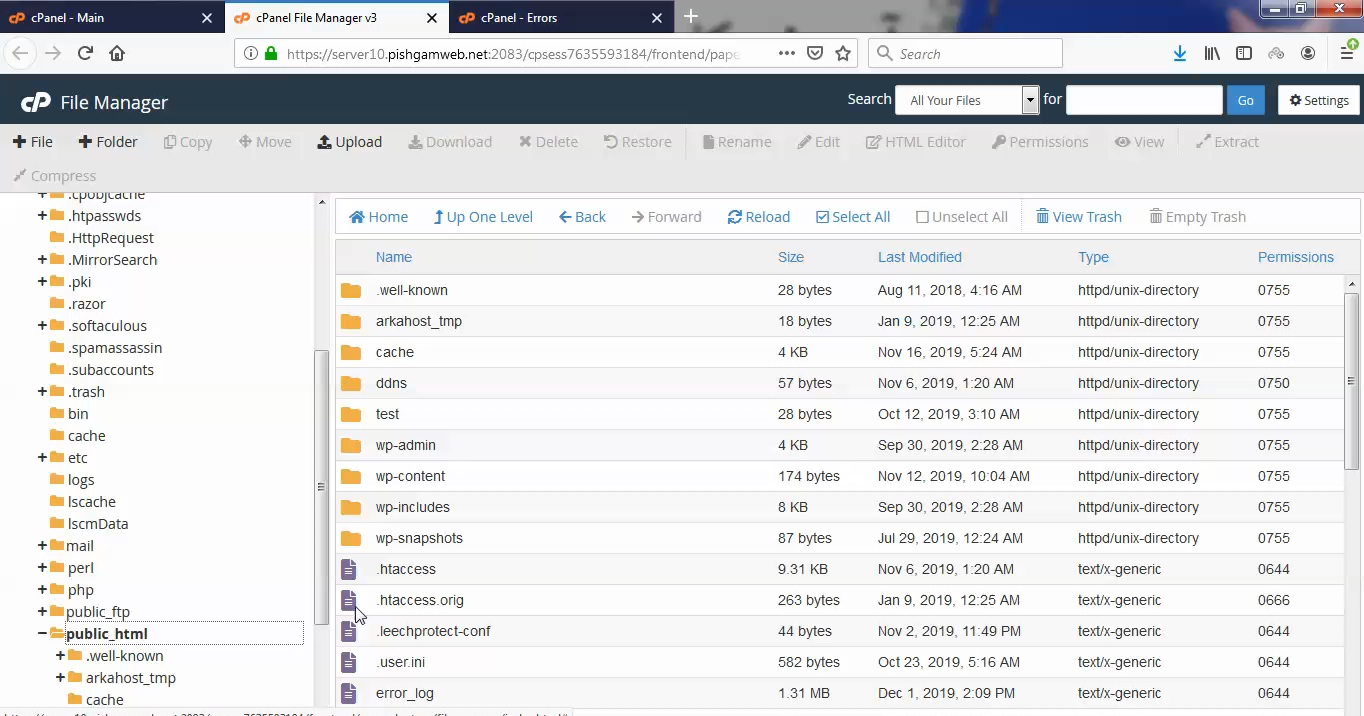
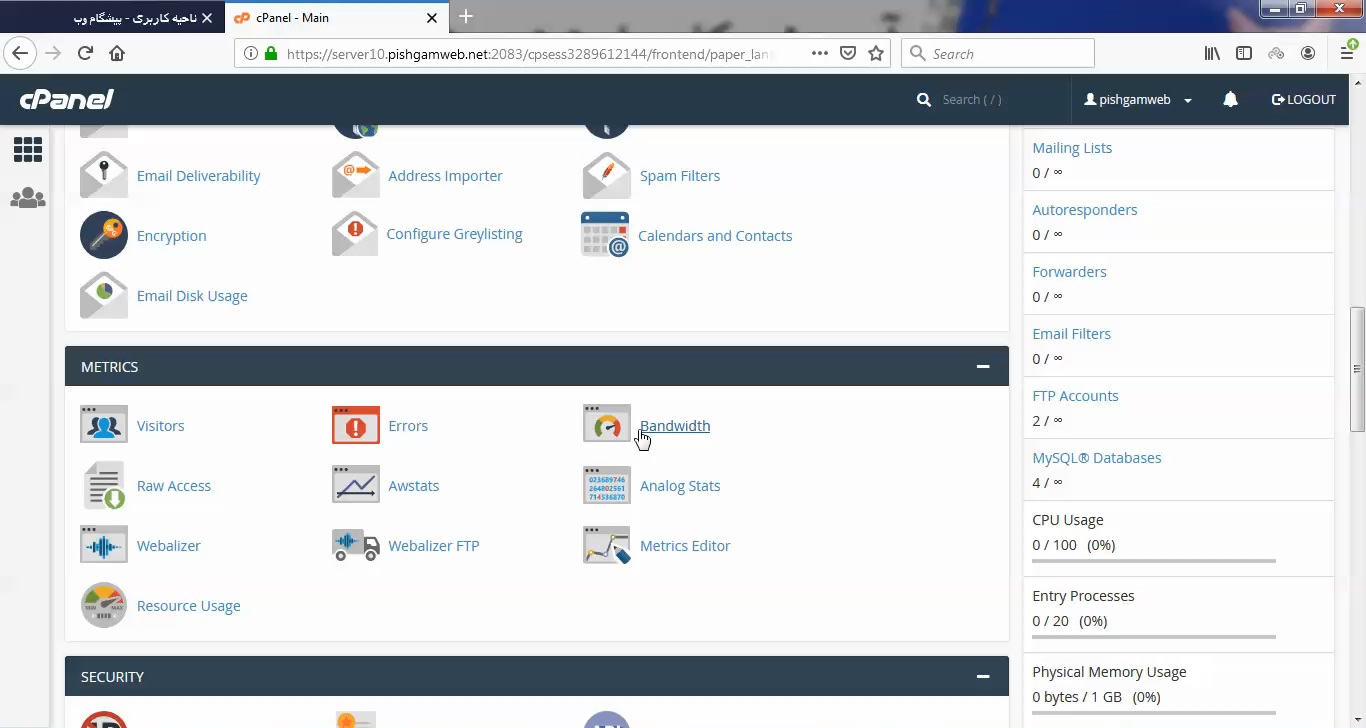
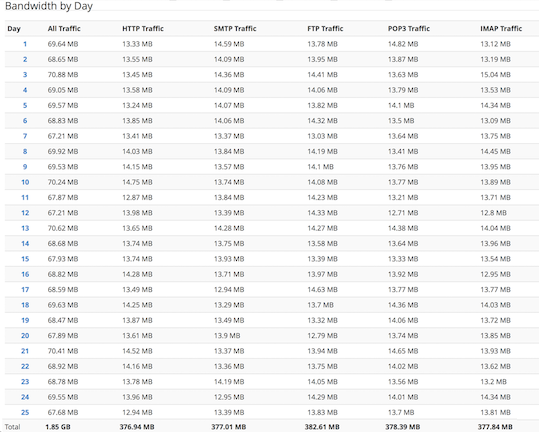
این قسمت یکی از مهمترین بخش های سی پنل هست که ارور های مهم سایت شما در آن قابل مشاهده میباشد لذا هر هفته یا حداقل هر ماه یکبار باید به این قسمت وارد شده و ارور های داخل آن را بررسی و رفع کنید.
در این قسمت معمولا 300 عدد از آخرین ارور های مهم برای شما نمایش داده میشود و جدید ترین ارور ها در بالاترین خط وجود دارد و از سمت چپ به ترتیب تاریخ و ساعت و سپس آی پی شخص بازدید کننده ارور و پس از آن ادرس فایل ارور را مشخص مینماید.ابزار Email Disk Usage یکی از ویژگی های مفید سی پنل است که امکان مشاهده و مدیریت صندوق پستی ایمیل شما را فراهم می کند. بنابراین با حذف پیام های اضافی و اسپم فضای ایمیل خود را آزاد کرده و این مشکل را حل کنید. این ابزار روشی آسان برای بررسی میزان فعلی فضای دیسک برای هریک از آدرس های ایمیل ساخته شده در سی پنل شماست و اطلاعات دقیقی را در مورد مصرف منابع به شما خواهد داد. علاوه بر این ابزار Email Disk Usage توانایی حذف خودکار ایمیل های اضافی را بر اساس اندازه و تاریخ به شما می دهد. توصیه می کنیم که قبل از انجام این کار حتما از ایمیل های خود پشتیبان بگیرید تا در صورت قرار دادن ایمیل های مهم در صف حذف ، قادر به بازگرداندن آن ها باشید.در این قسمت معمولا 300 عدد از آخرین ارور های مهم برای شما نمایش داده میشود و جدید ترین ارور ها در بالاترین خط وجود دارد و از سمت چپ به ترتیب تاریخ و ساعت و سپس آی پی شخص بازدید کننده ارور و پس از آن ادرس فایل ارور را مشخص مینماید.
این قسمت برای تغییر پسورد در سی پنل میباشد که با عنوان Email Disk Usage در قسمت Email موجود میباشد.
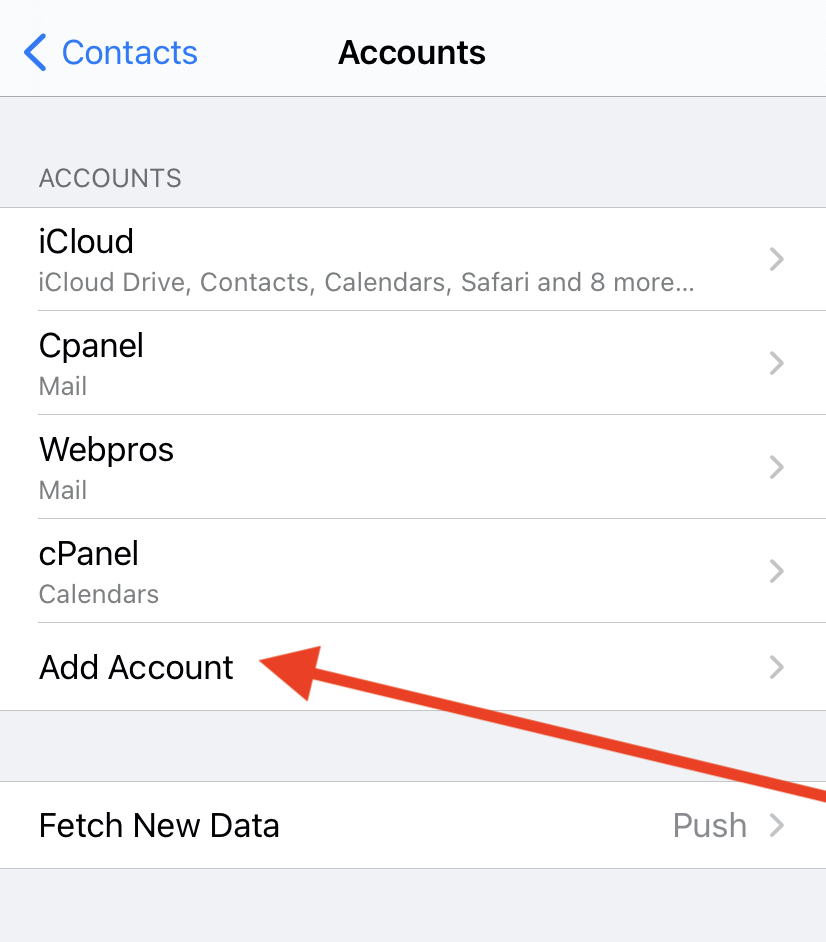
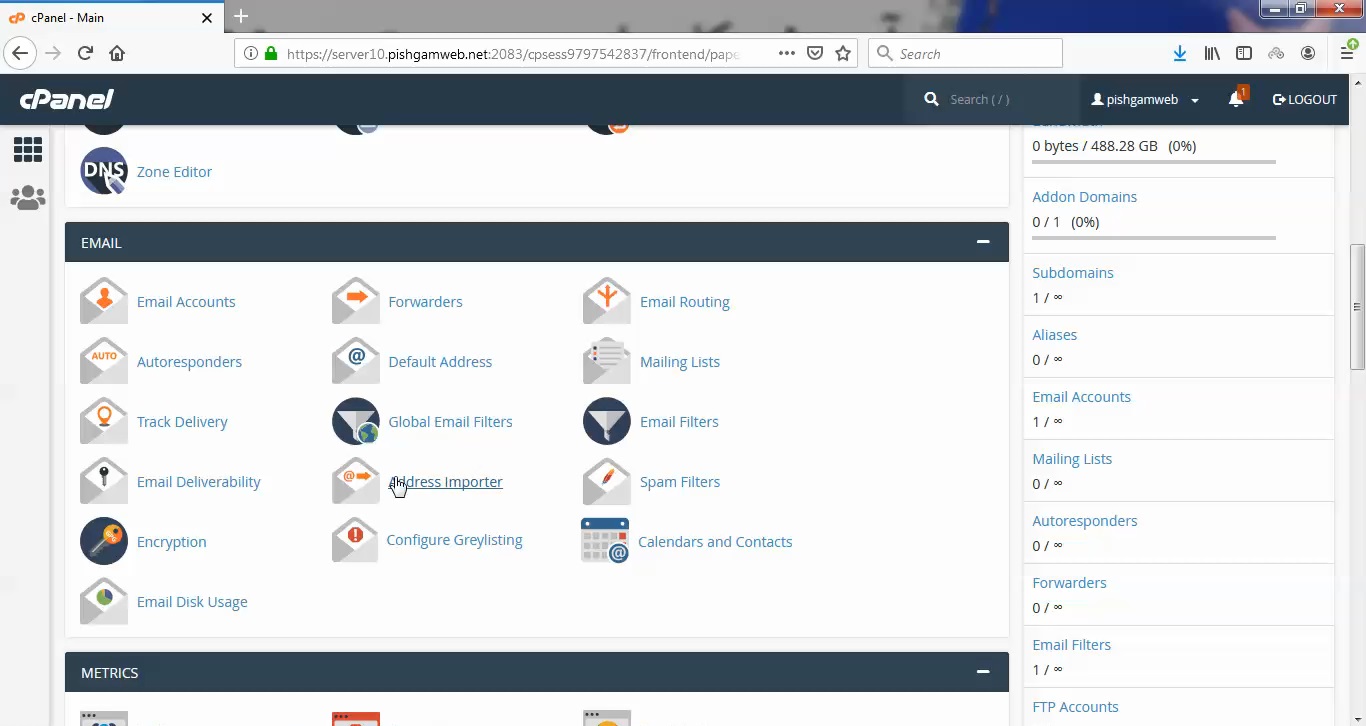
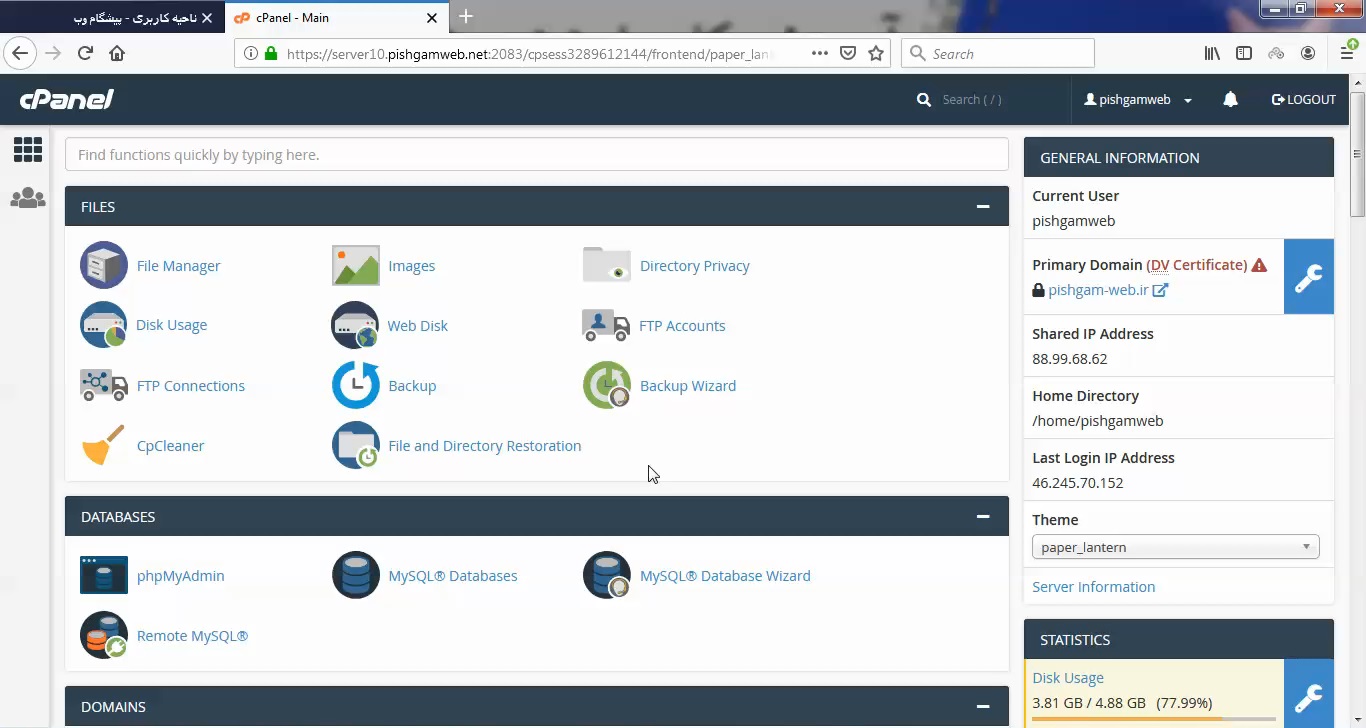
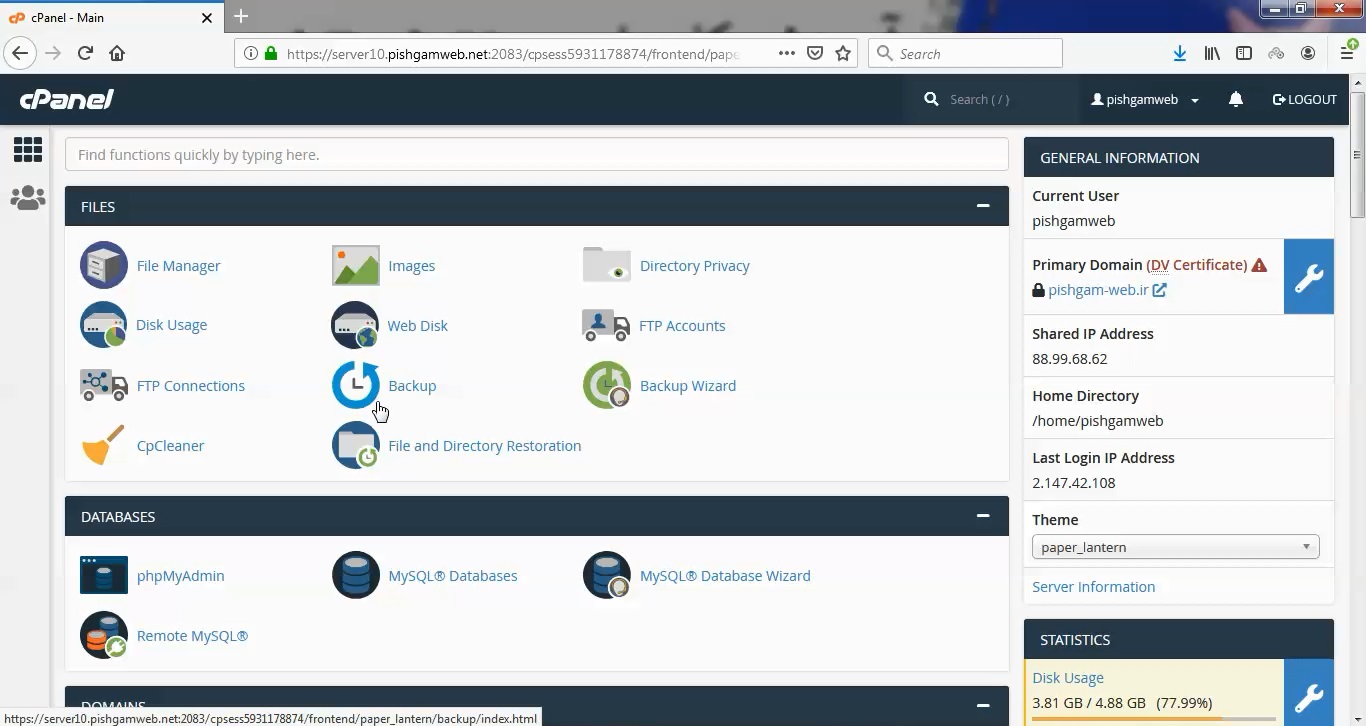
ابتدا وارد هاستمون داخل سایت پیشگام وب میشویم.
میتوانید از سایت پیشگام وب قسمت سرویس های من ، سرویس مورد نظر را انتخاب کرده و ورود به سی پنل را بزنید تا بصورت اتوماتیک وارد هاستتون بشید و همچنین میتوانید از لینک سایت خودتون ، البته اگر که دی ان اس های ( DNS ) پیشگام وب را درست ست کرده باشید و 24 ساعت گذشته باشد از طریق پورت 2082 و یا 2083 وارد بشید.
فقط نکته ای که هست و باید بهش توجه کنید ، اگر سایت را با http باز میکنید از پورت 2082 و اگر با https باز میکنید از 2083 استفاده کنید ، نمونه لینک در زیر مشخص شده است.
البته به این نکته توجه داشته باشید که باید جای آدرس سایت ما آدرس سایت خودتان را وارد کنید.
راه آخر جهت لاگین هم در صورتی که دی ان اس ها ( DNS ) را ست نکرده اید یا 24 ساعت از تنظیم آنها نگذشته است و دوست ندارید بطور مثال اطلاعات ناحیه کاربری رو به طراح بدید استفاده از لینک پیشفرض پیشگام وب هست که در زمان خرید هاست برای شما ارسال شده و اگر هم نتونستید پیدا کنید میتوانید تیکت بدهید تا به شما داده شود ، پایین هم میتوانید نمونه لینک رو مشاهده کنید.
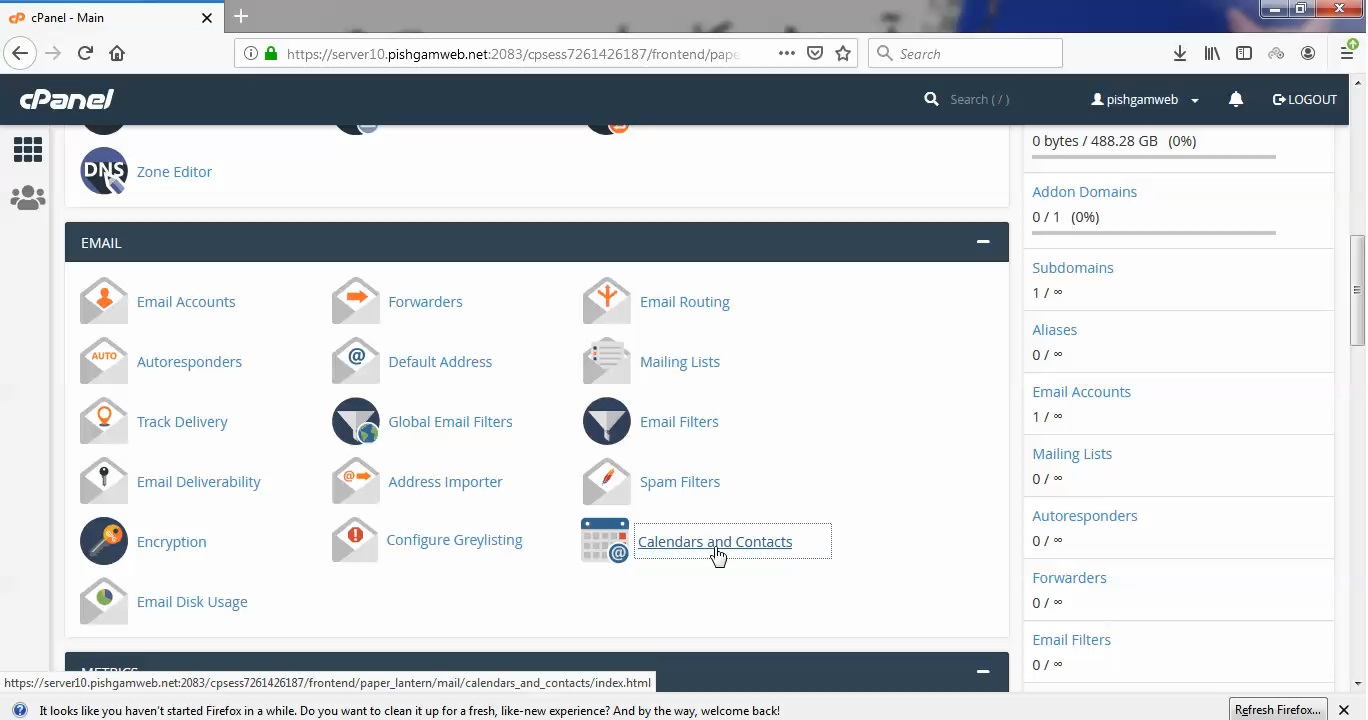
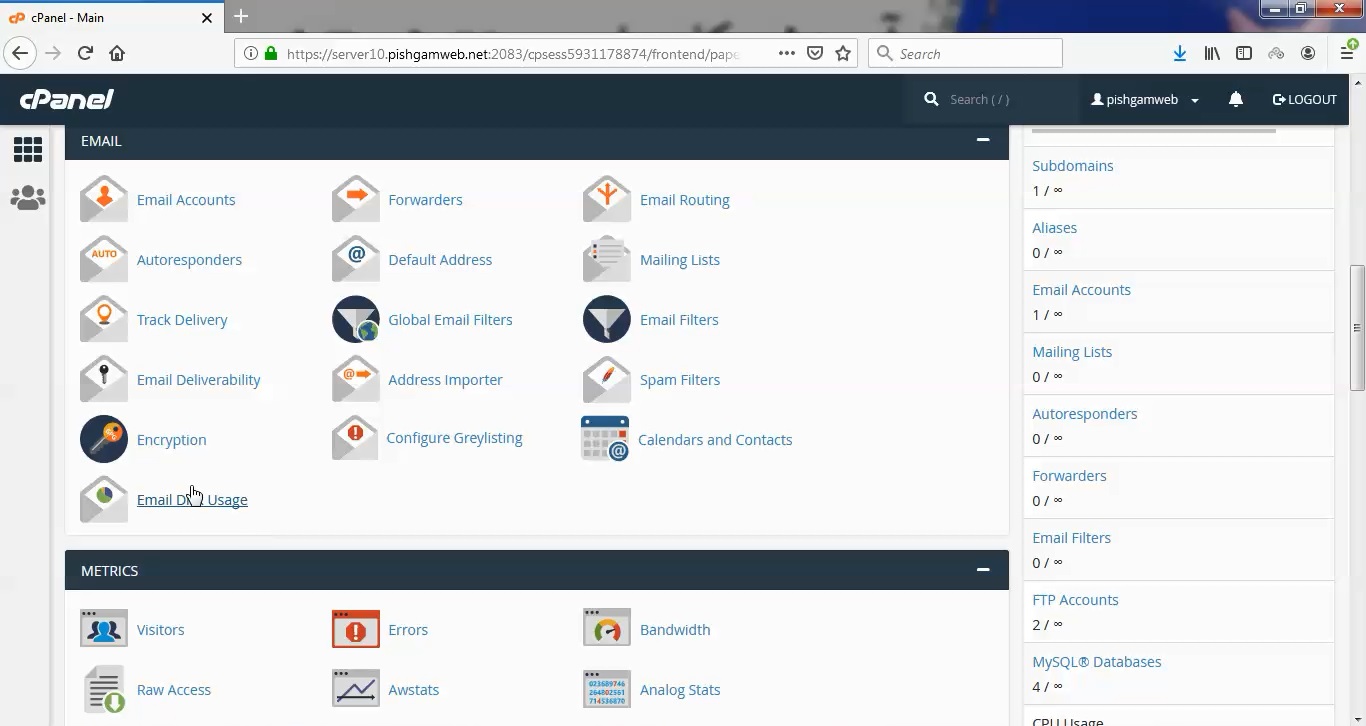
به قسمت email رفته و روی گزینه Email Disk Usage کلیک کنید.
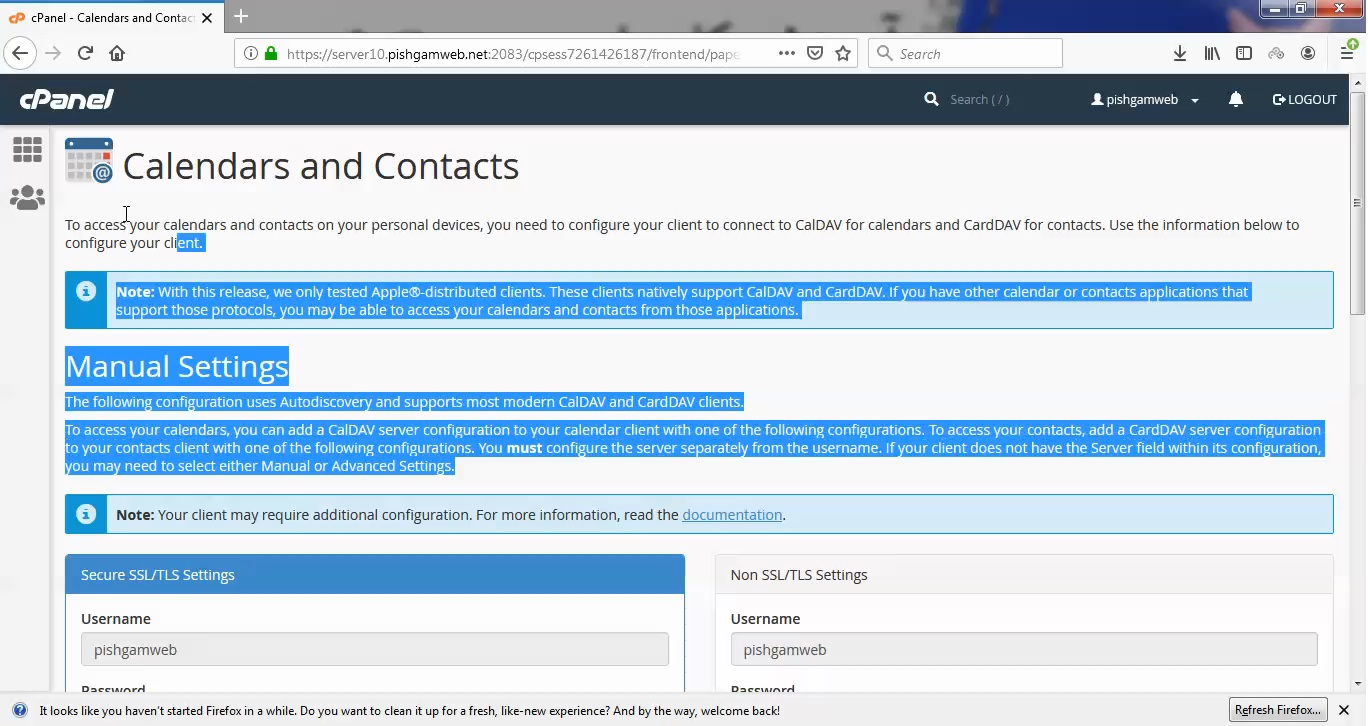
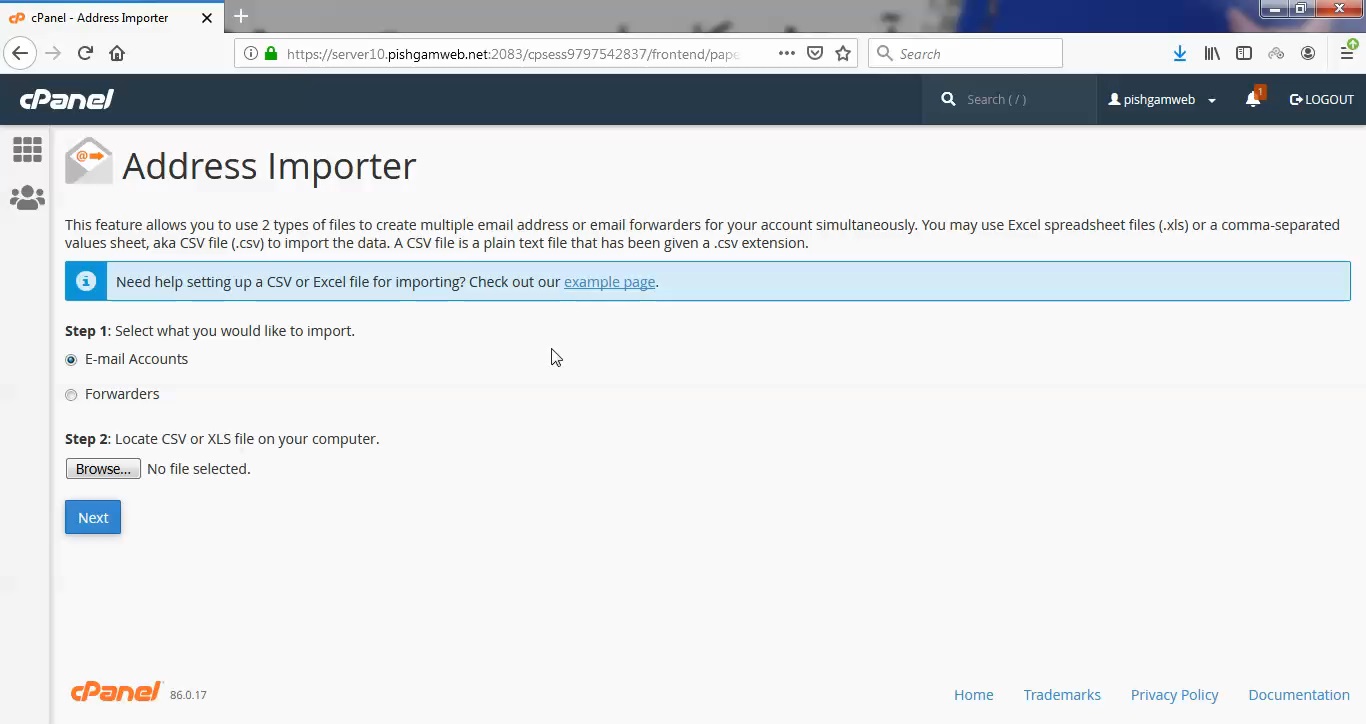
سپس صفحه زیر برای شما باز میشود.

در اینجا تمامی قسمت های ایمیل بصور مجزا مشخص شده است و حجم هر قسمت و تعداد پیام ها مشخص میباشد .
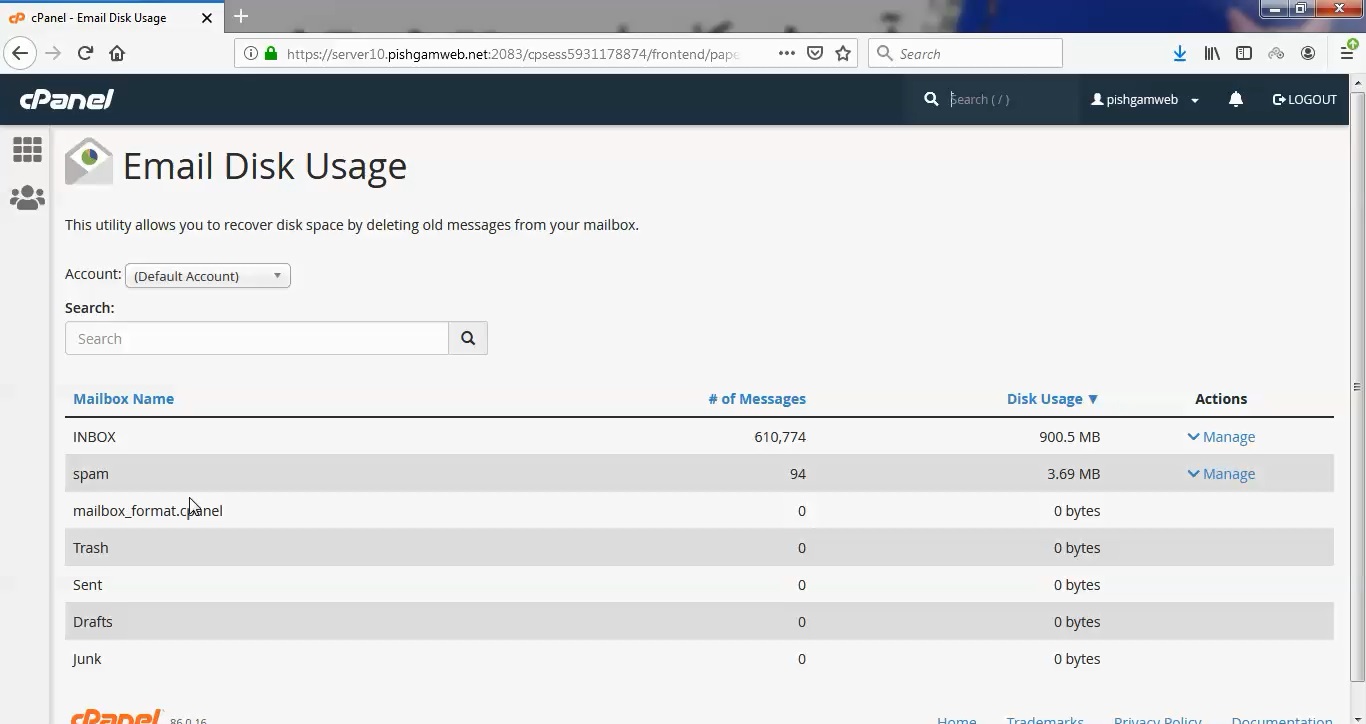
از قسمت account میتوانید ایمیل مورد نظر را مشخص کنید .
در حالت دیفالت ایمیلی میباشد که خود سی پنل ایجاد کرده است.
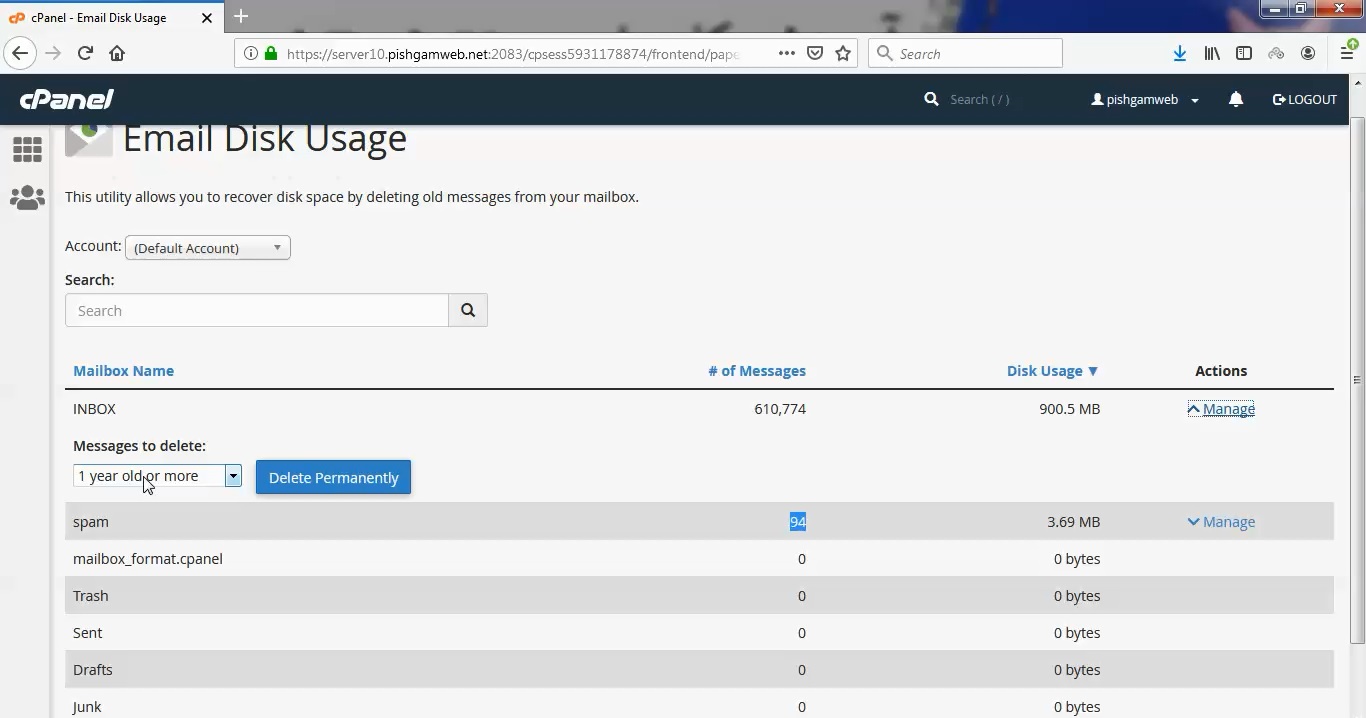
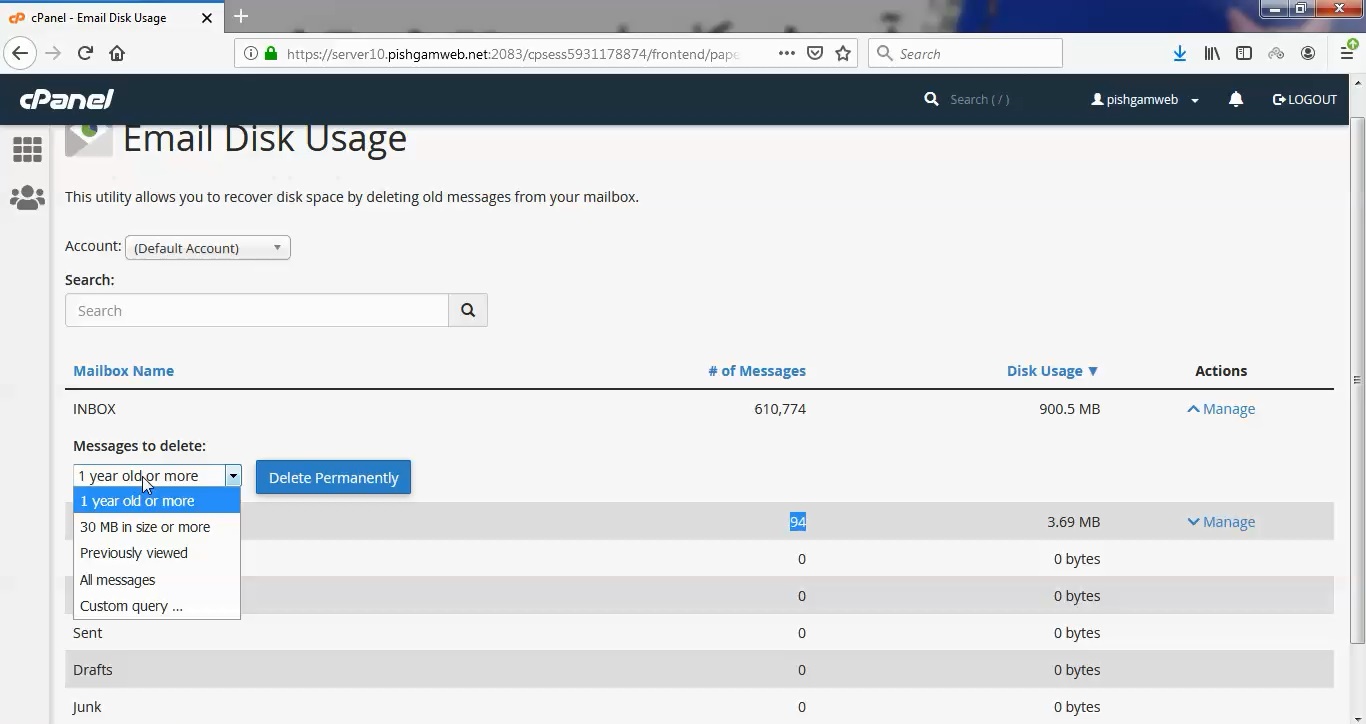
از قسمت راست به طور مثال inbox روز گزینه manege کلیک کنید در سمت چپ manege to delete مورد وجود دارد که در زیر هر یک را توضیح داده ایم.
- 1year old or more: با انتخاب آن تمام پیام های شما که یک سال یا بیشتر در صندوق inbox مانده، حذف می شوند.
- 30MB in size or more: در صورتی که حجم ایمیل های دریافتی از ۳۰ مگابایت فراتر رود، سی پنل به صورت خودکار نسبت به حذف پیام ها اقدام می کند.
- Previously viewed: تنها ایمیل هایی که مشاهده کرده اید را حذف خواهد کرد.
- All messages: با انتخاب این گزینه باید با تمام ایمیل های خود خداحافظی کنید. زیرا سی پنل به صورت اتوماتیک همه را حذف می کند.
- Custom query: این گزینه به شما اجازه می دهد تا پیام های حساس به یک کلمه خاص را حذف کنید.
گزینه اخر را که انتخاب کردیم کادر دیگری باز میشود کلمه مورد نظر را تایپ میکنیم بطور مثال pishgamweb.net را انتخاب کرده ایم.
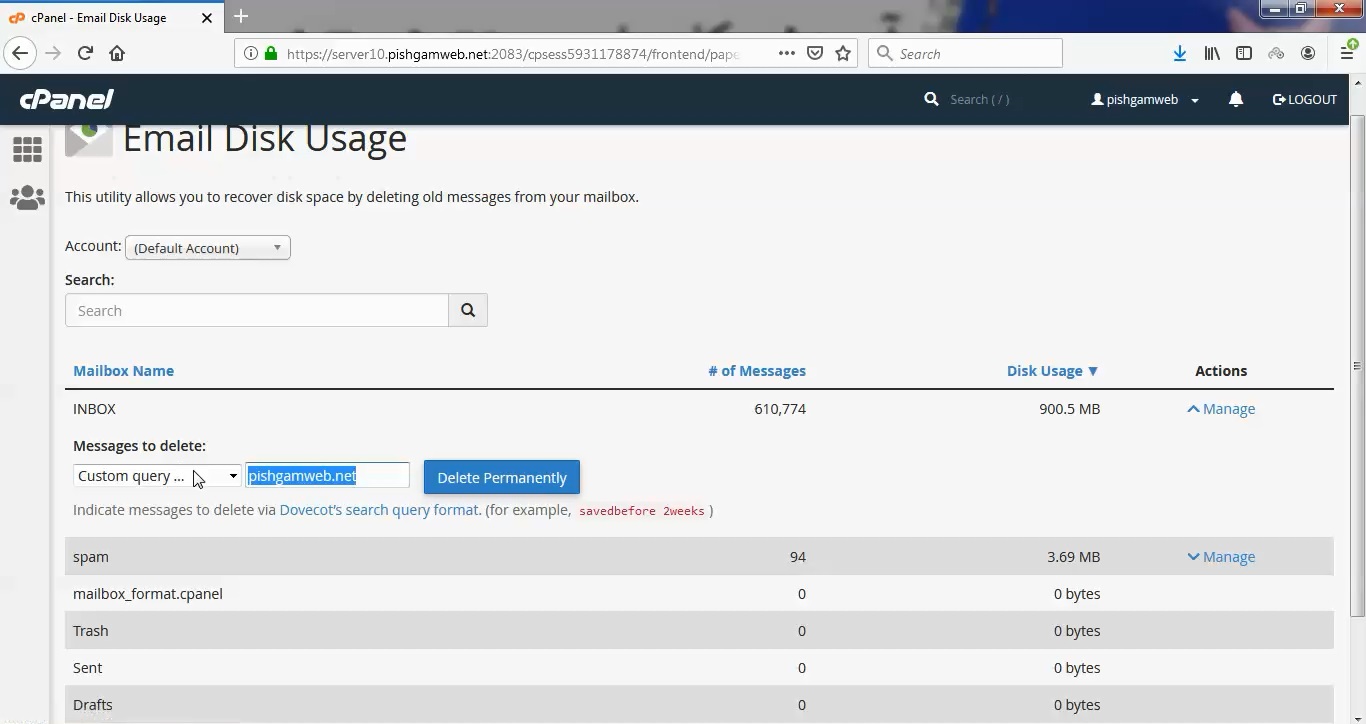
در انتها هر یک از گزینه ها را که انتخاب کردید روی گزینه delete آبی رنگ کلیک میکنید تا حذف گردد.
مشاهده فیلم آموزشی از سایت آپارات
برای دانلود فیلم آموزش از قسمت تنظیمات روی گزینه دانلود کلیک کرده و کیفیت مد نظر خود را انتخاب کنید تا فیلم آموزش دانلود گردد.
نکته : هر چقدر که عدد این قسمت بیشتر باشد ، کیفیت فیلم دانلودی بالاتر خواهد بود.
دسته اول:
آموزش های ابتدایی :
دوستان عزیز آموزش که خدمتتون ارائه کردیم از سری آموزش های ابتدایی پیشگام وب هست و این آموزش جزو پایه ای ترین آموزش های سایت هست امیدوارم که آموزشممون کامل باشه.
منتظر نظرات و پیشنهادات شما در قسمت دیدگاه های سایت هستیم.
Email Disk Usage در دایرکت ادمین
این قسمت در دایرکت ادمین وجود ندارد.
Email Disk Usage in cpanel
My cPanel’s Email disk usage utility allows you to view all of the mailboxes created on your server and recover storage space by deleting old emails and large messages.
Log in to the HostPapa Dashboard and click the My cPanel button in the navigation bar at the top of the page.
Scroll down to the Email section and click the Email disk usage link to proceed.
Use the Account dropdown menu to select the email account you wish to manage. Mailboxes will be listed below.
Click the Manage link in the Actions column for the mailbox you wish to work with.
The dropdown menu under Messages to delete provides predefined options for recovering storage space.
They include the selection of emails older than a year, emails sized 30 MB or more, previously viewed emails and an option to select all emails. The Custom query option allows you to build a search query using the Dovecot search query format.
Click Delete Permanently to remove selected email from your server.