ایمیل
ایمیل  چت آنلاین
  پشتیبانی
 آموزش کار با MySQL® Databases در cpanel

دوستان عزیز پیشگام وبی امیدوارم که حالتون خوب باشه ، امروز با آموزش کار با MySQL® Databases در cpanel خدمتتون هستیم و امیدوارم توضیحاتی که در این مطلب و یا در انتها مطلب که بصورت فیلم قرارداده شده بتونه به شما کمک کنه و هر روز بیشتر پیشرفت کنید.
خوب اصلا این قسمت به چه دردی میخوره کجا بهش نیاز داریم و در کل کاربردش چی هست؟
این قسمت یکی از مهمترین بخش های سی پنل هست که ارور های مهم سایت شما در آن قابل مشاهده میباشد لذا هر هفته یا حداقل هر ماه یکبار باید به این قسمت وارد شده و ارور های داخل آن را بررسی و رفع کنید.
در این قسمت معمولا 300 عدد از آخرین ارور های مهم برای شما نمایش داده میشود و جدید ترین ارور ها در بالاترین خط وجود دارد و از سمت چپ به ترتیب تاریخ و ساعت و سپس آی پی شخص بازدید کننده ارور و پس از آن ادرس فایل ارور را مشخص مینماید.
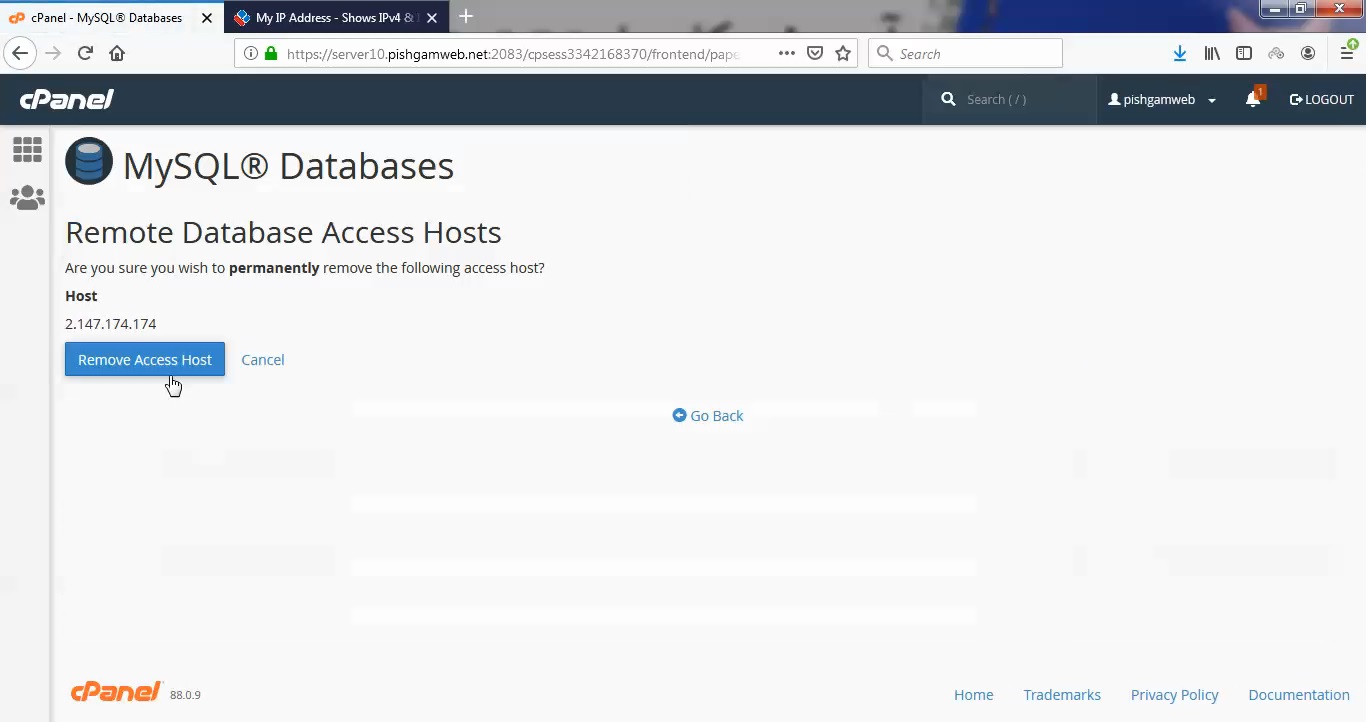
این قسمت برای تغییر پسورد در سی پنل میباشد که با عنوان MySQL® Databases در قسمت Databases موجود میباشد.
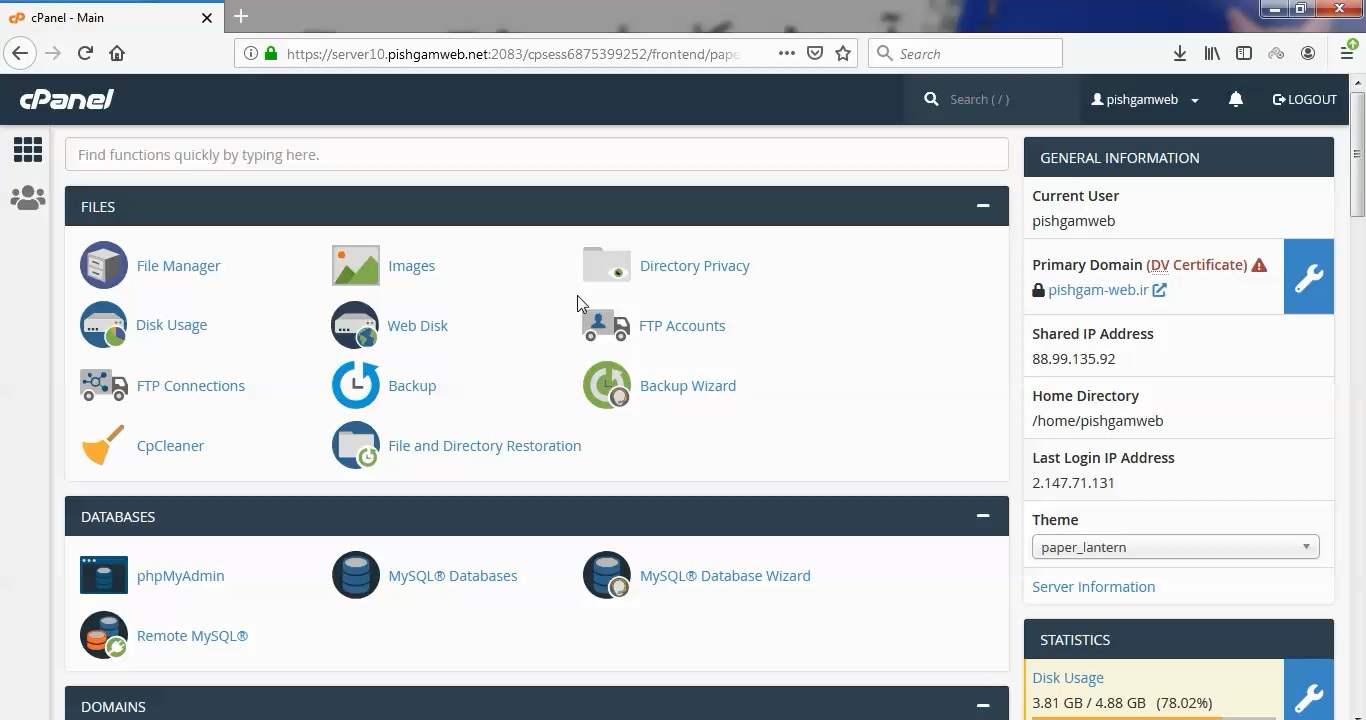
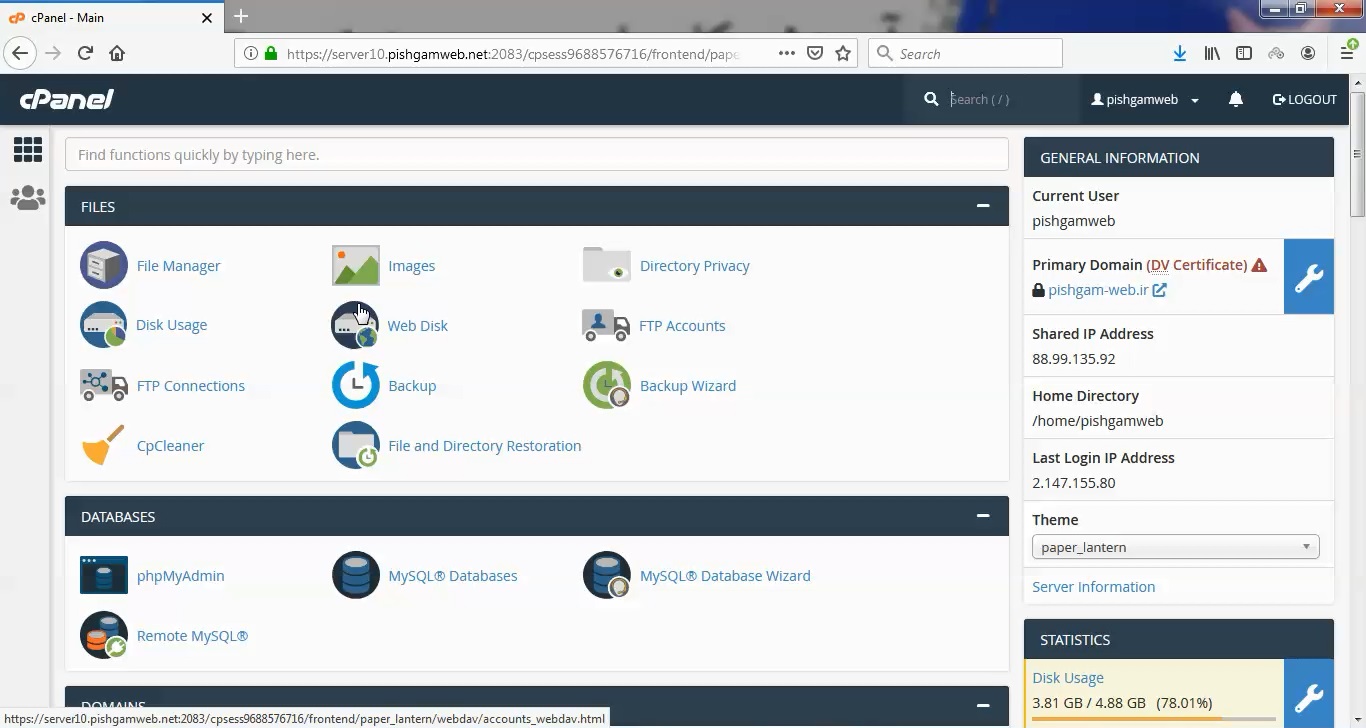
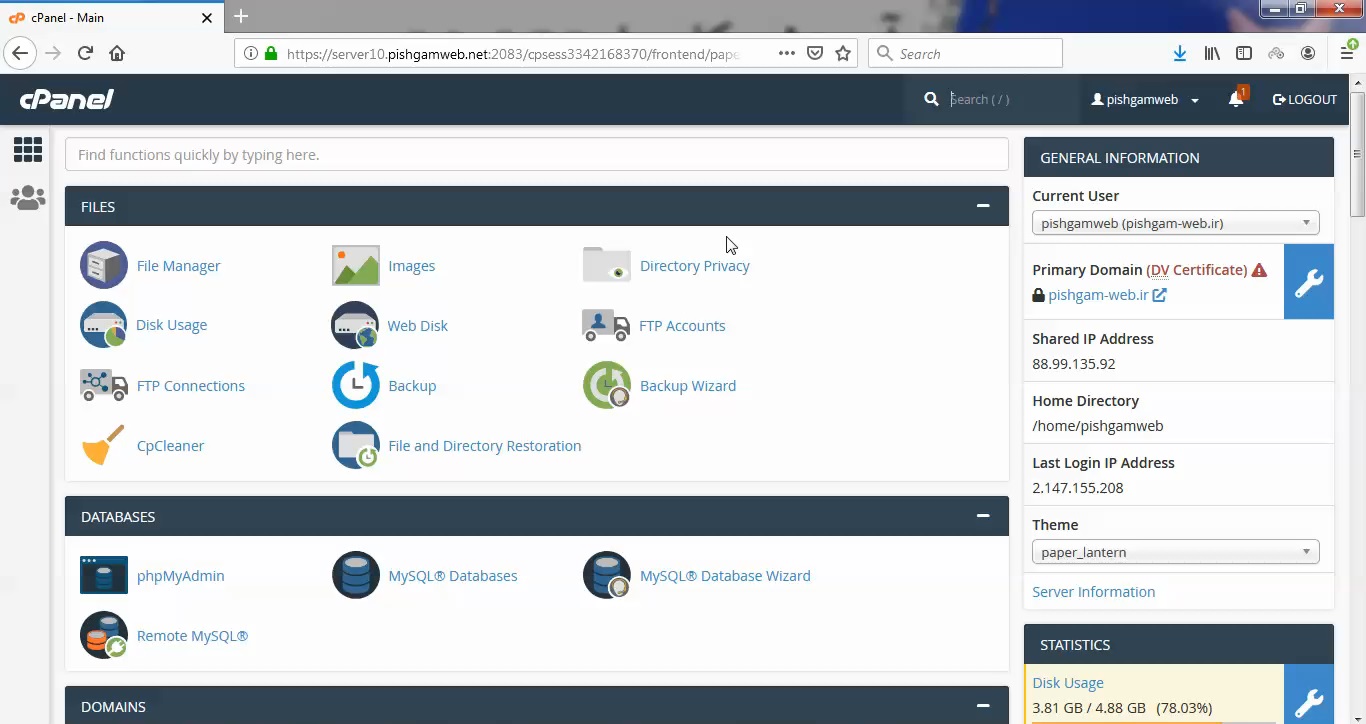
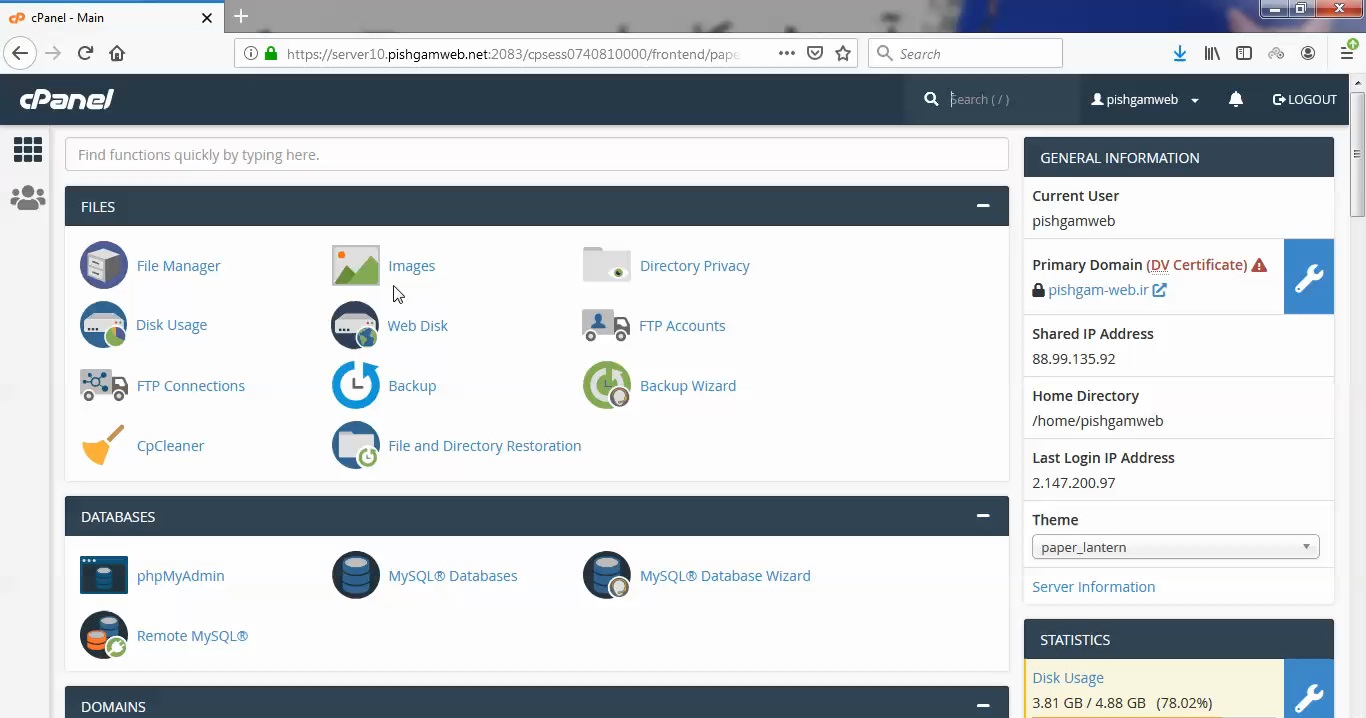
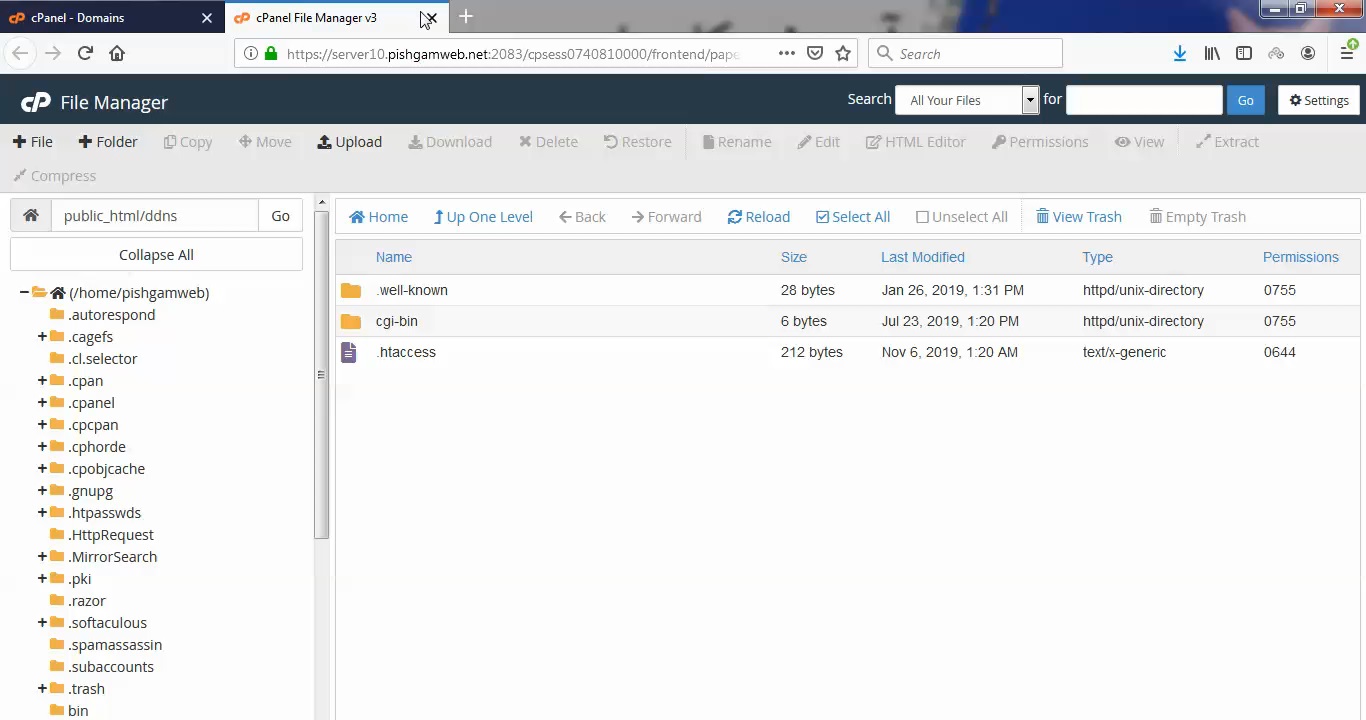
ابتدا وارد هاستمون داخل سایت پیشگام وب میشویم.
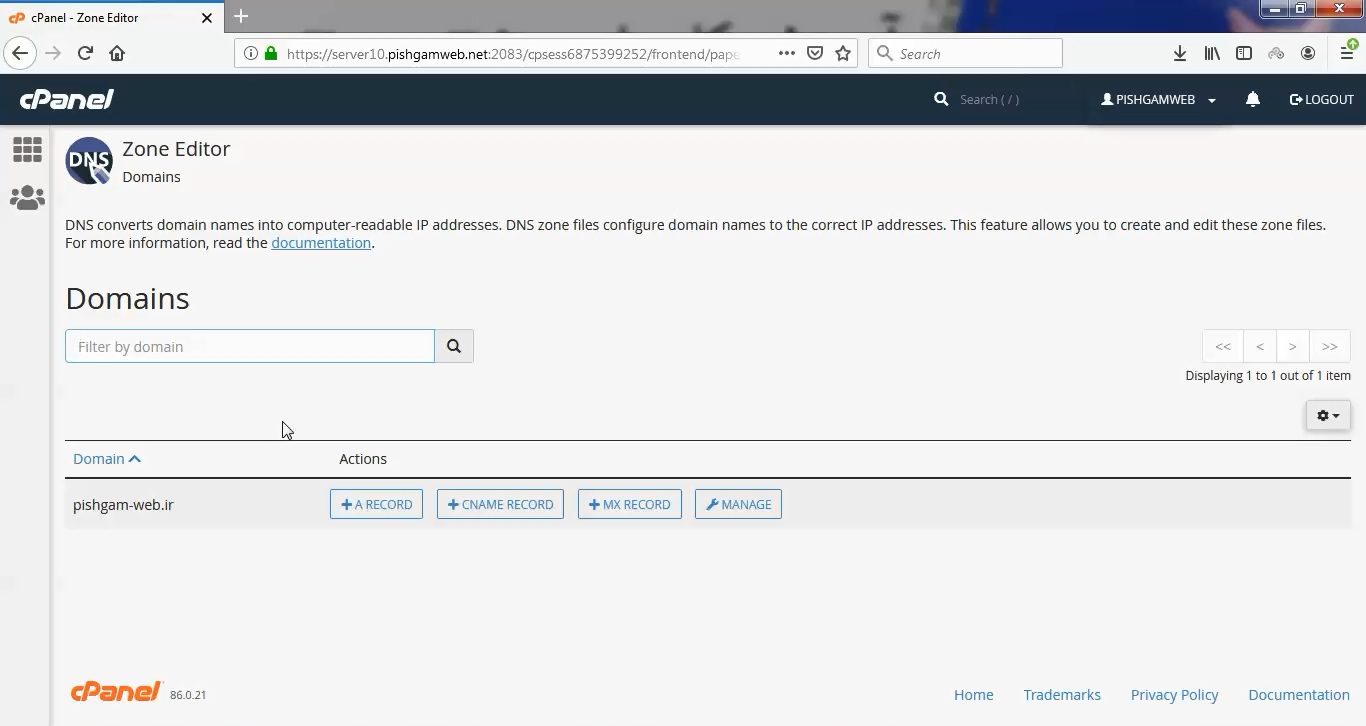
میتوانید از سایت پیشگام وب قسمت سرویس های من ، سرویس مورد نظر را انتخاب کرده و ورود به سی پنل را بزنید تا بصورت اتوماتیک وارد هاستتون بشید و همچنین میتوانید از لینک سایت خودتون ، البته اگر که دی ان اس های ( DNS ) پیشگام وب را درست ست کرده باشید و 24 ساعت گذشته باشد از طریق پورت 2082 و یا 2083 وارد بشید.
فقط نکته ای که هست و باید بهش توجه کنید ، اگر سایت را با http باز میکنید از پورت 2082 و اگر با https باز میکنید از 2083 استفاده کنید ، نمونه لینک در زیر مشخص شده است.
البته به این نکته توجه داشته باشید که باید جای آدرس سایت ما آدرس سایت خودتان را وارد کنید.
راه آخر جهت لاگین هم در صورتی که دی ان اس ها ( DNS ) را ست نکرده اید یا 24 ساعت از تنظیم آنها نگذشته است و دوست ندارید بطور مثال اطلاعات ناحیه کاربری رو به طراح بدید استفاده از لینک پیشفرض پیشگام وب هست که در زمان خرید هاست برای شما ارسال شده و اگر هم نتونستید پیدا کنید میتوانید تیکت بدهید تا به شما داده شود ، پایین هم میتوانید نمونه لینک رو مشاهده کنید.
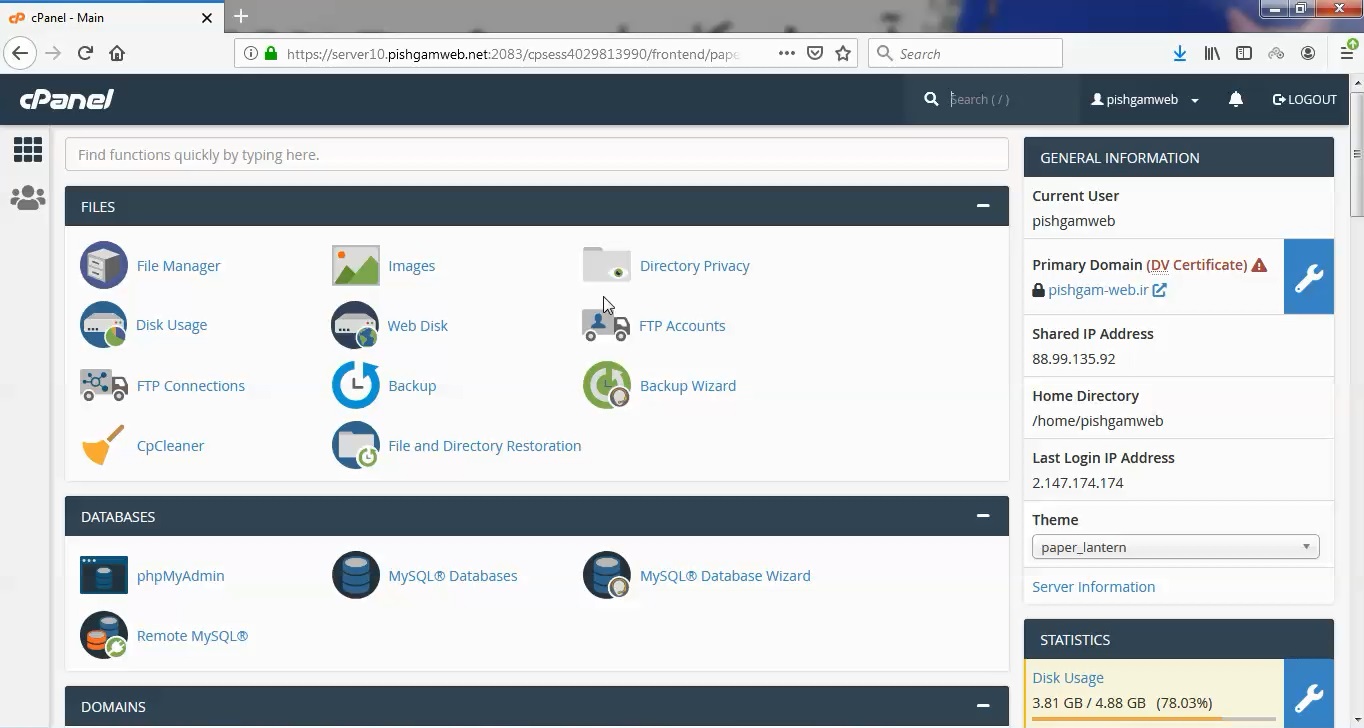
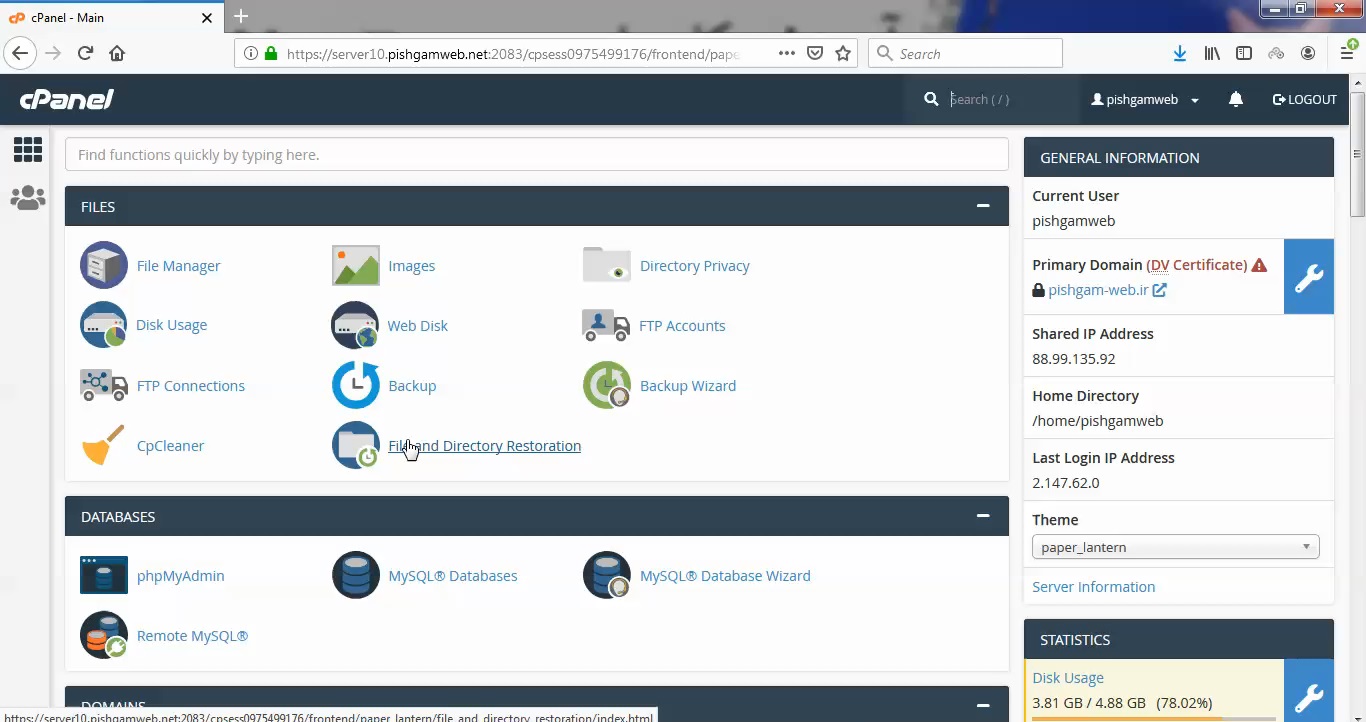
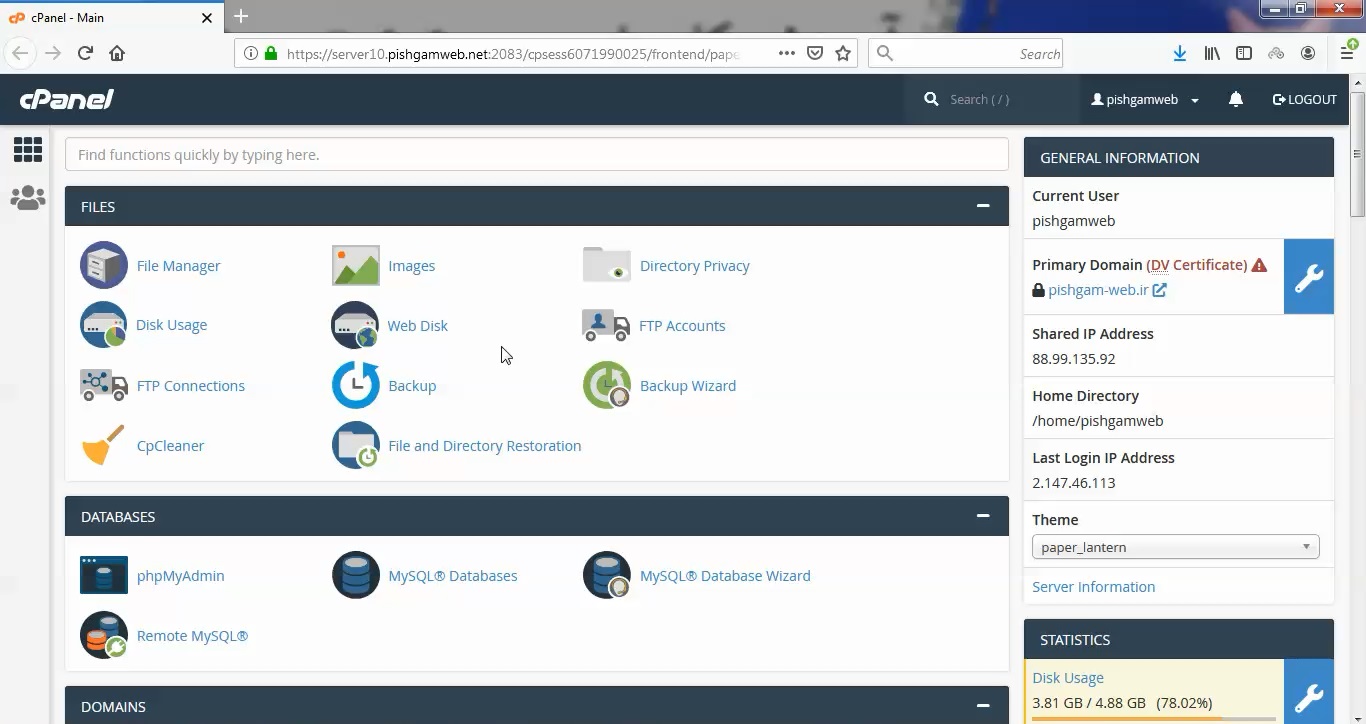
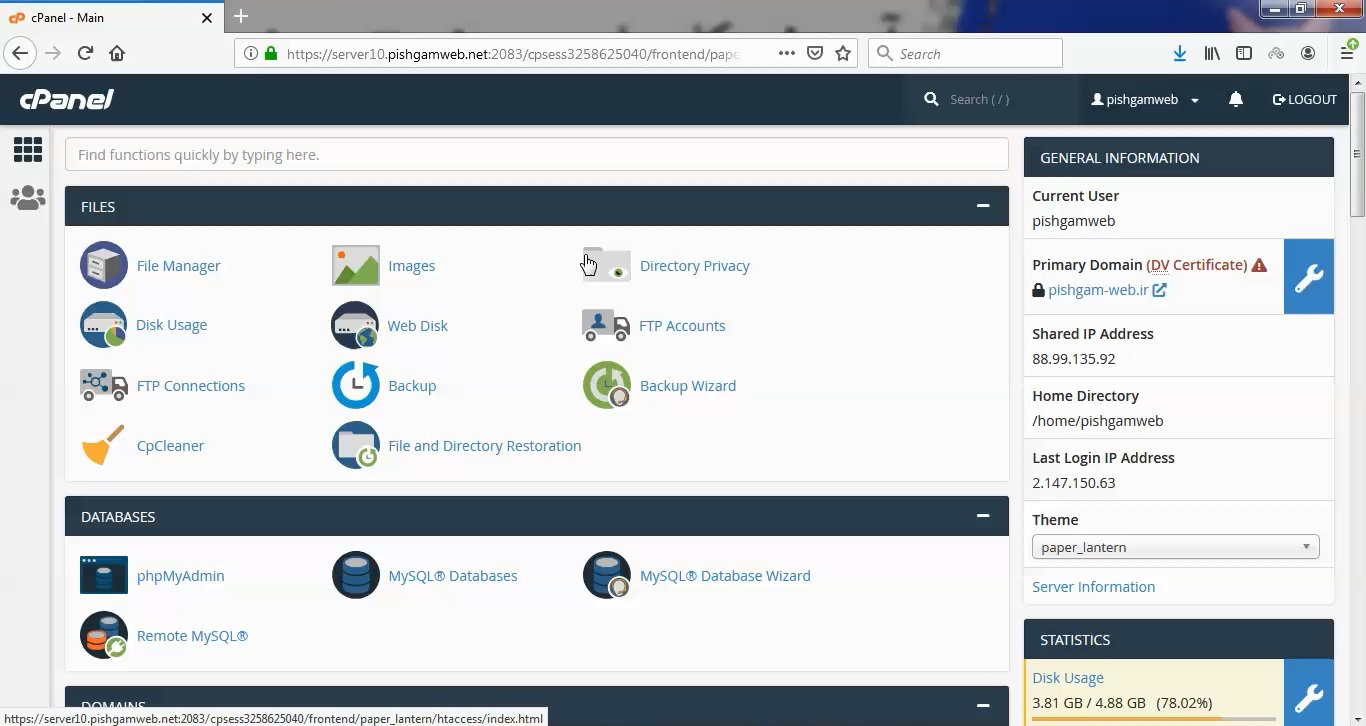
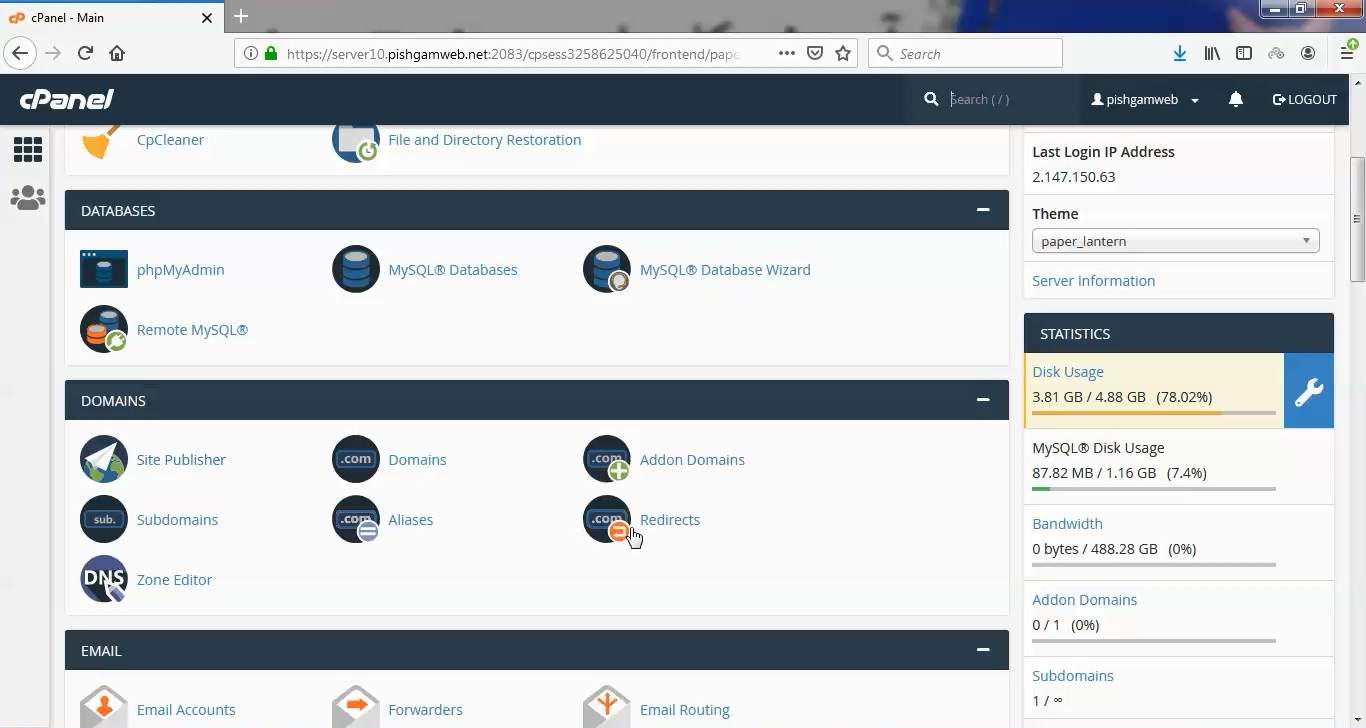
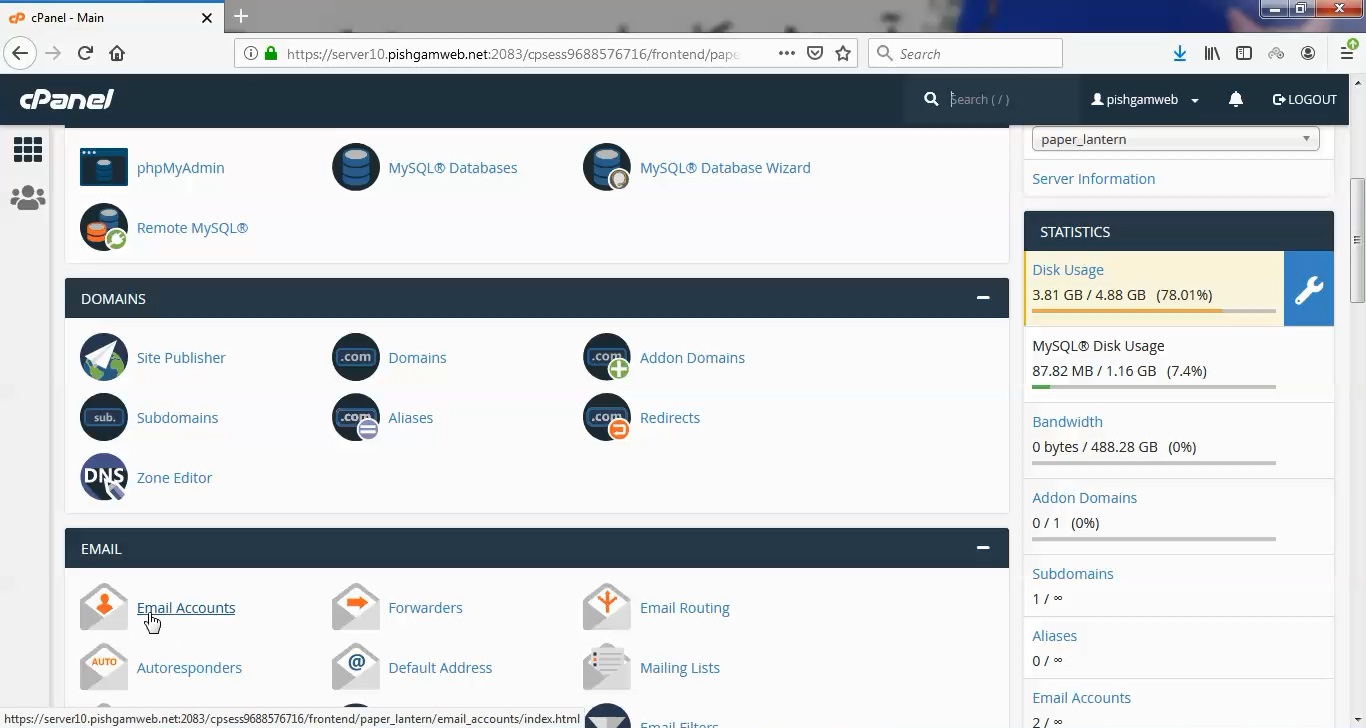
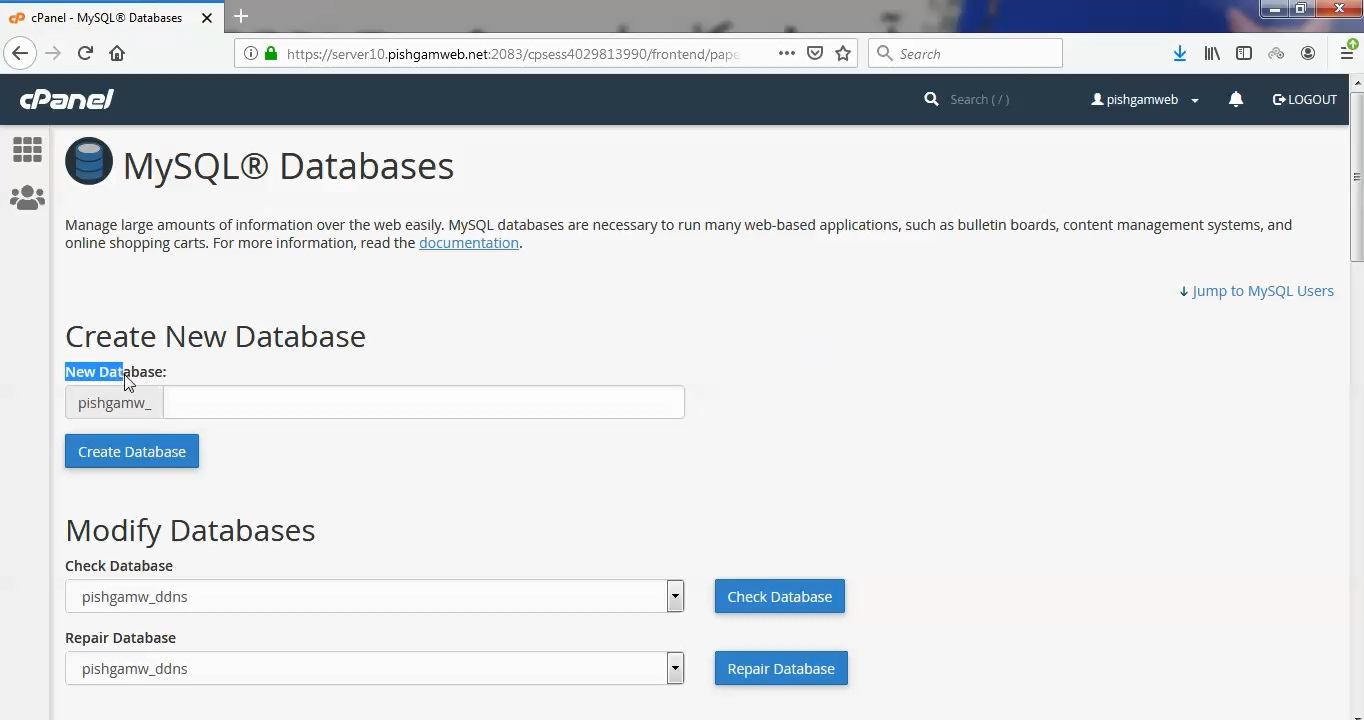
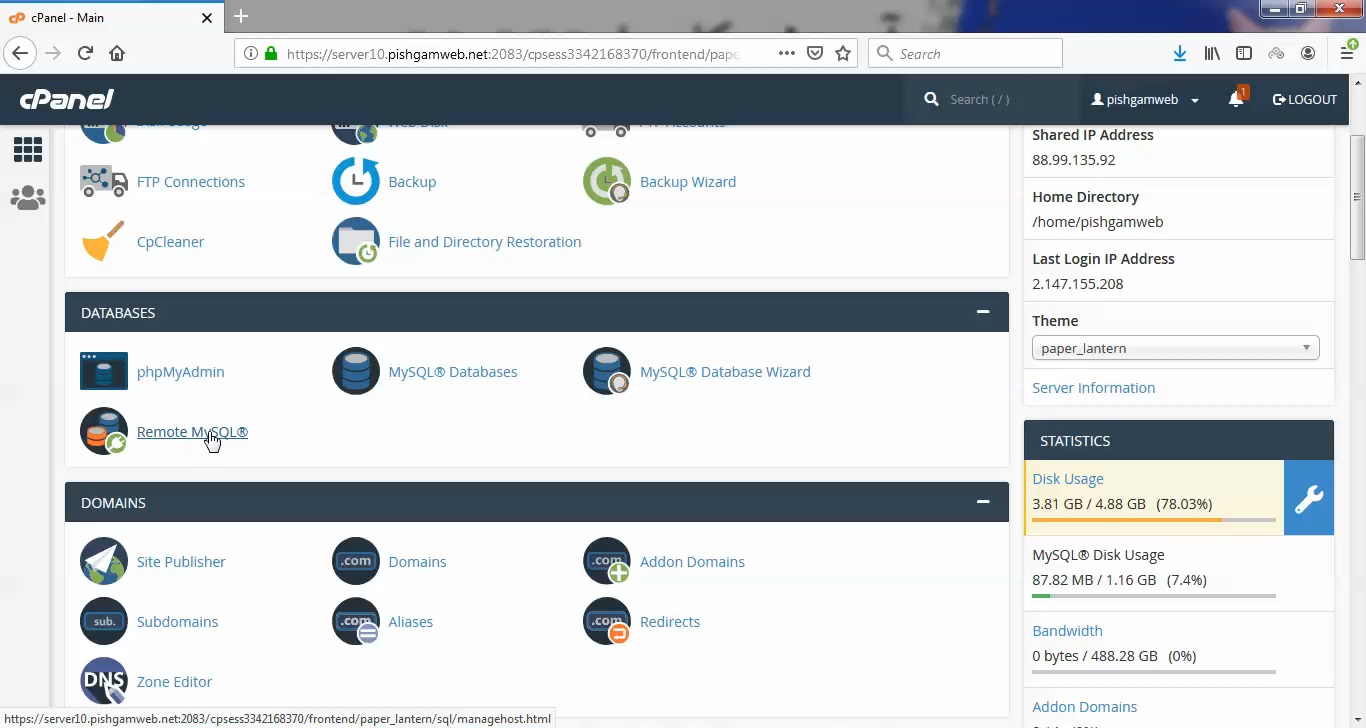
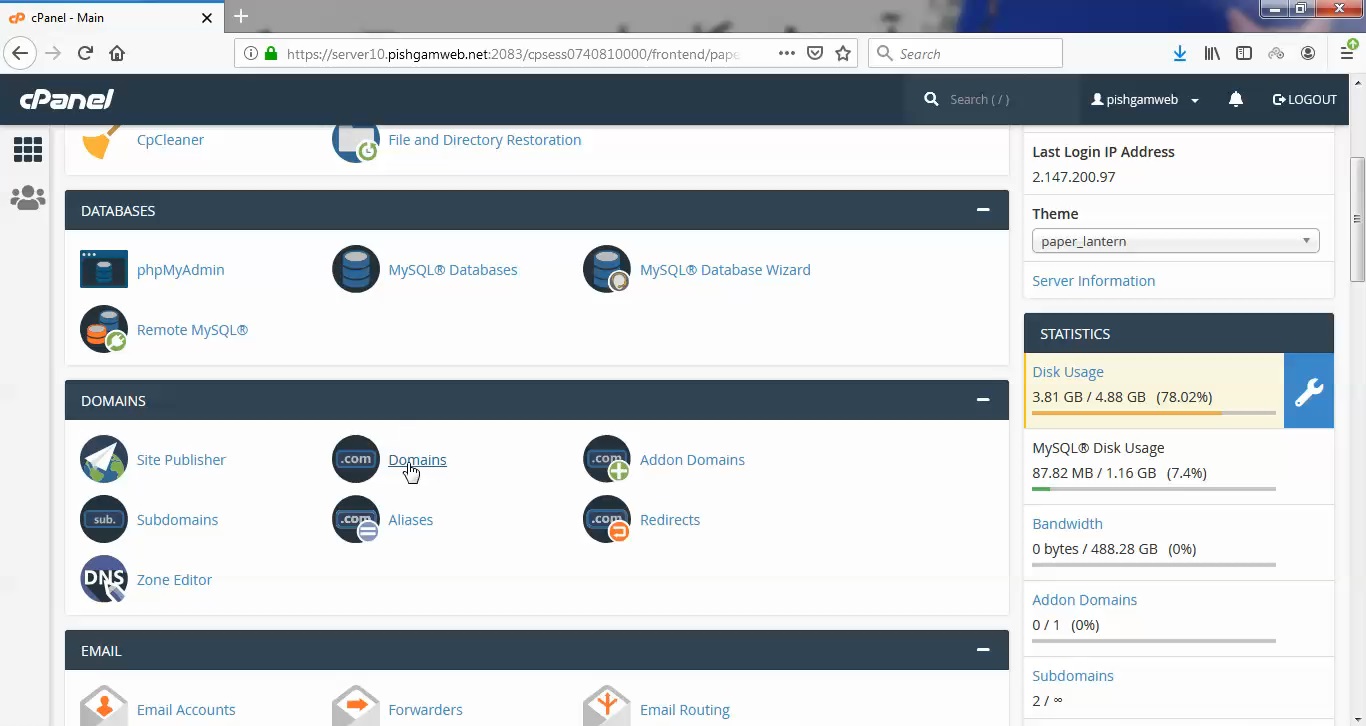
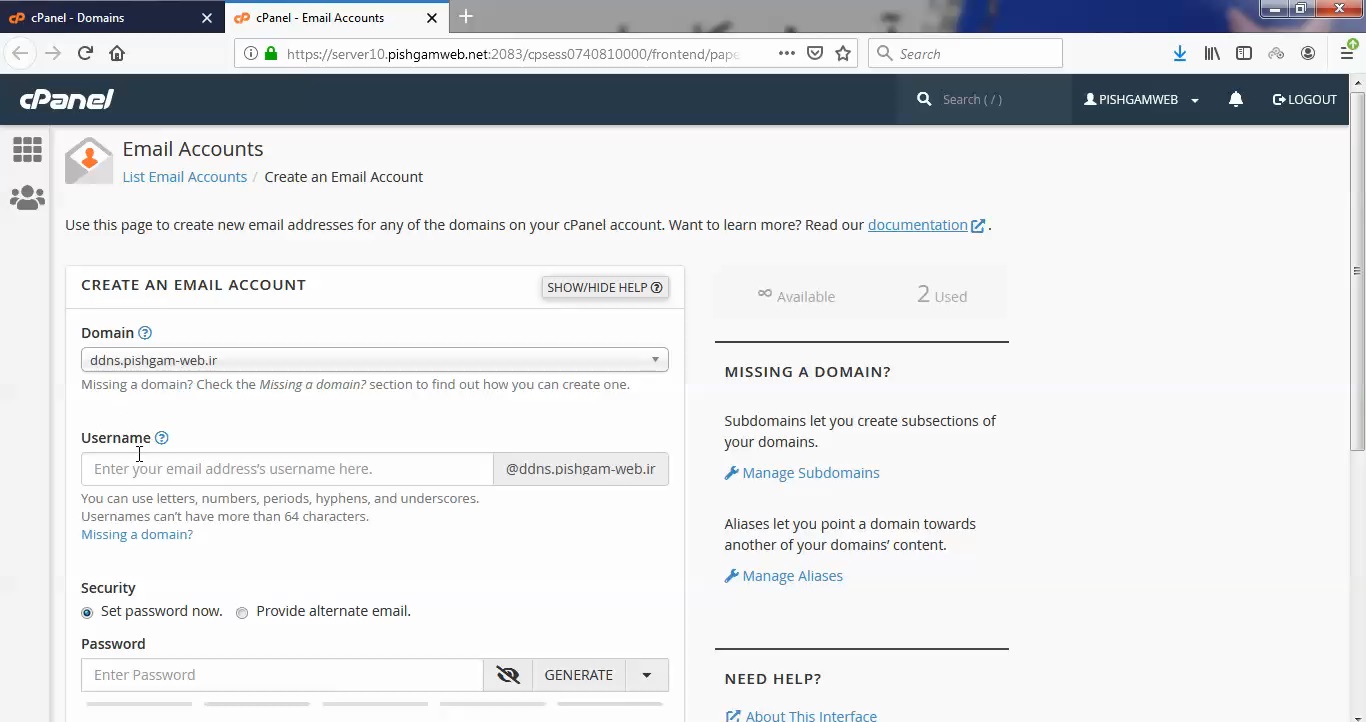
از قسمت دیتابیس روی گزینه MySQL® Databases کلیک کنید.

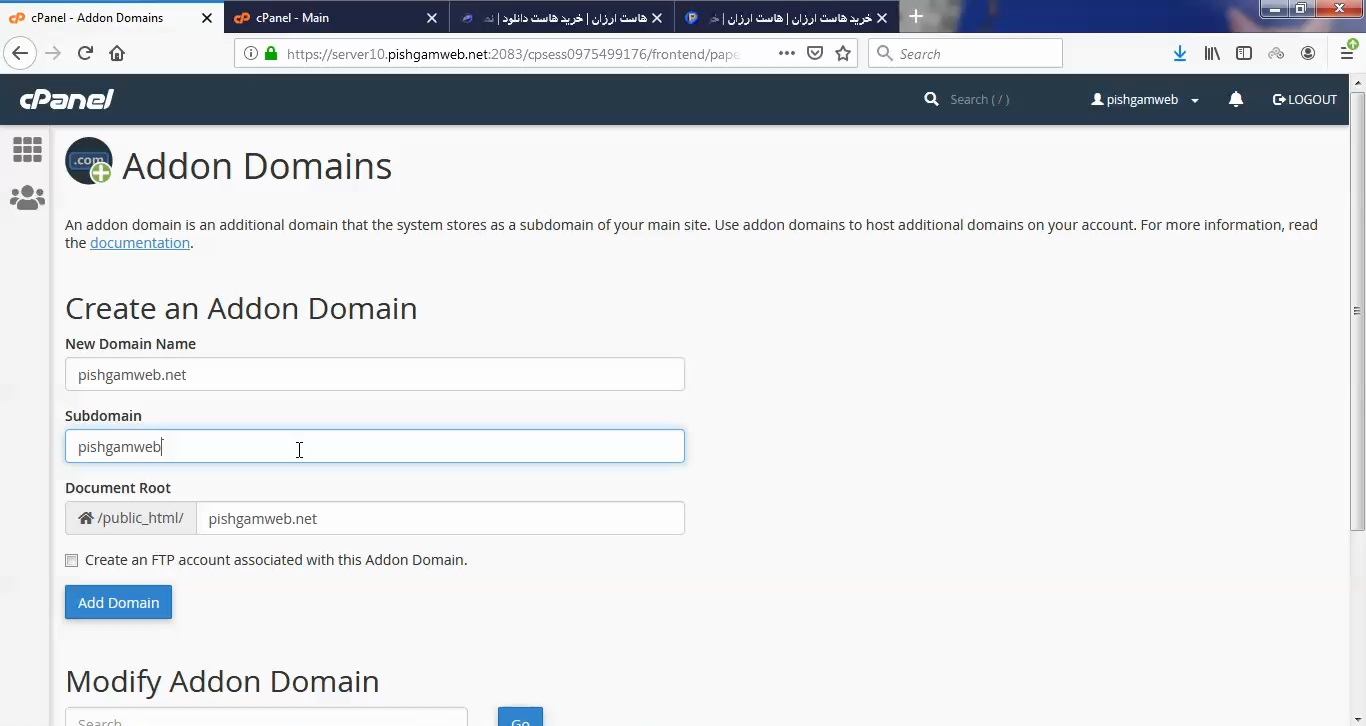
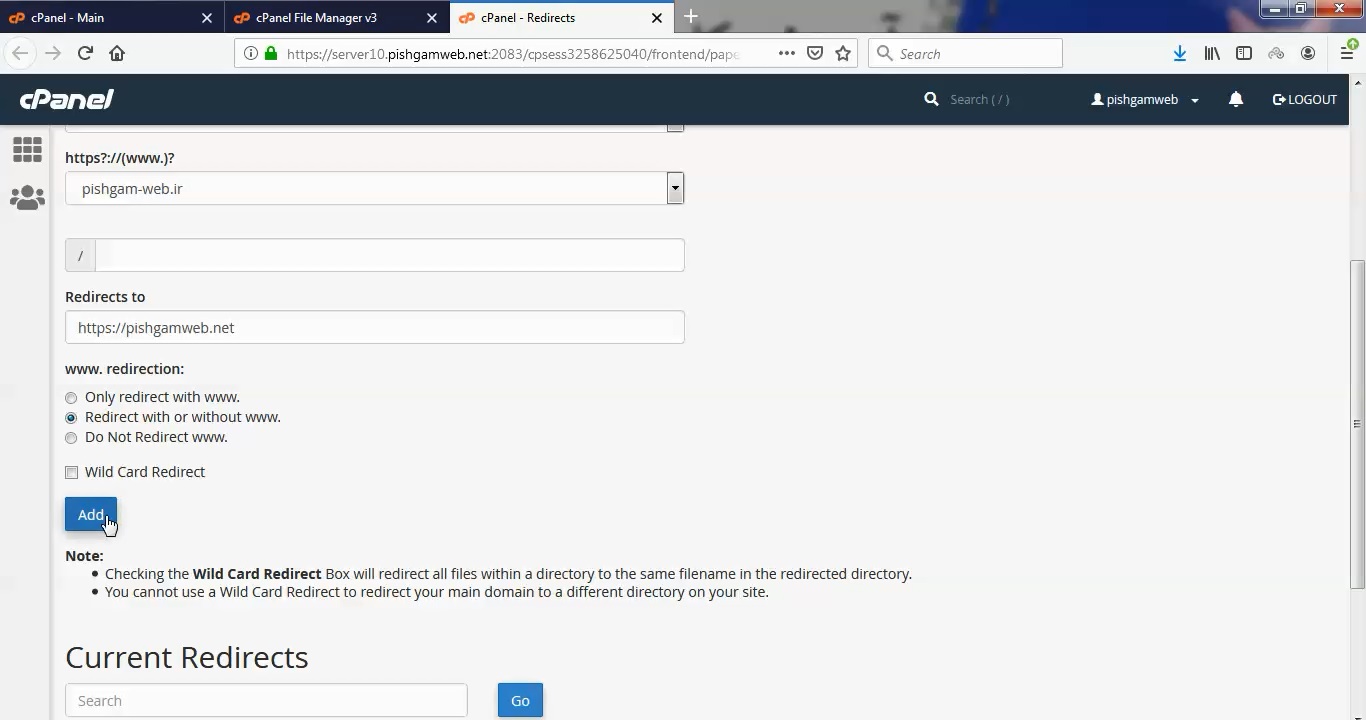
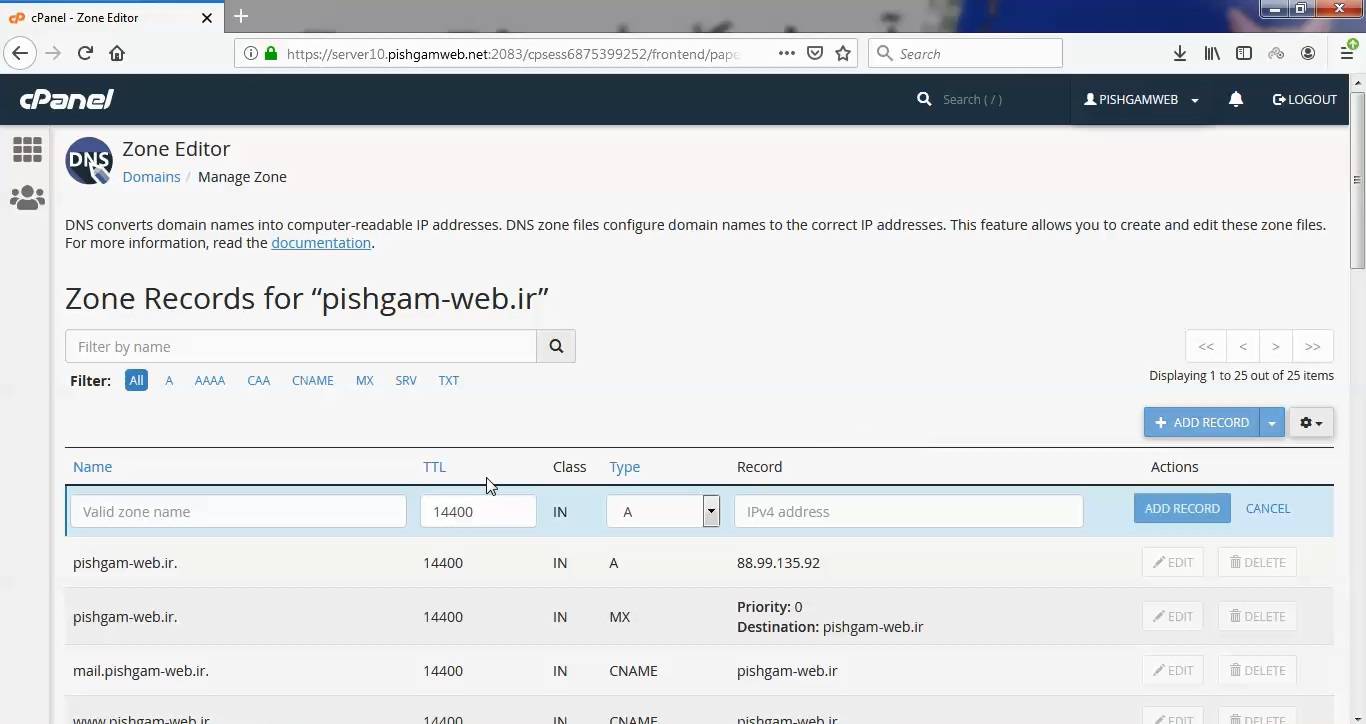
در قسمت Create New Database نام دیتابیس را وارد کرده و روی گزینه Create Database کلیک کنید.
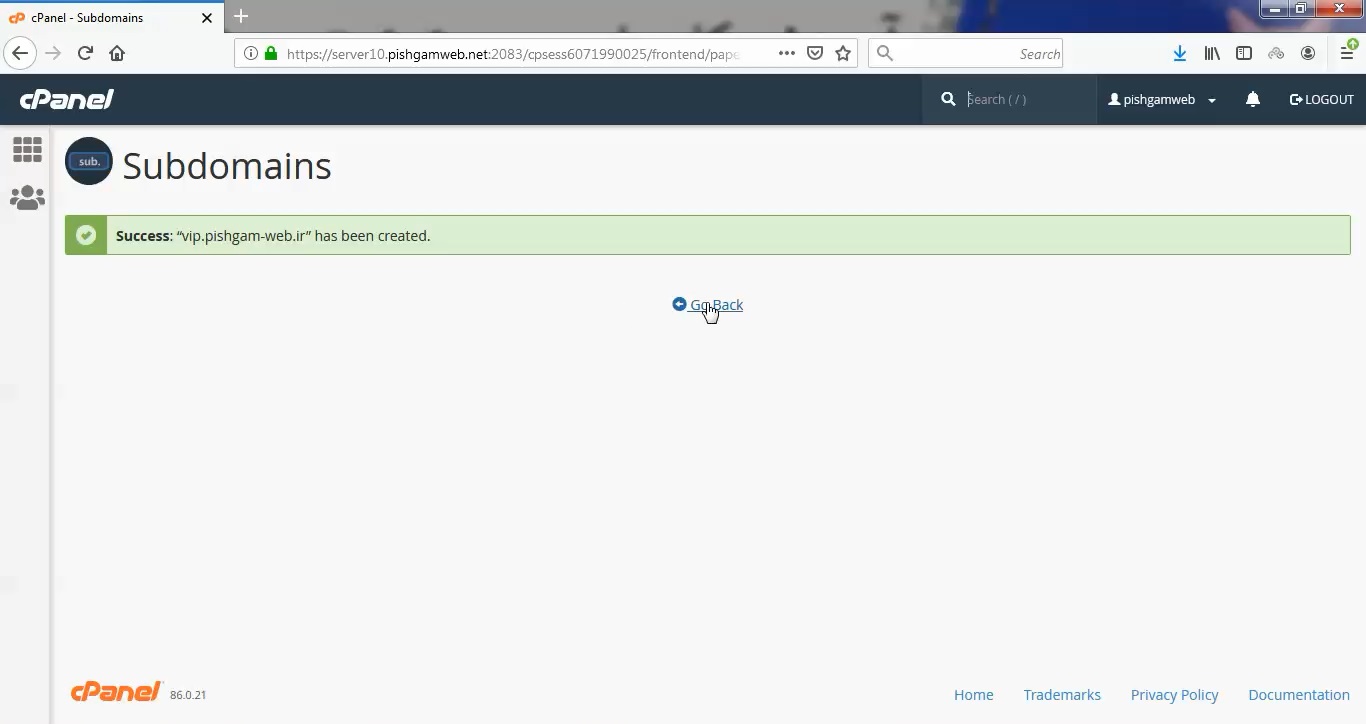
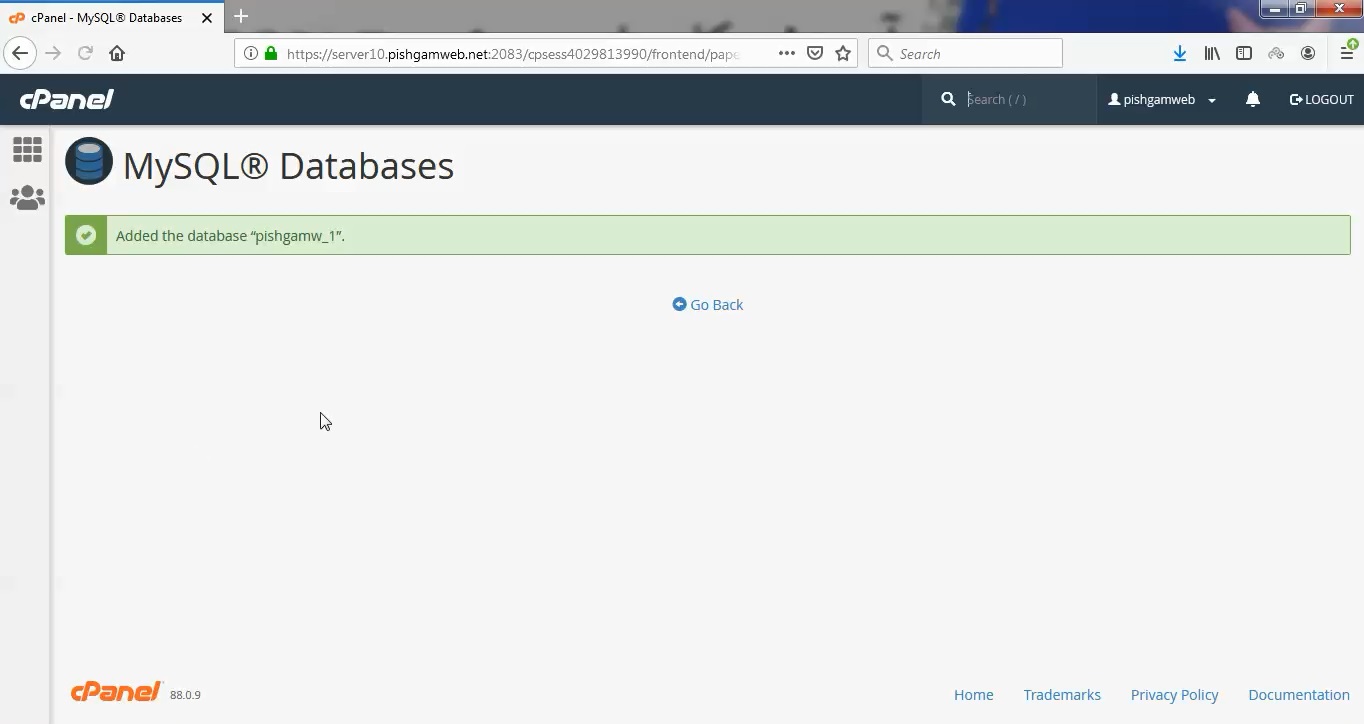
سپس پیام موفقیت امیز بودن ساخت دیتابیس به رنگ سبز مشخص میگردد.
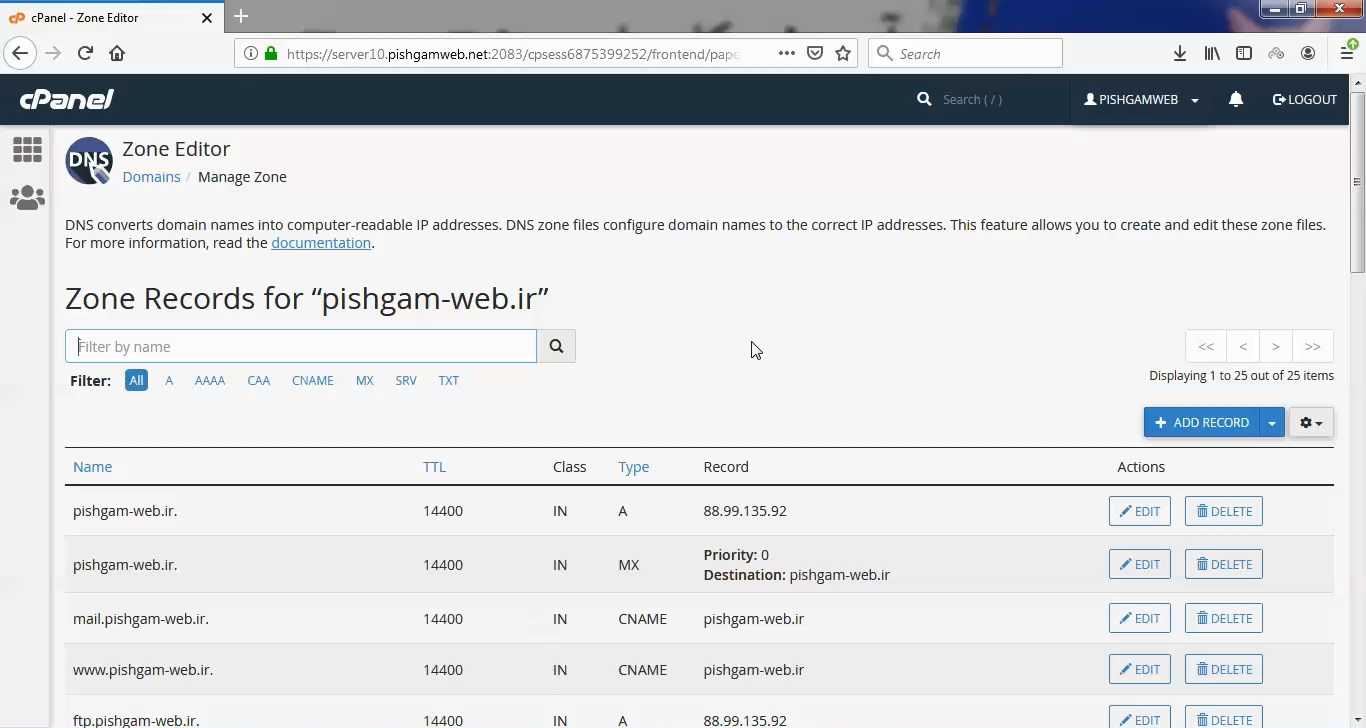
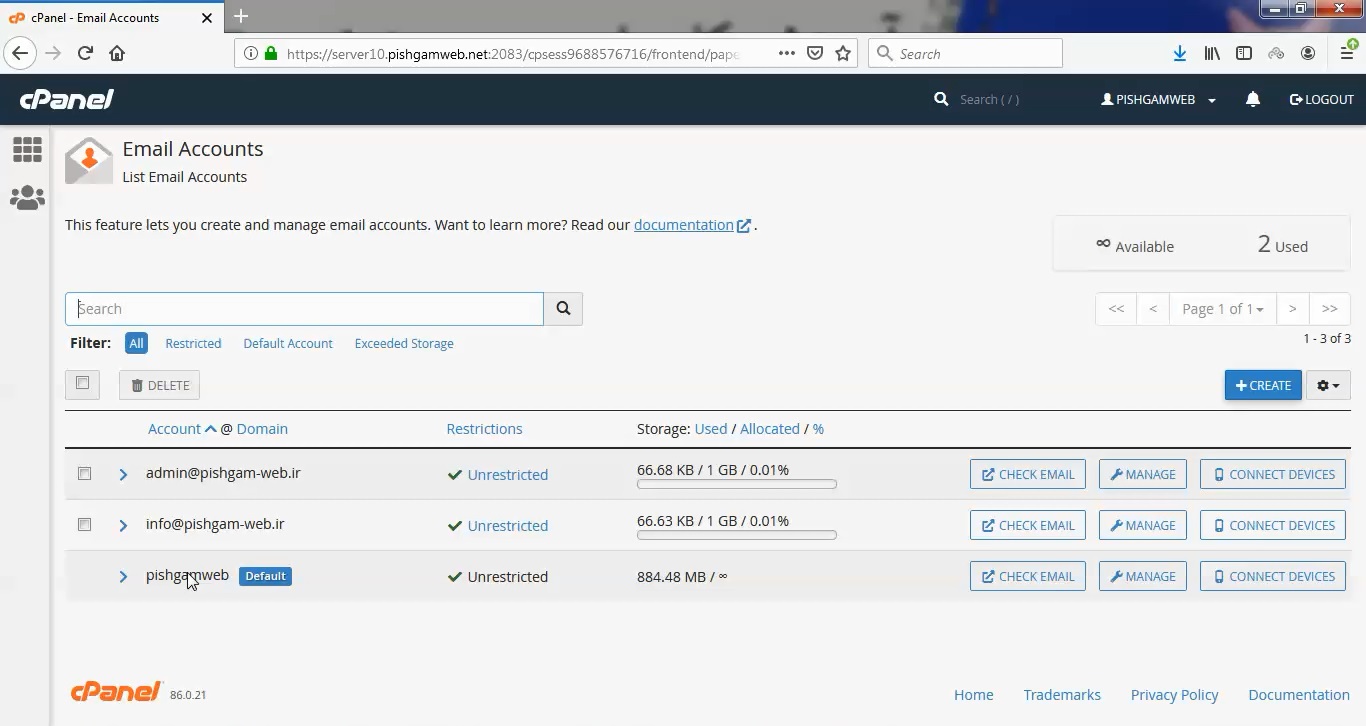
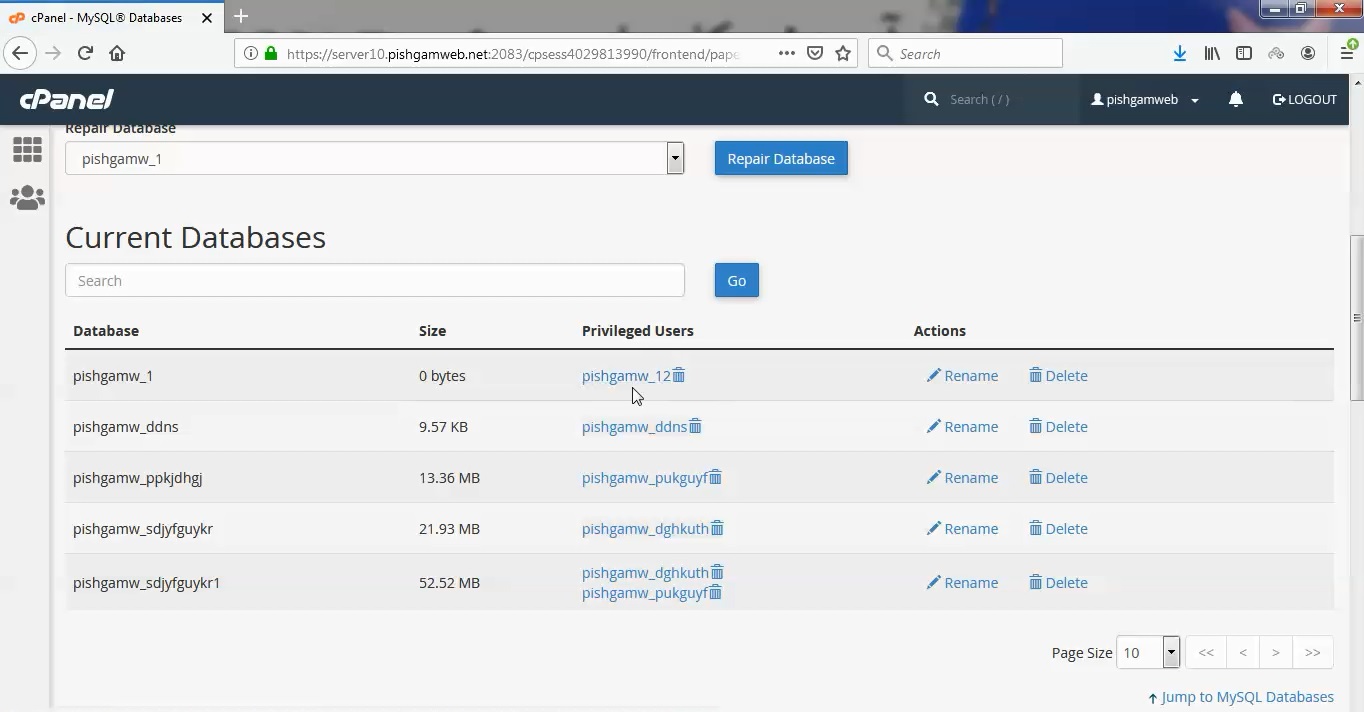
در قسمت Current Databases تمامی دیتابیس های قبلی را مشاهده میکنید.
در قسمت Privileged Users یوزر متصل به دیتابیس را مشاهده میکنید که هنوز یوزری برای دیتابیس pishgamw_1 مشخص نکرده ایم.

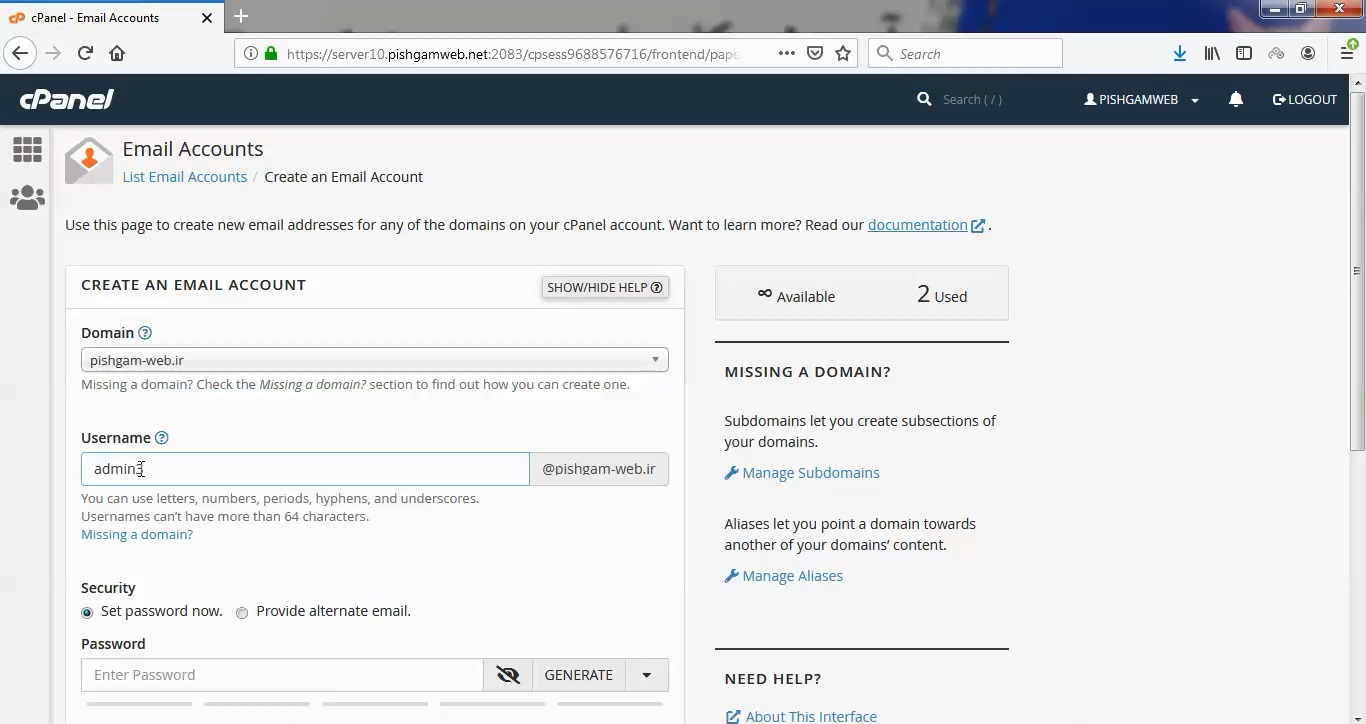
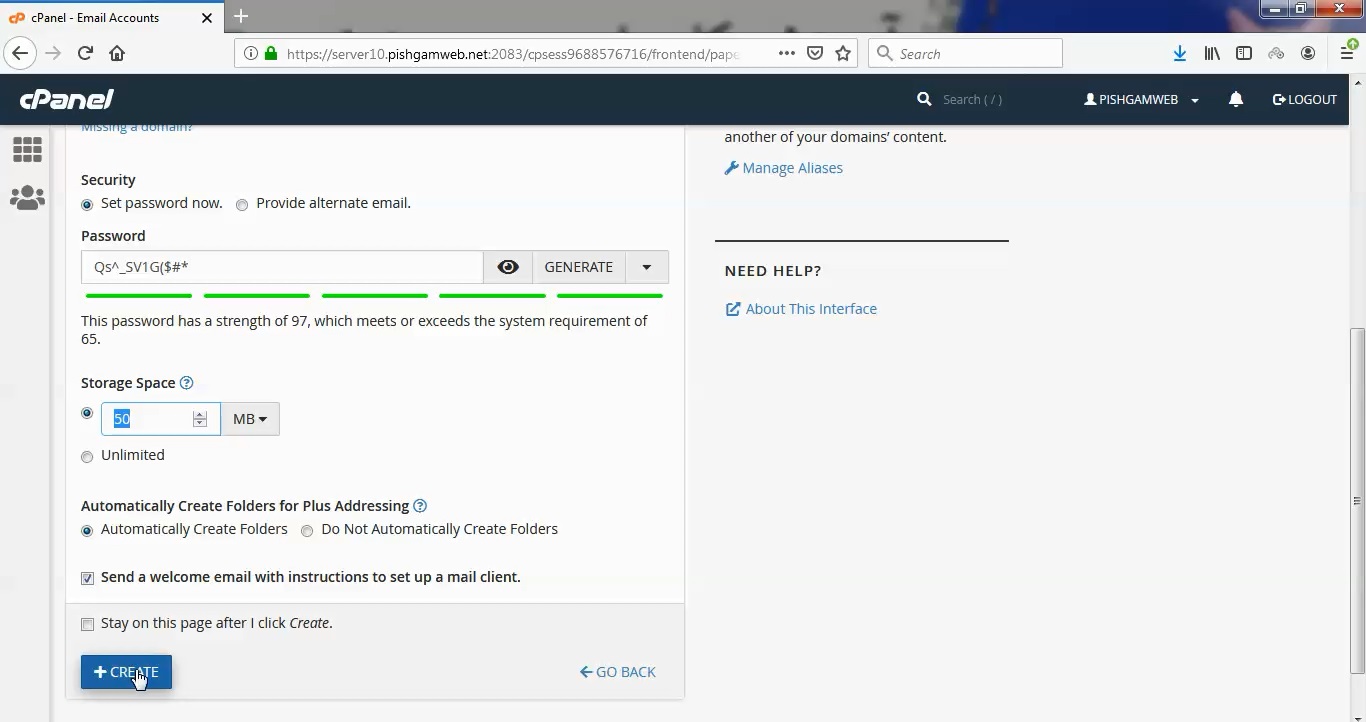
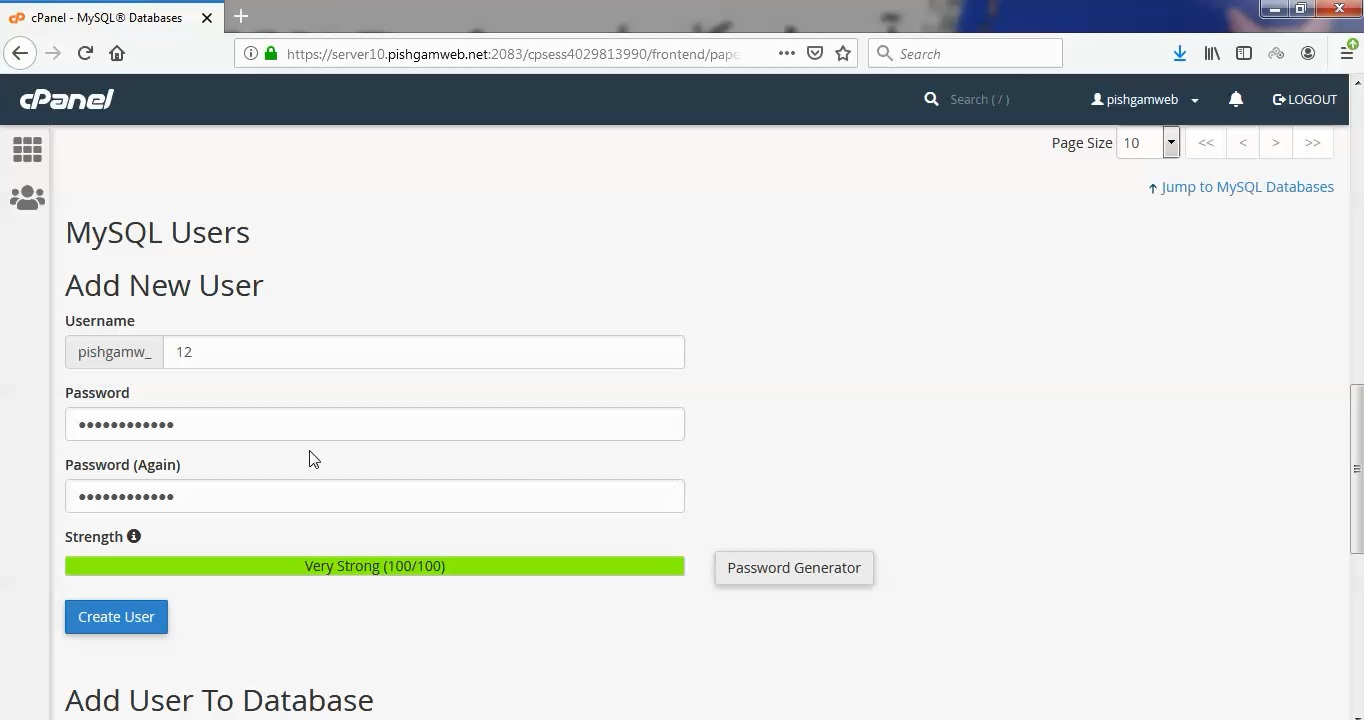
به قسمت MySQL Users میرویم و یوزر و همچنین پسورد مورد نظر را وارد میکنیم و سپس روی گزینه Create User کلیک میکنیم.
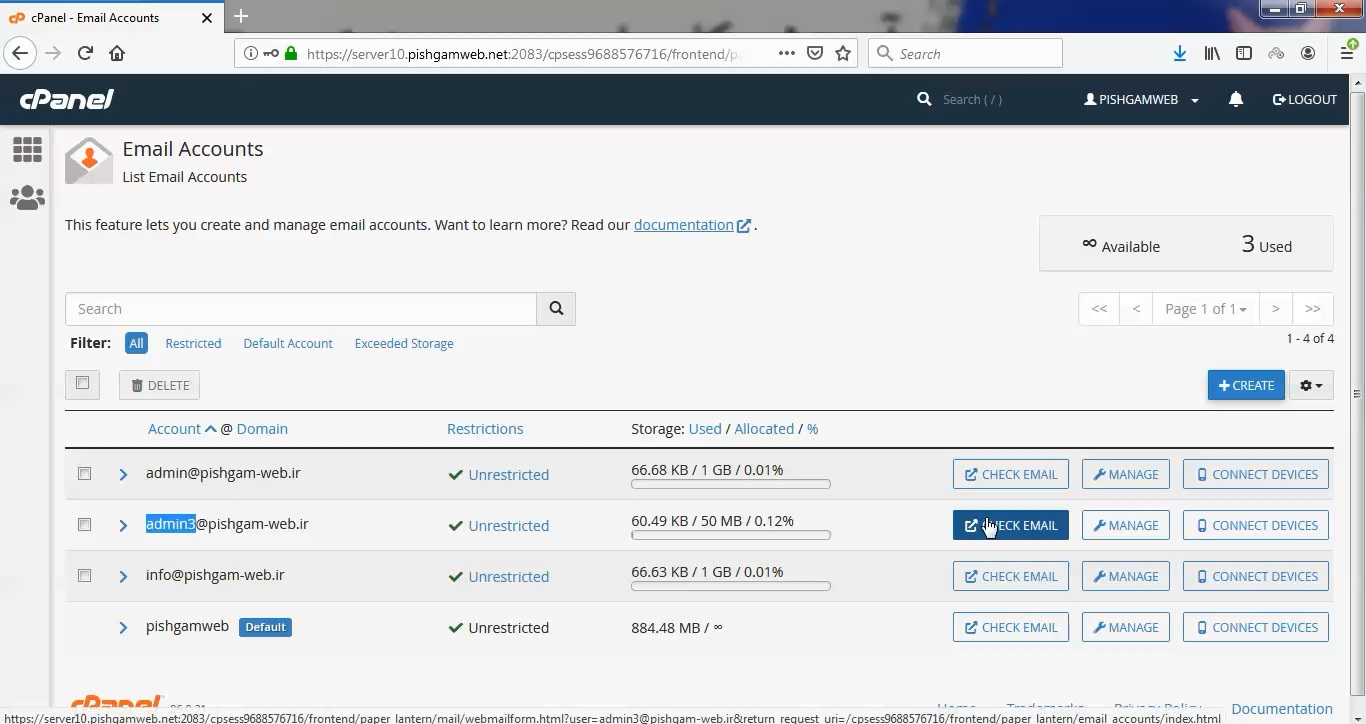
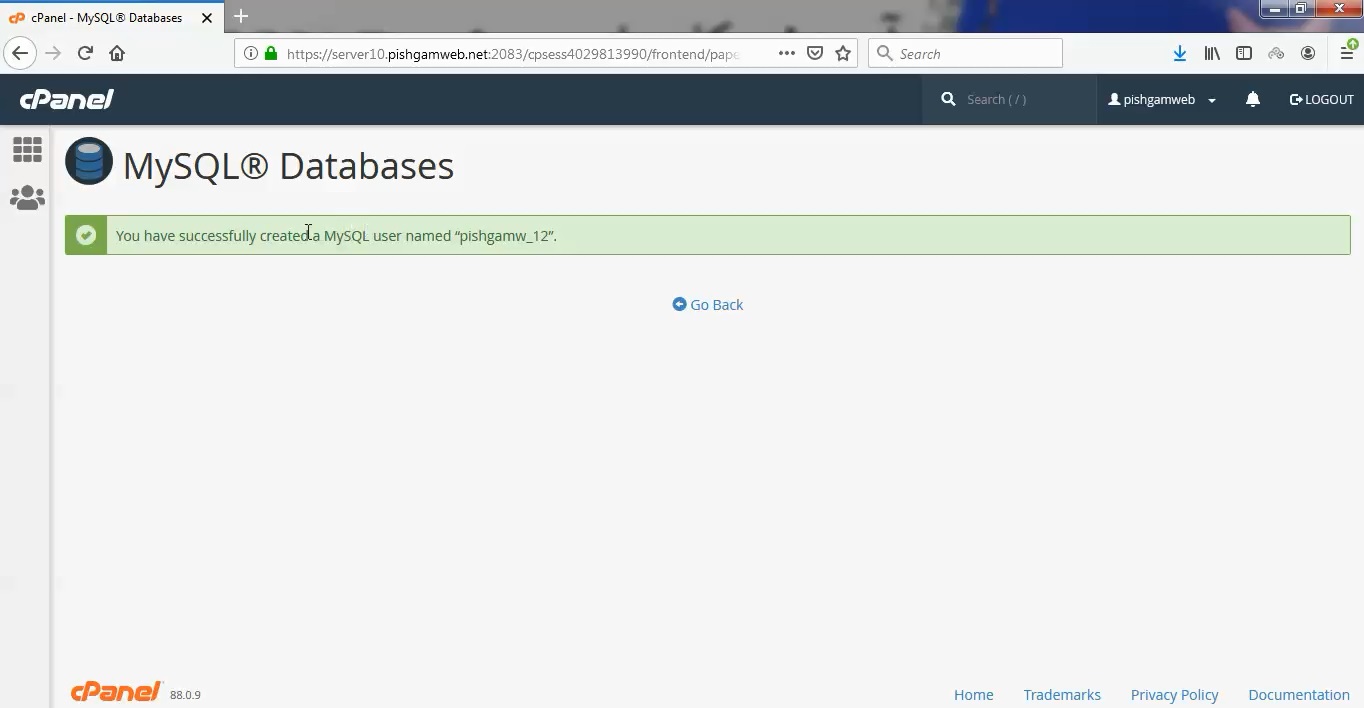
سپس پیام موفقیت امیز بودن ساخت یوزر به رنگ سبز مشخص میگردد.
در قسمت Current Users میتوانیم یوزر های ساخته شده را مشاهده کنیم.
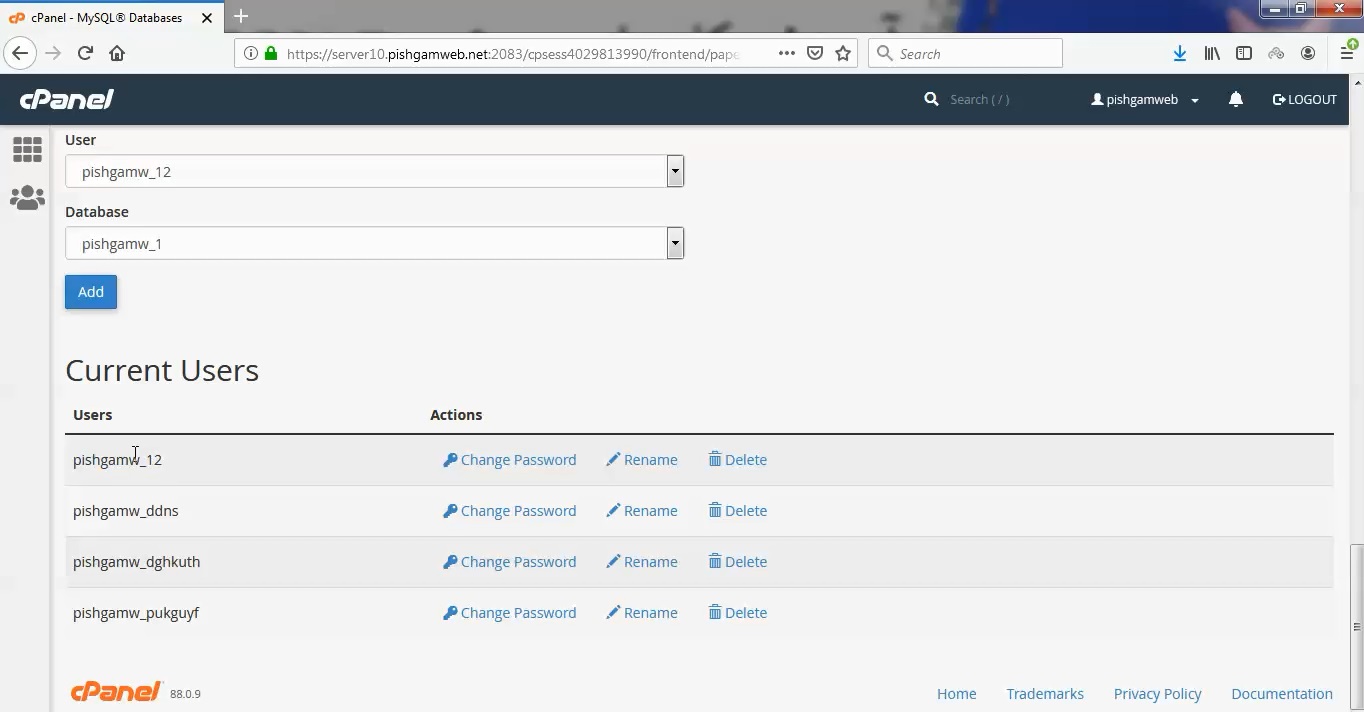
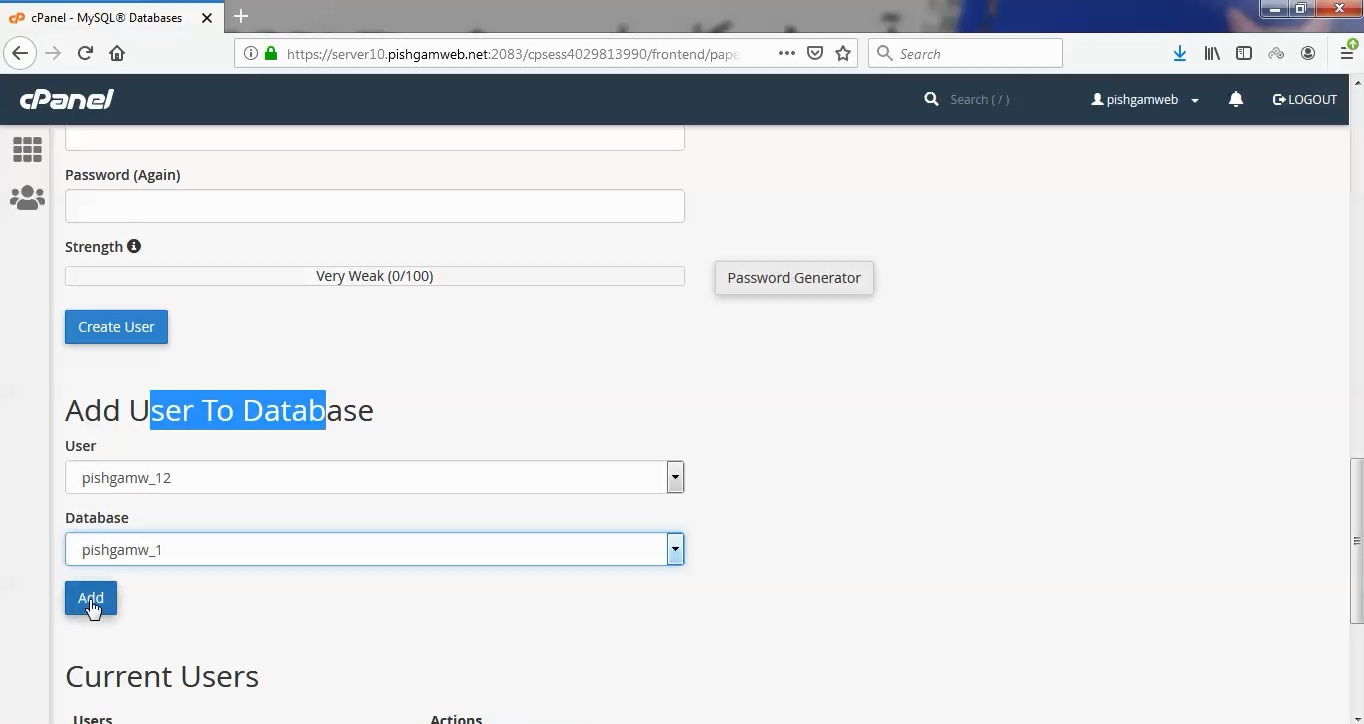
برای اتصال دیتابیس و یوزر به قسمت Add User To Database رفته و دیتابیس و یوزر ر اانتخاب کرده و سپس روی گزینه add کلیک میکنیم.
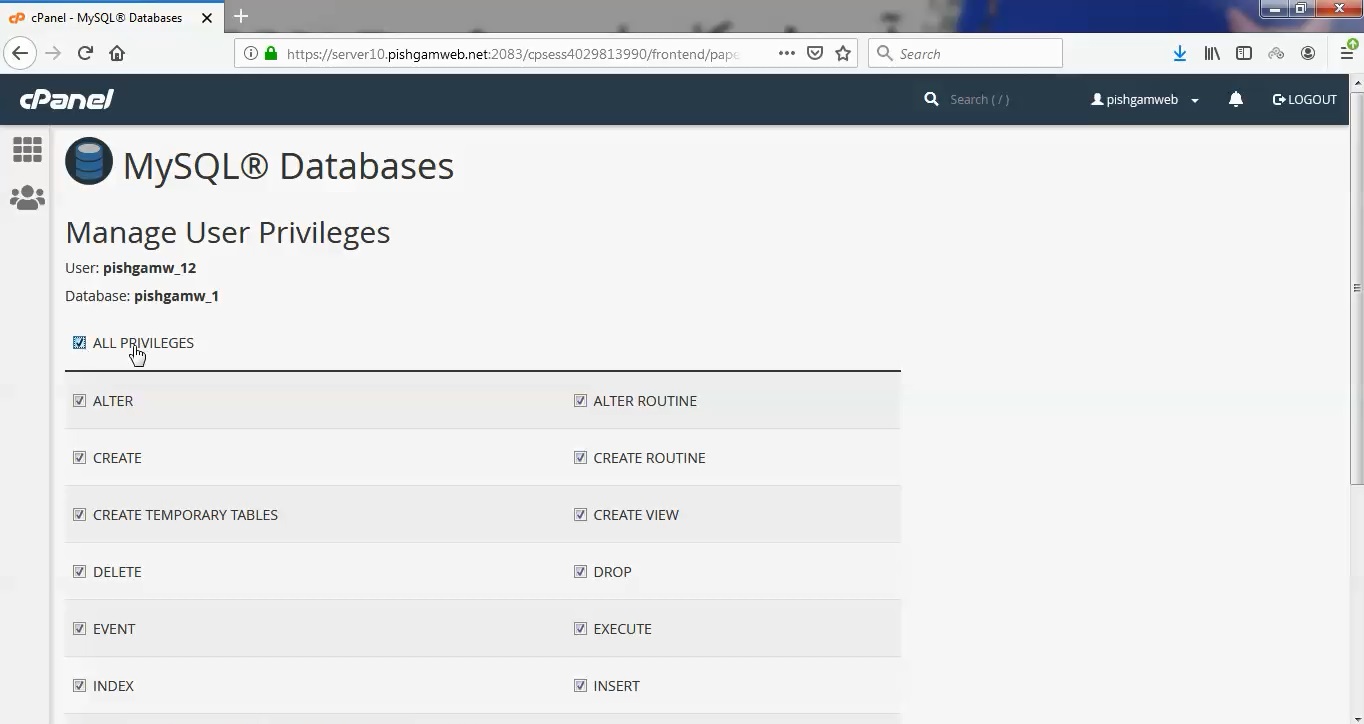
در صفحه باز شده تیک گزینه ALL PRIVILEGES را وارد میکنیم.
به انتهای صفحه رفته و روی گزینه Make Changes کلیک میکنیم.
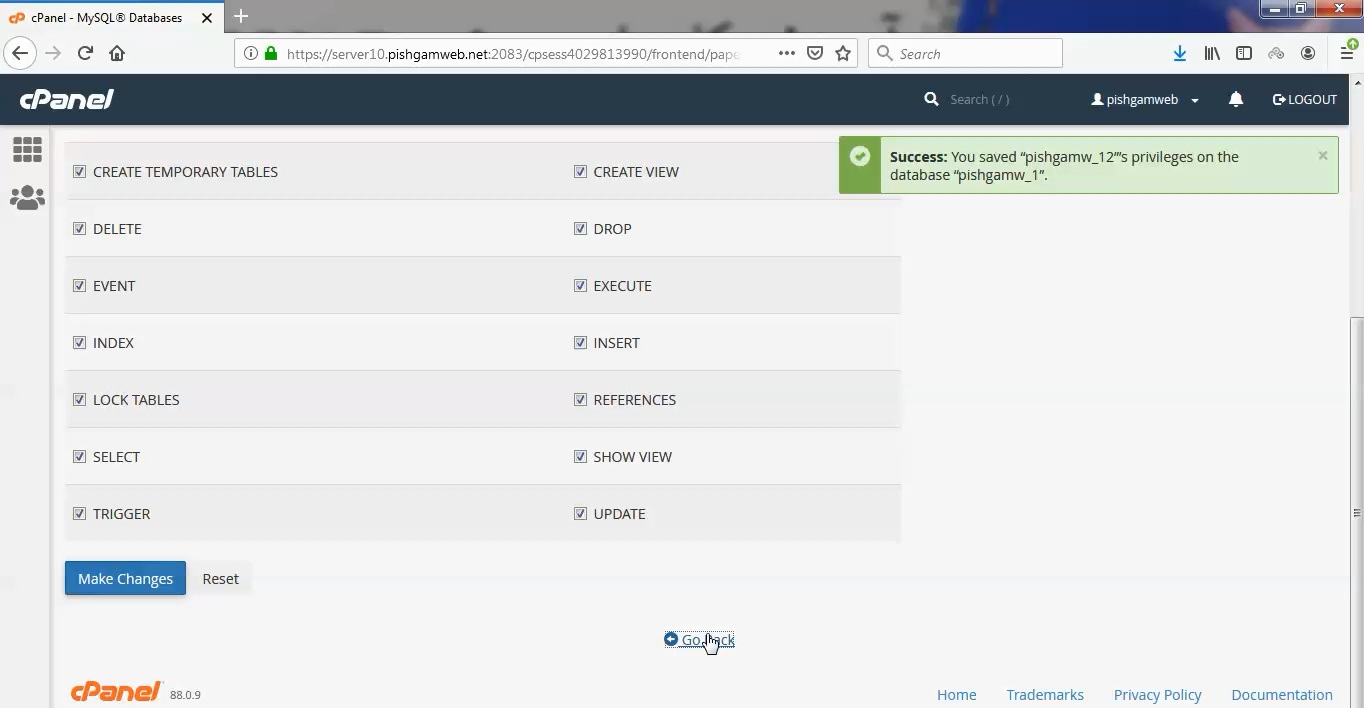
روی گزینه go back کلیک میکنیم و به قسمت Current Databases میرویم همانطور که مشاهده میکنید یوزر به دیتابیس متصل گردیده است و میتوانید استفاده کنید.
مشاهده فیلم آموزشی از سایت آپارات
برای دانلود فیلم آموزش از قسمت تنظیمات روی گزینه دانلود کلیک کرده و کیفیت مد نظر خود را انتخاب کنید تا فیلم آموزش دانلود گردد.
نکته : هر چقدر که عدد این قسمت بیشتر باشد ، کیفیت فیلم دانلودی بالاتر خواهد بود.
آموزش های ابتدایی :
دوستان عزیز آموزش که خدمتتون ارائه کردیم از سری آموزش های ابتدایی پیشگام وب هست و این آموزش جزو پایه ای ترین آموزش های سایت هست امیدوارم که آموزشممون کامل باشه.
منتظر نظرات و پیشنهادات شما در قسمت دیدگاه های سایت هستیم.
learn from cpanel
Overview
Use this interface to create, manage, and delete MySQL® databases and database users.Warning:
Don’t use phpMyAdmin to create databases or database users. phpMyAdmin doesn’t map databases, which causes backups and restorations to not function. Note:
- We recommend that you use the MySQL Database Wizard to create your first database and user.
- A database name may contain a maximum of 64 characters.
- Due to the method that cPanel & WHM uses to store MySQL database names, each underscore character requires two characters of that limit.
- If you enable database prefixing, a database name may contain a maximum of 63 characters, which includes the database prefix and the underscore character. Each additional underscore requires another two characters of that limit.
- To enter information in an existing database, or copy a database, use the phpMyAdmin interface (cPanel >> Home >> Databases >> phpMyAdmin).
Create a database
To create a database, perform the following steps:
- In the New Database text box, enter a name for the database.Note: If your hosting provider has enabled database prefixing, a prefix based on your account username and underscore character (
_) will precede the New Database text box. The system automatically prepends this prefix to the database name. - Click Create Database. A new interface will appear.
- Click Go Back. The new database appears in the Current Databases table.
To access and manage databases that you create, use the phpMyAdmin interface (cPanel >> Home >> Databases >> phpMyAdmin). For information about how to use phpMyAdmin, visit the phpMyAdmin website.
Modify Databases
If you experience problems with a database, check your databases for errors.
Check a database
To check a database for errors, perform the following steps:
- In the Check Database menu, select the database that you wish to check.
- Click Check Database. A new interface will appear, and the system will check whether the database functions correctly.
- If the system detects a problem in the database, it displays the name of the corrupt table.
- If the Check Complete message displays, the database functions correctly.
- Click Go Back to return to the main interface.
Repair a database
If one of your databases becomes corrupt, you can attempt to repair it.
To repair a database, perform the following steps:
- In the Repair Database menu, select the database that you wish to repair.
- Click Repair Database. A new interface will appear, and the system will attempt to automatically repair the database.
- If the system cannot repair the database, it will attempt to determine the source of the corrupt data.
- If the Repair Complete message displays, the system successfully repaired the database.
- Click Go Back to return to the main interface.
Current Databases
The Current Databases table lists the following information for each database in your account:
- Database — The name of the database.
- Size — The size of the database.
- Privileged Users — The users who can manipulate the database. Note: When you modify database users, make certain that you modify the user’s access to the correct database. Users may have access to more than one database.
- To remove a user from a database, click the trashcan icon () for the desired user, and then click Revoke User Privileges from Database.
- To modify a user’s privileges for a specific database, click the desired username, select and deselect checkboxes to configure the desired privileges, and then click Make Changes.
- Actions — The available actions for this database. Click the appropriate icon in this column to rename or delete a database.
Rename a database
Warning:
- It is potentially dangerous to rename a MySQL database. We strongly recommend that you perform a backup of the MySQL database in cPanel’s Backup interface (cPanel >> Home >> Files >> Backup) before you attempt to rename it.
- When you rename a database, the system terminates all active connections to the database.
- You must manually update configuration files and applications to use the new database name.
- The system requires more time to rename larger and more complex databases.
To rename a database, perform the following steps:
- In the Current Databases table, click Rename for the desired database.
- Enter the new database name in the New name text box.
- Click Proceed.
MySQL does not allow you to rename a database. When cPanel & WHM “renames” a database, the system performs the following steps:
- The system creates a new database.
- The system moves data from the old database to the new database.
- The system recreates grants and stored code in the new database.
- The system deletes the old database and its grants.
Warning:
- If any of the first three steps fail, the system returns an error and attempts to restore the database’s original state. If the restoration process fails, the API function’s error response describes these additional failures.
- In rare cases, the system creates the second database successfully, but fails to delete the old database or grants. The system treats the rename action as a success; however, the API function returns warnings that describe the failure to delete the old database or grants.
Delete a database
To delete a database, perform the following steps:
- In the Current Databases table, click Delete for the desired database.
- To permanently delete the database, click Delete Database.
- Click Go Back to return to the main interface.
Add a MySQL user
After you create a database, add users to the database and configure their privileges.Note:
- You must create MySQL user accounts separately from mail and web administrator accounts.
- You must create a user before you can add the user to an existing database.
To create a new user account, perform the following steps:
- Enter a username in the Username text box.Important: To learn more about database username limits, click your database type:
- Enter and confirm the new password in the appropriate text boxes. Note:
- The system evaluates the password that you enter on a scale of 100 points.
0indicates a weak password, while100indicates a very secure password. - Some web hosts require a minimum password strength. A green Strength meter indicates that the password is equal to or greater than the required password strength.
- Click Password Generator to generate a strong password. For more information, read our Password & Security documentation.
- The system evaluates the password that you enter on a scale of 100 points.
- Click Create User.
- Click Go Back to return to the main interface.
Add a user to a database
To add a user to a database, perform the following steps:
- In the Add User To Database section of the interface, select the desired user and database from the menus.
- Click Add. The MySQL Account Maintenance interface will appear.
- Select the checkboxes that correspond to the privileges that you wish to grant to the user.Note: To grant all of the available privileges to the user, select the ALL PRIVILEGES checkbox.
- Click Make Changes.
- Click Go Back to return to the main interface.
For more information about user privileges, read the MySQL documentation.
Current Users
The Current Users table lists all of your MySQL database users, and allows you to perform the following actions:
- Change Password — Click to modify a database user’s password. Enter and confirm the desired password, and then click Change Password.
- Rename — Click to rename a database user. Enter the desired username, and then click Change Username.
- Delete — Click to permanently delete a database user, and then click Delete User to continue.


 ) or the file path to navigate to the File Manager interface (cPanel >> Home >> Files >> File Manager) for that domain. A new interface will appear.
 ).
).