ایمیل
ایمیل  چت آنلاین
  پشتیبانی
 آموزش کار با Aliases در cpanel

دوستان عزیز پیشگام وبی امیدوارم که حالتون خوب باشه ، امروز با آموزش کار با Aliases در cpanel خدمتتون هستیم و امیدوارم توضیحاتی که در این مطلب و یا در انتها مطلب که بصورت فیلم قرارداده شده بتونه به شما کمک کنه و هر روز بیشتر پیشرفت کنید.
خوب اصلا این قسمت به چه دردی میخوره کجا بهش نیاز داریم و در کل کاربردش چی هست؟
دامنه هایی که به یک دامنه اصلی اشاره میکنند و محتوای همه دامنه های پارک شده با دامنه اصلی که دامنه های پارک شده به آن اشاره میکنند ، یکسان است و اگر کاربر آن ها را در مرورگر وارد نماید ، باز هم صفحه مربوط به دامنه اصلی را مشاهده خواهد نمود. با استفاده از دامنه های جانشین شما می توانید اشتباهات تایپی کاربران را اصلاح نمایید. برای مثال چنانچه نام دامین شما Domain.com است و کاربر Domain.ir را وارد نماید در صورتی که دامین دوم یعنی Domain.ir را ثبت کرده و آن را به عنوان دامنه جانشین Domain.com تعریف کرده باشید ، باز هم کاربر صفحه ی اول سایت Domain.com را مشاهده خواهد کرد. شما می توانید کلیه ی اسامی نام شرکت ، نام محصول و نام های مرتبط و … را ثبت کنید و آن ها را به عنوان دامنه جانشین (park domain) به وب سایت خود متصل نمایید. این عمل برای بالا بردن کاربران سایت شما بسیار مفید است و کار آنها را برای یافتن وب سایت شما بسیار آسان می سازد.
دامنه های جانشین همچنین می توانند برای ایمیل ها نیز فعال شوند. در این صورت تمام نامه های الکترونیکی که برای “[email protected]” ارسال شود بدست همان کسی خواهد رسید که از آدرس الکترونیکی “[email protected]” استفاده می کند.
دامنه های جانشین از هرنظر از جمله رکورد های DNS شبیه به دامنه معمولی بوده و ویژگی های یکسانی با آنها دارند. تنها تفاوت آنها با دامنه های معمولی در آن است که این دامنه ها هیچ فایلی از خود ندارند و به فایل های دامنه ای که جانشین آن شده اند ، اشاره می کنند.
این قسمت برای تغییر پسورد در سی پنل میباشد که با عنوان Aliases در قسمت Domains موجود میباشد.
تفاوت Aliases با Addon domain، Subdomain و Park Domain چیست؟
Aliases نام جدید Park domain است بنابراین تفاوتی با Park domain ندارد و دامنه را در کنار دامنه اصلی هاست روی سایت اصلی اضافه میکند ولی Addon domain دامنه جدید را به یک پوشه متصل میکند و به شما اجازه میدهد که یک سایت جدید روی هاست خود ایجاد نمایید و Subdomain نیز یک زیر مجموعه از دامنه اصلی است که تحت نام دامنه اصلی به شما امکان ساخت یک سایت جدید را میدهد. همچنین برای مواقعی که میخواهید یک دامنه را به دامنه دیگری ریدایرکت کنید باید آنرا به صورت Alias به هاست اضافه نمایید.
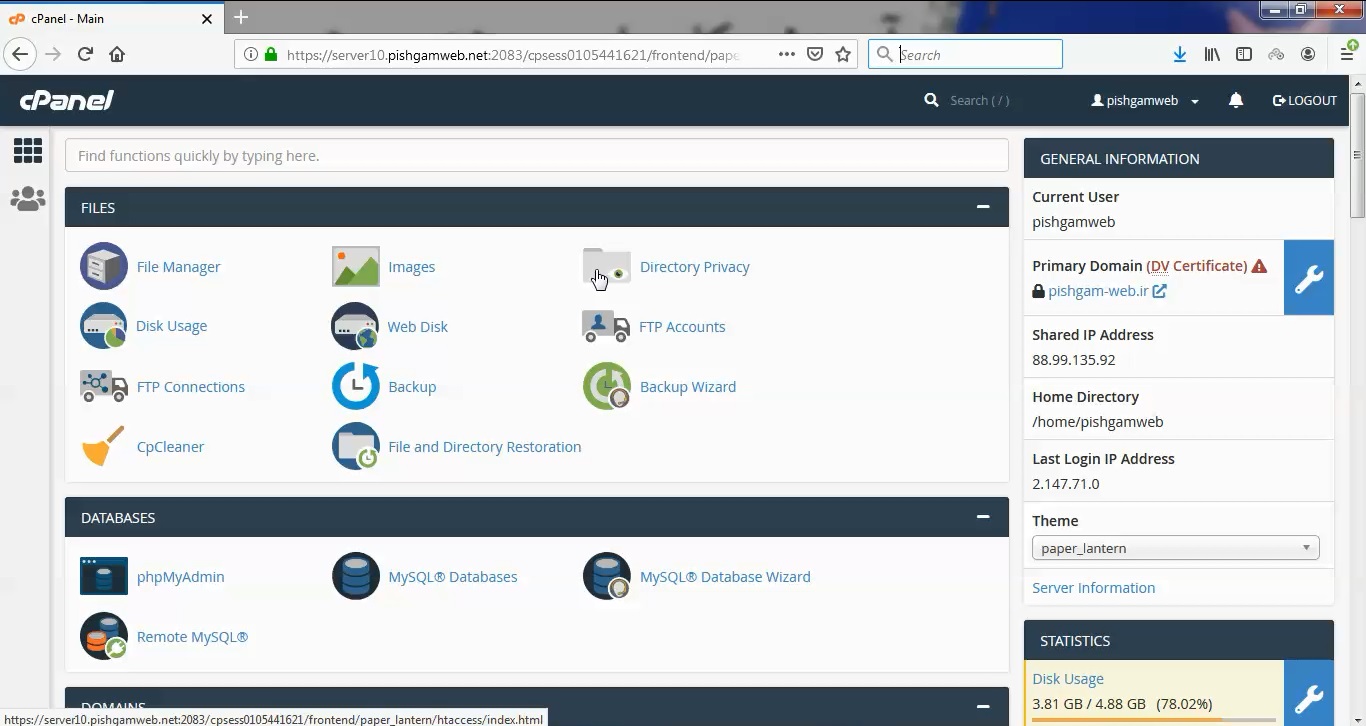
ابتدا وارد هاستمون داخل سایت پیشگام وب میشویم.
میتوانید از سایت پیشگام وب قسمت سرویس های من ، سرویس مورد نظر را انتخاب کرده و ورود به سی پنل را بزنید تا بصورت اتوماتیک وارد هاستتون بشید و همچنین میتوانید از لینک سایت خودتون ، البته اگر که دی ان اس های ( DNS ) پیشگام وب را درست ست کرده باشید و 24 ساعت گذشته باشد از طریق پورت 2082 و یا 2083 وارد بشید.
فقط نکته ای که هست و باید بهش توجه کنید ، اگر سایت را با http باز میکنید از پورت 2082 و اگر با https باز میکنید از 2083 استفاده کنید ، نمونه لینک در زیر مشخص شده است.
البته به این نکته توجه داشته باشید که باید جای آدرس سایت ما آدرس سایت خودتان را وارد کنید.
راه آخر جهت لاگین هم در صورتی که دی ان اس ها ( DNS ) را ست نکرده اید یا 24 ساعت از تنظیم آنها نگذشته است و دوست ندارید بطور مثال اطلاعات ناحیه کاربری رو به طراح بدید استفاده از لینک پیشفرض پیشگام وب هست که در زمان خرید هاست برای شما ارسال شده و اگر هم نتونستید پیدا کنید میتوانید تیکت بدهید تا به شما داده شود ، پایین هم میتوانید نمونه لینک رو مشاهده کنید.
از قسمت دامین روی گزینه Aliases کلیک کنید.
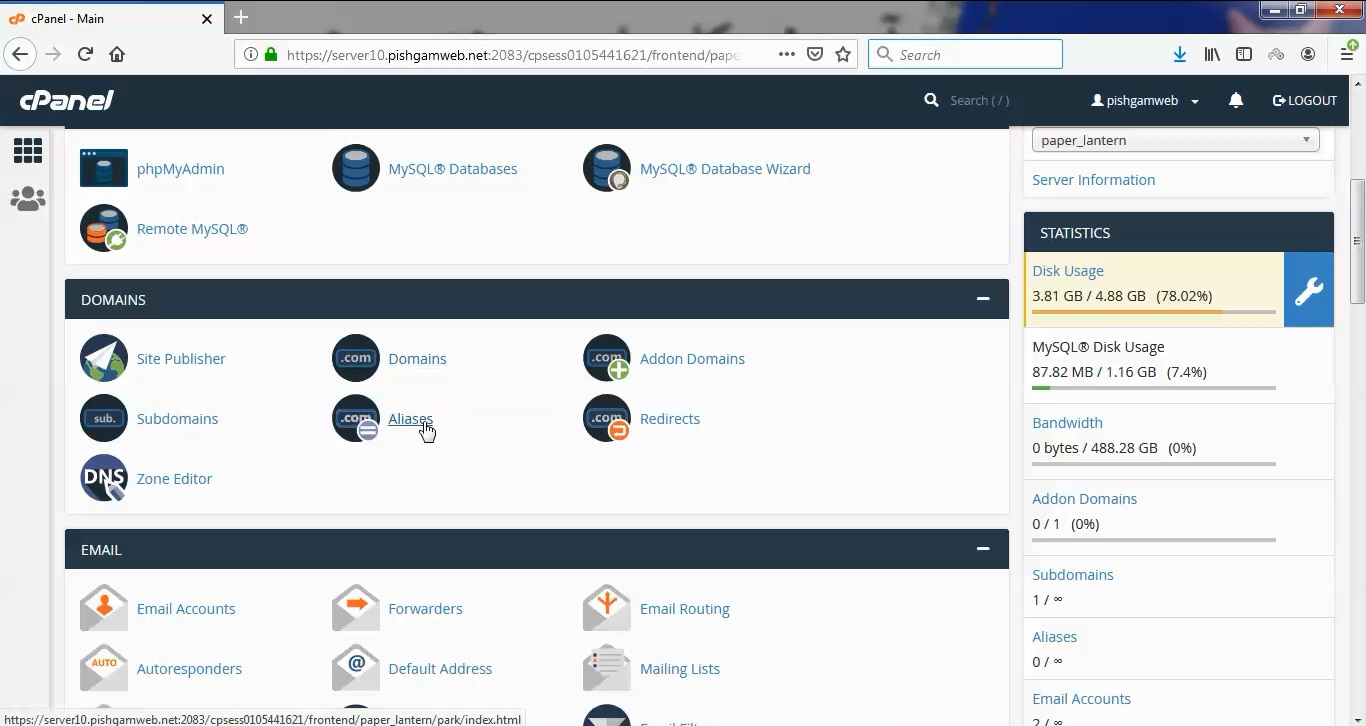
این قسمت قبلا با نام پارک دومین در سی پنل بوده است که حدود یک سال قل تر از زمان نوشتن این مطلب به نام Aliases تغییر کرده است.
دامنه مد نظر جهت پارک را بدون اینکه موردی کم و یا زیاد کنیم به صورت زیر وارد کرده و روی گزینه اد دومین کلیک میکنیم.
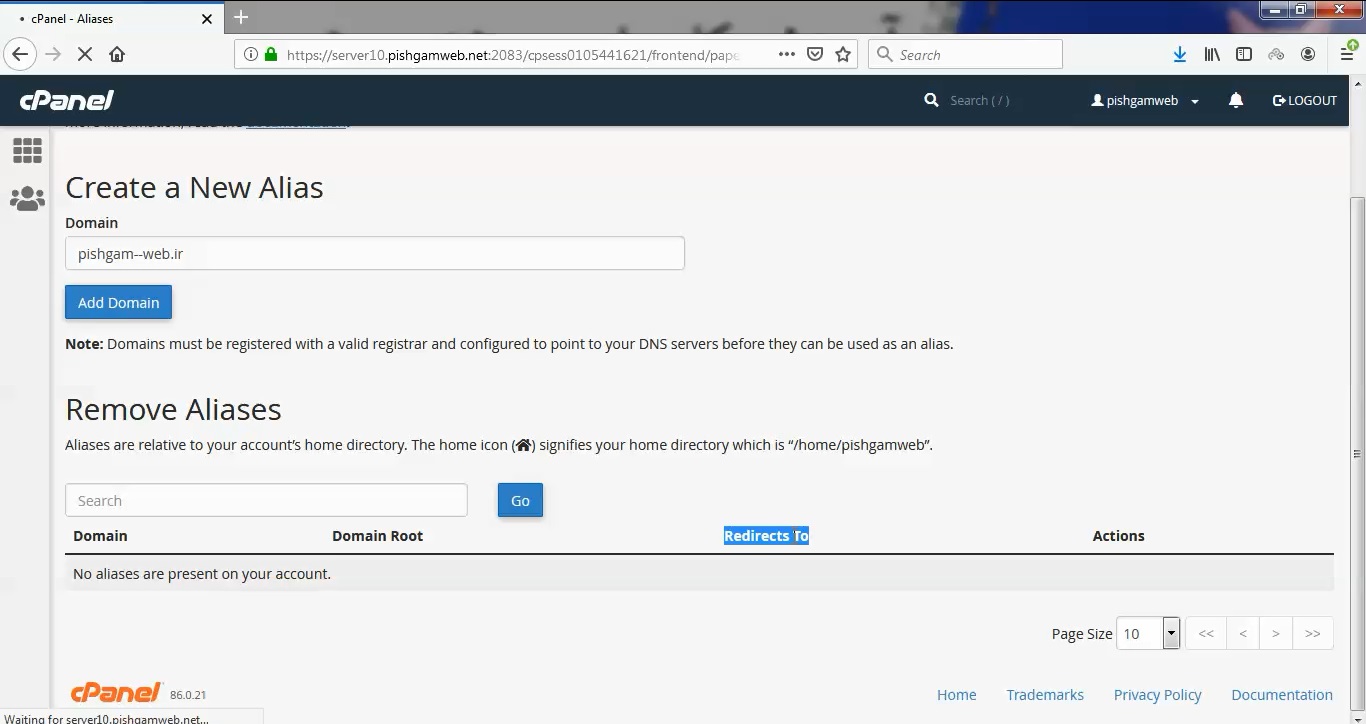
نکته ای بسیار مهم این هست که حتما باید 72 ساعت قبل از انجام پارک دومین در این قسمت باید دی ان اس های ما را ست کنید ، اگر دی ان اس ها خاطرتون نیست کافی هست از مین دومین هویز بگیرید و دی ان اس های هاستتون رو مشاهده کنید و یا تیکیت بدید و در همون تیکت دی ان اس ها را دریافت کنید.
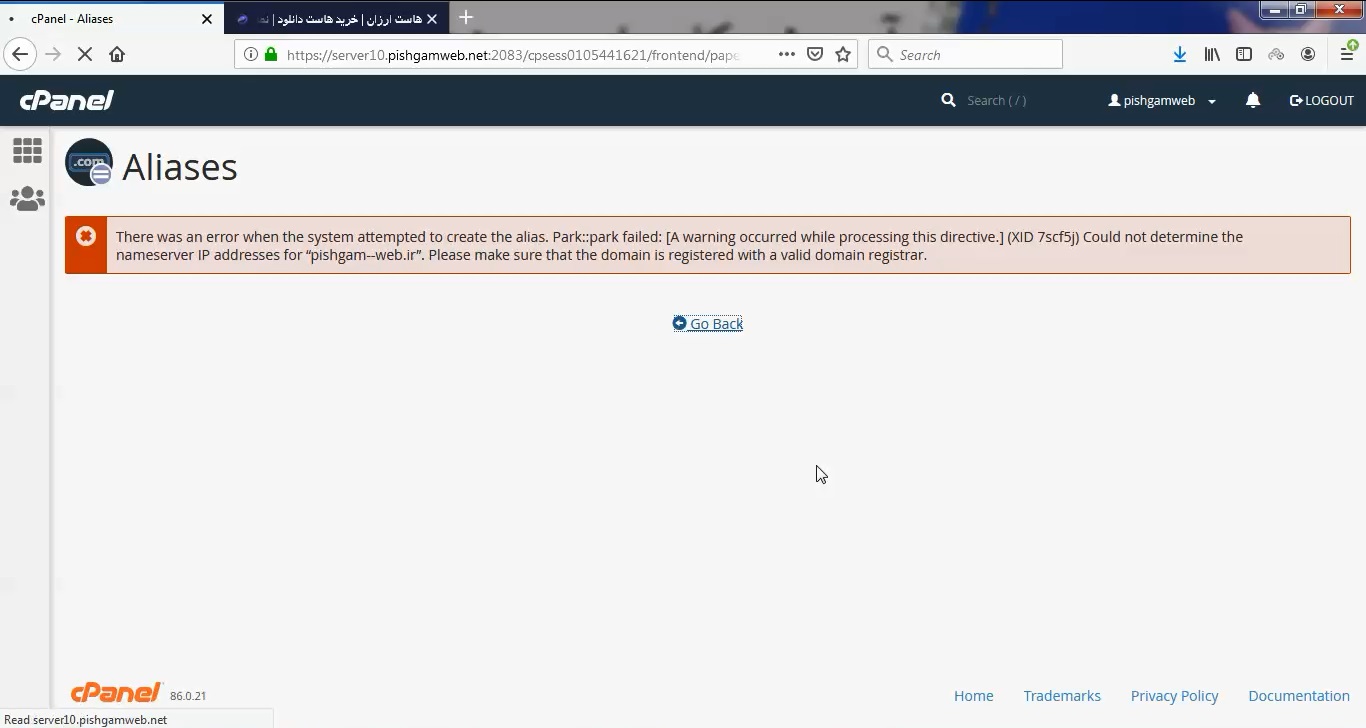
همانطور که در تصویر بالا مشاهده میکنید ارور دی ان اس و ای ی برای اد دامنه مد نظر داده شده است.
نکته : اگر انجام این مورد خیلی فورس هست به ما تیکت ارسال کنید تا از طریق پنل whm پارک را زودتر انجام دهیم.
مشاهده فیلم آموزشی از سایت آپارات
برای دانلود فیلم آموزش از قسمت تنظیمات روی گزینه دانلود کلیک کرده و کیفیت مد نظر خود را انتخاب کنید تا فیلم آموزش دانلود گردد.
نکته : هر چقدر که عدد این قسمت بیشتر باشد ، کیفیت فیلم دانلودی بالاتر خواهد بود.
آموزش های ابتدایی :
دوستان عزیز آموزش که خدمتتون ارائه کردیم از سری آموزش های ابتدایی پیشگام وب هست و این آموزش جزو پایه ای ترین آموزش های سایت هست امیدوارم که آموزشممون کامل باشه.
منتظر نظرات و پیشنهادات شما در قسمت دیدگاه های سایت هستیم.
learn from cpanel
Overview
Domain aliases are domains that you own, but which do not contain any content. Instead, they point to the contents of another domain or subdomain on your account. This is useful, for example, to hold a domain that you will later sell, or to redirect traffic to another domain.
Important:
Unless your hosting provider enables the Allow Remote Domains option in the Tweak Settings interface (WHM >> Home >> Server Configuration >> Tweak Settings), you must perform the following actions before you attempt to create a domain alias:
- You must register the domain name with a valid registrar.
- You must point the domain to your account’s nameservers.
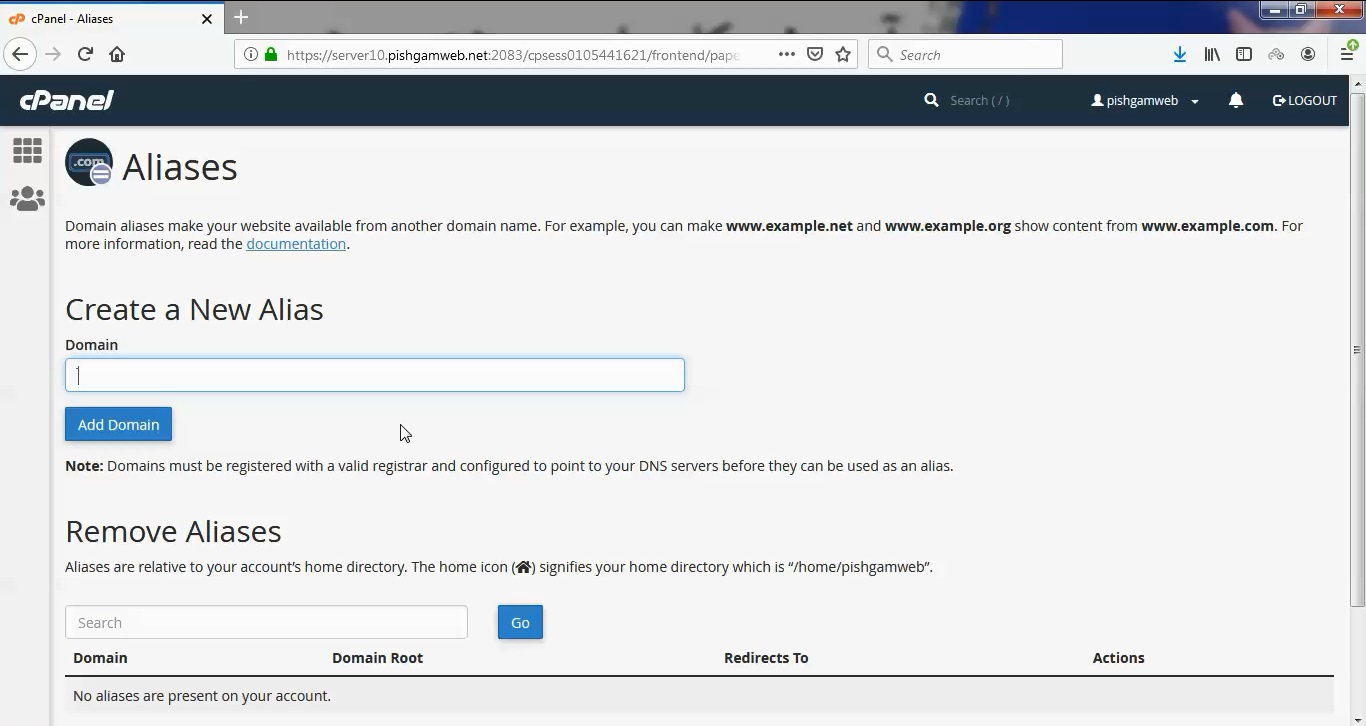
Create a New Alias
To add a domain alias, enter the domain name in the text box and click Add Domain.
To open the alias domain’s home directory with the File Manager interface (cPanel >> Home >> Files >> File Manager), click the link that corresponds to that alias under the Domain Root column of the Remove Aliases table.
When you create an addon domain, parked domain, subdomain, or main domain, the system will attempt to automatically secure that domain with the best-available existing certificate. If no certificate exists, the system will generate a self-signed certificate to secure the new domain.
If AutoSSL is enabled for the account that owns the new domain, the system will add a request for an AutoSSL certificate to secure the new domain and install it when available.
Note:
You can create email accounts for domain aliases. For more information, read the Alias domain email accounts section below.
Related Documentation
Content by label
There is no content with the specified labels
For Hosting Providers
Content by label
There is no content with the specified labels
Enable or disable domain alias redirection
To enable or disable redirection of a domain alias, perform the following steps:
- Click Manage Redirection for the domain alias that you wish to manage.
- To redirect the domain, enter the link to which you wish to redirect the domain alias in the text box.
- Click Save. To disable the redirection, click Disable Redirection.
Remove Aliases
Notes:
- We strongly recommend that you create a full account backup before you perform this action.
- This action only removes the domain alias, its
vhostentries, and its DNS entries. The system retains the alias’s directory contents.
To remove an existing domain alias, perform the following steps:
- Click Remove for the alias that you wish to remove.
- Click Yes to confirm that you wish to remove the domain alias. To retain the domain alias, click No.
Search aliases
To search through the list of domain aliases, enter the search criteria in the Search text box and click Go. Results that match your search criteria will populate the table.
Domain alias email accounts
To add new email accounts, use cPanel’s Email Accounts interface (cPanel >> Home >> Email >> Email Accounts), or run the /scripts/addpop script from the command line.
- To move one email account under a domain, run the following command:
mv/home/old_account/mail/domain_name/email_account/home/new_account/mail/domain_name/When you run this command, the system creates the/home/new_account/mail/domain_name/directory. - To move all of the email accounts under a domain, run the following command:
mv/home/old_account/mail/domain_name/home/new_account/mail - After you move the files, change the new account’s ownership with the following command:
chown-R new_account:new_account/home/new_account/mail/domain_nameNote: Make certain that you verify ownership of the email account after you move it.
If you remove the domain alias, its email accounts will no longer appear in the Email Accounts interface (cPanel >> Home >> Email >> Email Accounts). However, the email accounts’ contents still exist in the mail folder of the user’s home/username/mail/ directory.
- If you add the domain again, to the same account as the primary domain, an addon domain, or an alias, the email accounts reappear in the interface.
- If you change the account’s primary domain name to the un-aliased domain name, the email accounts reappear in the interface.
- You or your hosting provider can perform this action in WHM’s Modify an Account interface (WHM >> Home >> Account Functions >> Modify an Account).
- When you perform this action, the former primary domain name’s mailboxes will not appear in the Email Accounts interface (cPanel >> Home >> Email >> Email Accounts). However, the files will still exist.
- If you move the domain to a different account, you must add the email accounts manually and move the contents of the email accounts manually.Note: The email accounts must follow the same name and domain formats that they previously followed.
Addon vs. alias domains
| The main domain appears in the address bar. | Yes | No |
| The domain uses the following Apache directive: | VirtualHost | ServerAlias |
| The domain uses separate logs. | Yes | No |
| The domain uses separate stats. | Yes | No |
| The system treats the domain as a subdomain (other than the URL). | Yes | No |
| This type of domain is ideal for multiple domains that share the same address. | No | Yes |