نوشته آموزش کار با Spam Filters در cpanel اولین بار در پیشگام وب. پدیدار شد.
]]>
دوستان عزیز پیشگام وبی امیدوارم که حالتون خوب باشه ، امروز با آموزش کار با Spam Filters در cpanel خدمتتون هستیم و امیدوارم توضیحاتی که در این مطلب و یا در انتها مطلب که بصورت فیلم قرارداده شده بتونه به شما کمک کنه و هر روز بیشتر پیشرفت کنید.
خوب اصلا این قسمت به چه دردی میخوره کجا بهش نیاز داریم و در کل کاربردش چی هست؟
بارها پیش آمده که بخواهید ایمیل های اسپم را بلاک کند. برای این کار می توانید از امکان اسپم فیلتر کنترل پنل قدرتمند سی پنل استفاده کنید، این فیلتر باعث جلوگیری از ورود ایمیل های ناخواسته به آدرس ایمیل شما می شود.
یک ویژگی سرویس E-mail ابزار مسدود یا غیر مسدود کردن است که به کاربران اجازه می دهد تا ایمیل های اسپم را بلاک کنند. در زیر مراحل فعال کردن فیلتر هرزنامه(spam filters) در شناسه پست الکترونیکی را نشان می دهد.
این قسمت برای تغییر پسورد در سی پنل میباشد که با عنوان Spam Filters در قسمت Email موجود میباشد.
ابتدا وارد هاستمون داخل سایت پیشگام وب میشویم.
میتوانید از سایت پیشگام وب قسمت سرویس های من ، سرویس مورد نظر را انتخاب کرده و ورود به سی پنل را بزنید تا بصورت اتوماتیک وارد هاستتون بشید و همچنین میتوانید از لینک سایت خودتون ، البته اگر که دی ان اس های ( DNS ) پیشگام وب را درست ست کرده باشید و 24 ساعت گذشته باشد از طریق پورت 2082 و یا 2083 وارد بشید.
فقط نکته ای که هست و باید بهش توجه کنید ، اگر سایت را با http باز میکنید از پورت 2082 و اگر با https باز میکنید از 2083 استفاده کنید ، نمونه لینک در زیر مشخص شده است.
البته به این نکته توجه داشته باشید که باید جای آدرس سایت ما آدرس سایت خودتان را وارد کنید.
راه آخر جهت لاگین هم در صورتی که دی ان اس ها ( DNS ) را ست نکرده اید یا 24 ساعت از تنظیم آنها نگذشته است و دوست ندارید بطور مثال اطلاعات ناحیه کاربری رو به طراح بدید استفاده از لینک پیشفرض پیشگام وب هست که در زمان خرید هاست برای شما ارسال شده و اگر هم نتونستید پیدا کنید میتوانید تیکت بدهید تا به شما داده شود ، پایین هم میتوانید نمونه لینک رو مشاهده کنید.
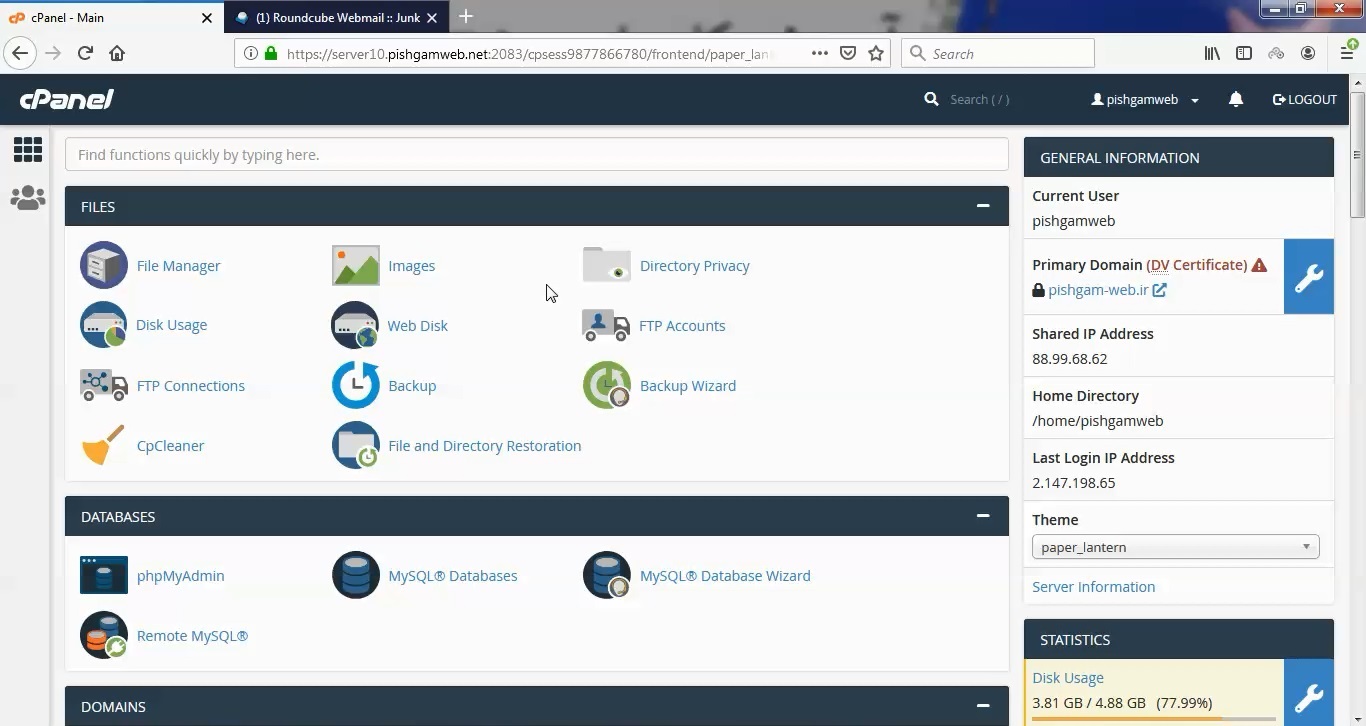
از قسمت ایمیل روی گزینه Spam Filters کلیک کنید.
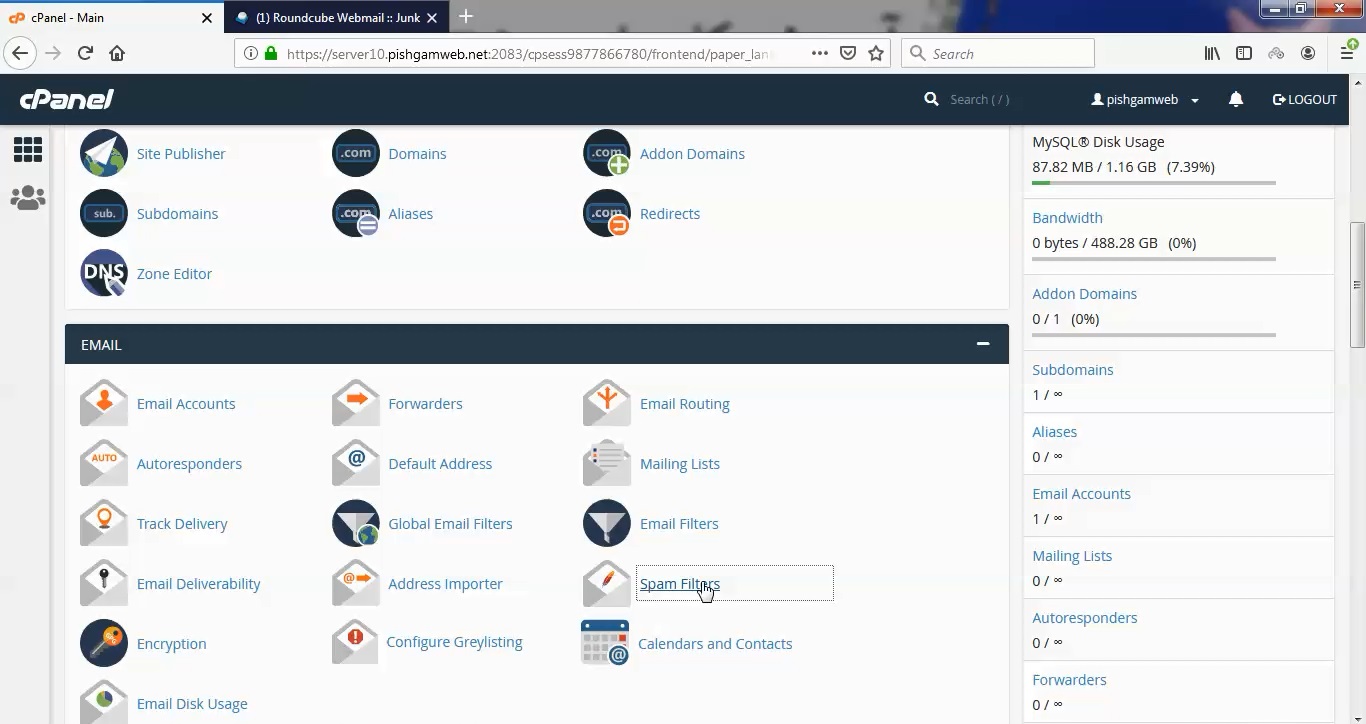
در این قسمت میتوانید تنظیمات اسپم ایمیل سایت خود را تنظیم کنید.
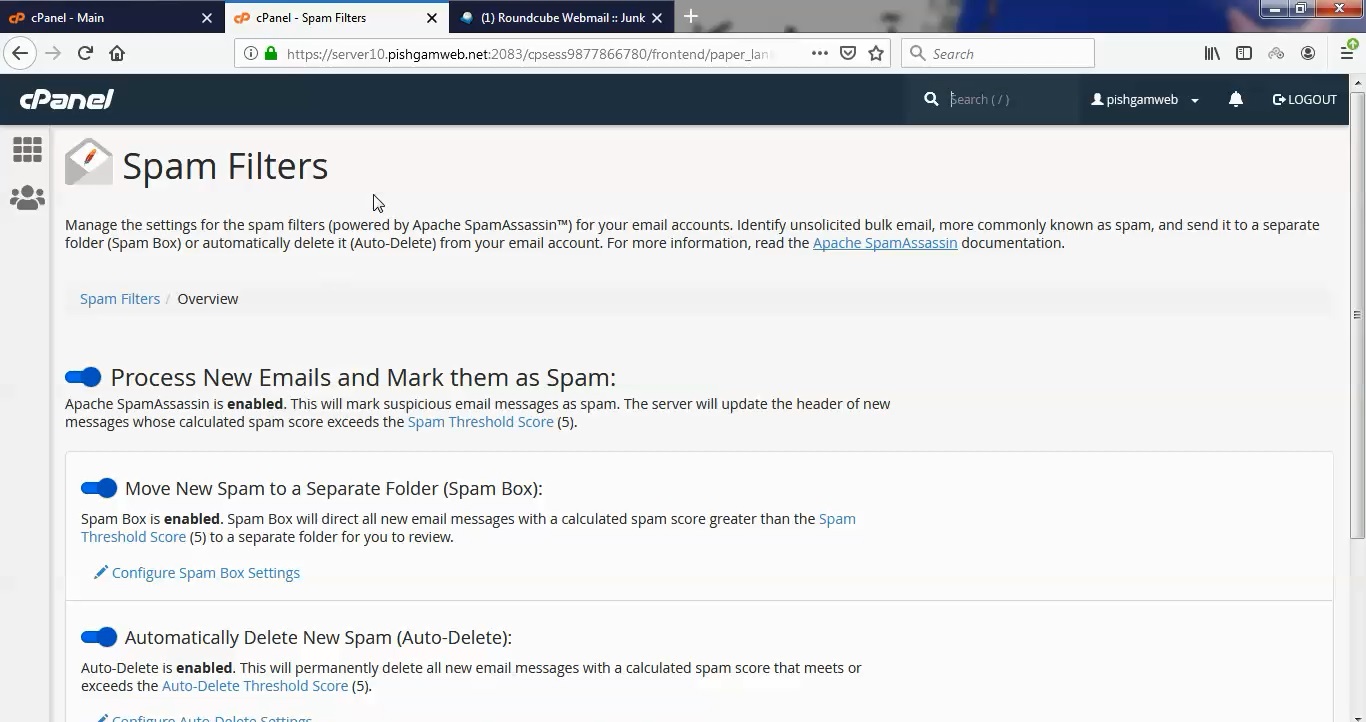
گزینه Process New Emails and Mark them as Spam
اولین گام فعال کردن این ویژگی توسط شما می باشد؛ شما در بالاترین قسمت این صفحه با عبارت Process New Emails and Mark them as Spam روبرو می شوید که باید دکمه آن را در حالت روشن قرار دهید.
در توضیح این گزینه آمده که با فعال نمودن آن Apache SpamAssassin کار خود را شروع می کند و پس از این، پیام های مشکوک ارسال شده به عنوان هرزنامه در نظر گرفته می شوند. سرور نمره امنیتی بیش از ۵ مربوط به ایمیل ها را بر اساس پارامترهای Apache SpamAssassin در دسته هرزنامه قرار می دهد.
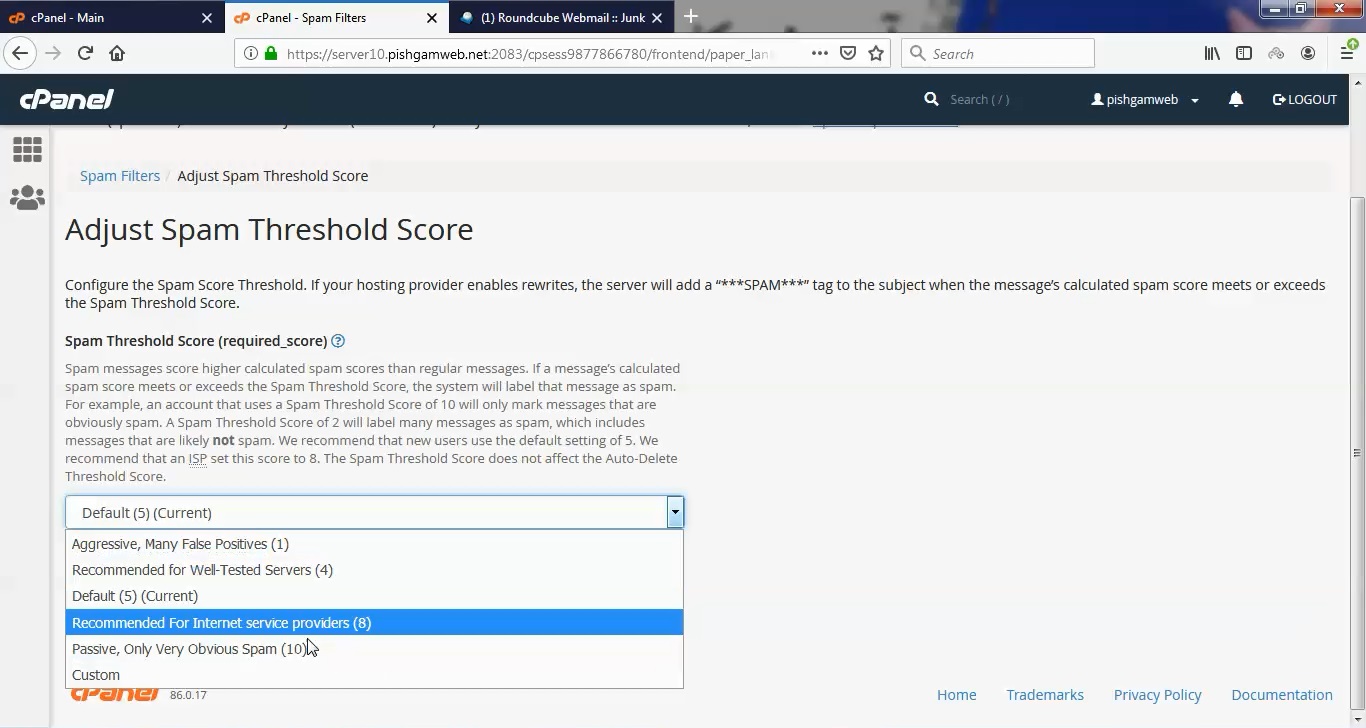
روی گزینه Spam Threshold Score (5). کلیک کنید تا بتوانید سطح اسپم بودن را مشخص کنید.
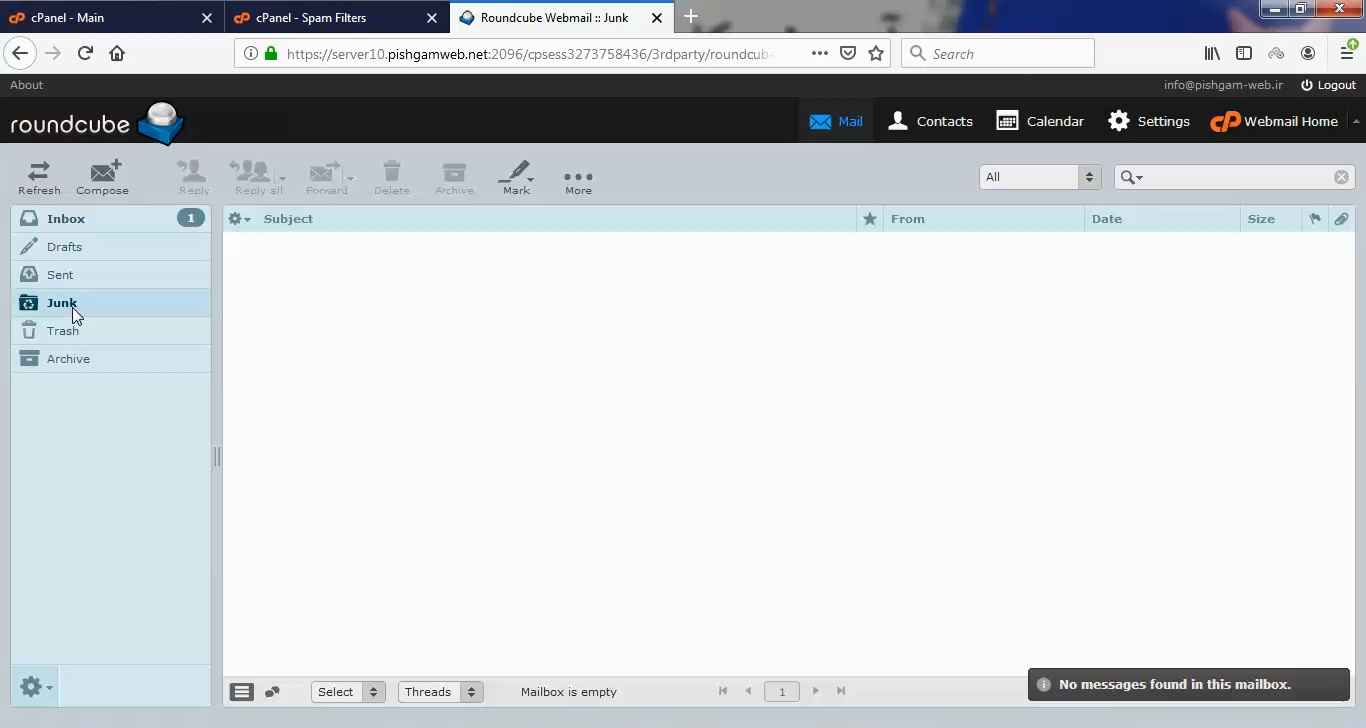
اسپم های شناسایی شده در قسمت وب میل به junk میرود.
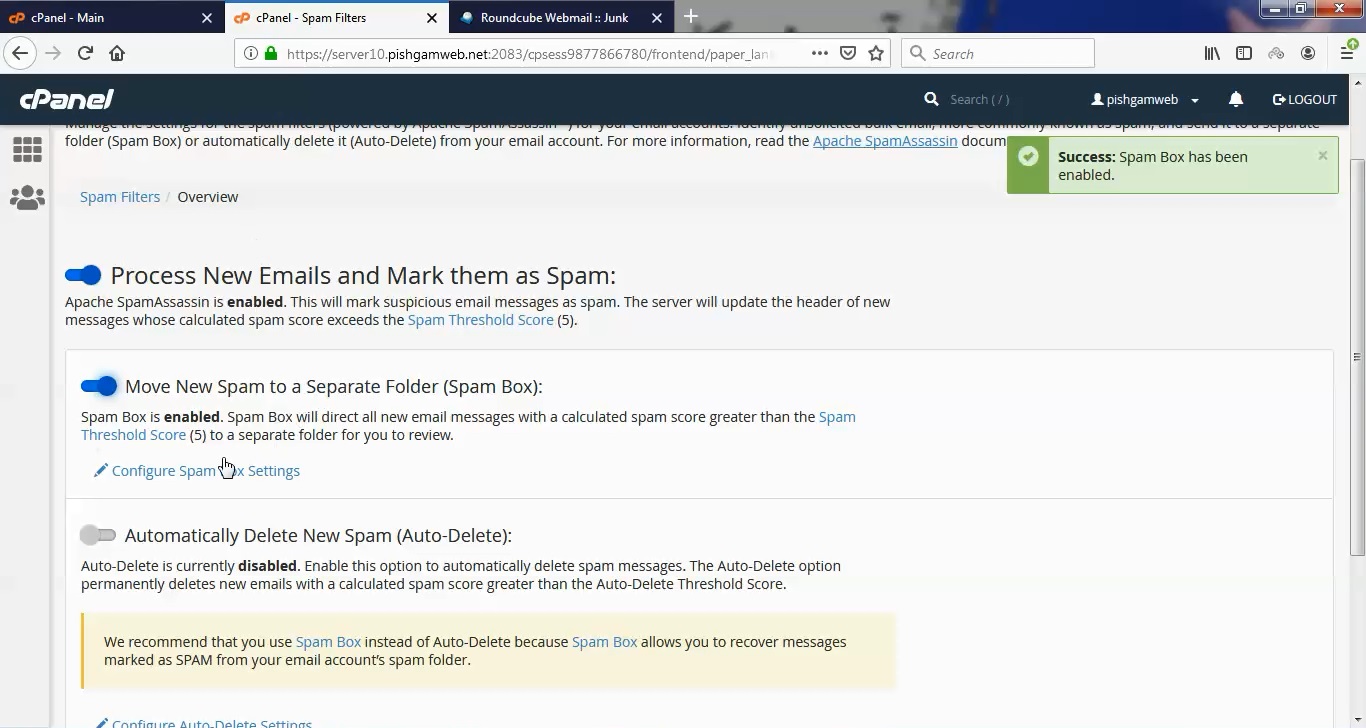
گزینه (Move New Spam to a Separate Folder (Spam Box
به صورت پیش فرض صندوق مربوط به پیام های اسپم فعال نیست. با فعال کردن این دکمه پیام های جدیدی که نمره بیش تر از ۵ کسب می کنند و از لحاظ امنیتی مشکل ساز می باشند، به عنوان اسپم شناسایی شده و به پوشه ای جداگانه (Junk) برای بررسی هدایت می شوند.
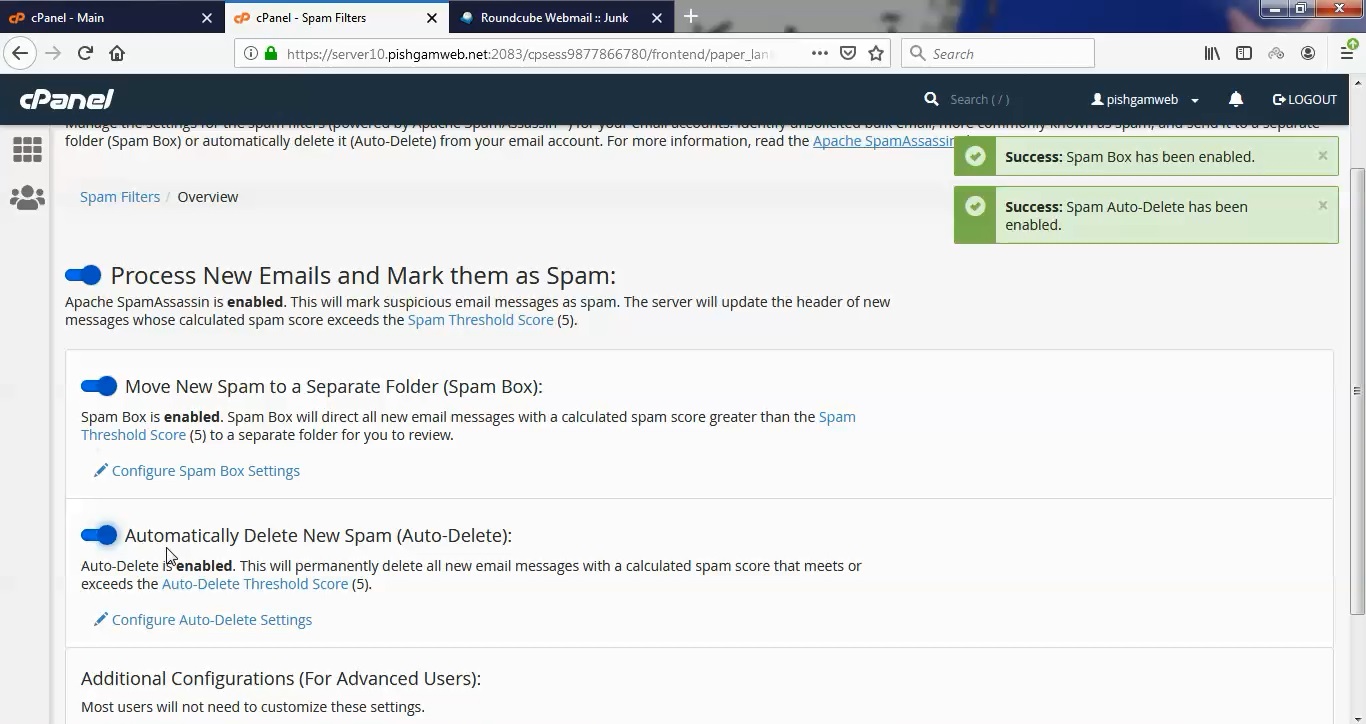
گزینه (Automatically Delete New Spam (Auto-Delete
با روشن کردن این دکمه دیگر خبری از هدایت پیام های مشکوک نخواهد بود و به صورت خودکار تمام پیام های دریافت شده با درجه امنیتی بالاتر از ۵ حذف خواهند شد. توجه داشته باشید که این حذف کردن به صورت دائمی خواهد بود و به هیچ عنوان قابل بازگشت نیست. با اینکه ما توصیه ی خاصی در این مورد نداریم، اما در صورت لزوم این دکمه را فعال کنید.
برای تنظیمات بیشتر روی گزینه Show Additional Configurations کلیک کنید.
Edit Spam Whitelist Settings
در این قسمت شما میتوانید ایمیل های مد نظر برای جلوگیری از فیلتر شد و قرارگیری در لیست سفید وارد کنید.
Edit Spam Blacklist Settings
در این قسمت میتوانید ایمیل هایی که اسپم ارسال میکنند و یا قصد دارید هیچ دریافتی در اینباکس نداشته باشید وارد کنید تا در لیست سیاه قرار بگیرند.
پیکربندی Calculated Spam Score Settings
در تنطیمات مربوط به اسپم کردن پیام ها می توانید میزان حساسیت را تغییر دهید. شما در این قسمت به هر یک از پارامترهای امنیتی امتیازی می دهید و معیار تشخیص آنتی اسپم را دگرگون می کنید. این قسمت را بدون تغییر بگذارید اگر هنوز به اندازه کافی اطلاعاتی راجع به پارامترهای امنیتی نمی دانید!
مشاهده فیلم آموزشی از سایت آپارات
برای دانلود فیلم آموزش از قسمت تنظیمات روی گزینه دانلود کلیک کرده و کیفیت مد نظر خود را انتخاب کنید تا فیلم آموزش دانلود گردد.
نکته : هر چقدر که عدد این قسمت بیشتر باشد ، کیفیت فیلم دانلودی بالاتر خواهد بود.
آموزش های متوسطه :
دوستان عزیز آموزش که خدمتتون ارائه کردیم از سری آموزش های ابتدایی پیشگام وب هست و این آموزش جزو آموزش های متوسطه هست که باعث میشه شما بتونید سایتتون رو بهتر از قبل مدیریت کنید.
این آموزش ها به شما کمک میکنه تا به مرور زمان به یک طراح سایت تبدیل بشید و اون رو به عنوان شغل خودتون انتخاب کنید و اگر هم قصد ندارید به عنوان شغل بهش نگاه کنید میتوانید پشتیبانی سایت خودتان را در دست بگیرید.
learn from cpanel
This interface allows you to configure the spam filter settings (powered by Apache SpamAssassin ) for your account. Spam filters identify and sort or delete unsolicited email, commonly known as spam. You can also use this interface to configure your whitelist and blacklist settings.
For more information, read Apache SpamAssassin’s overview documentation.
Note:
If you experience issues when you use BoxTrapper and Apache SpamAssassin simultaneously, contact your hosting provider for more information about your server’s configuration.
Process New Emails and Mark them as Spam
Set this toggle to enabled to identify potential spam. Apache SpamAssassin examines every message for spam characteristics and assigns them a calculated spam score. This calculated spam score helps determine the likelihood that a message contains spam. The Spam Box and Auto-Delete features require that you enable Apache SpamAssassin first.
Note:
You cannot disable Apache SpamAssassin if your hosting provider enables the Apache SpamAssassin: Forced Global ON setting in WHM’s Exim Configuration Managerinterface (WHM >> Home >> Service Configuration >> Exim Configuration Manager).
Spam Threshold score
If the system calculates a spam score for a message that meets or exceeds the Spam Threshold Score setting, the system marks the message as spam. A lower spam threshold score, such as a one, is aggressive and labels many messages as spam, including messages that may not be spam. However, a higher value, such as a ten, is passive and only labels messages that are obviously spam.
To set the Spam Thresholdvalue, perform the following steps:
- Click the Spam Threshold Score link in the interface. The system directs you to the Adjust Spam Threshold Score interface.
- Select the desired Spam Threshold Score from the menu.Note: Select Custom from the menu to enter a custom value.
- Click Update Scoring Options to save your changes.
Move New Spam to a Separate Folder (Spam Box)
Set this toggle to enabled to configure the Exim service to create a spam folder the next time that you receive spam mail. Spam Box sends any message with a calculated spam score that exceeds the Spam Threshold Score to this folder. This feature preserves email that Apache SpamAssassin may mistakenly classify as spam mail.
Note:
We recommend that you use Spam Box instead of Auto-Delete because you can still view the messages. However, you should occasionally empty this folder because the space that it uses counts towards your email quota limit.
Empty the Spam Box folder
To empty the spam folder or remove selected messages, click Configure Spam Box Settings. The system directs you to the Spam Box interface with the following options:
- Enable the Spam Box is enabled. toggle in this interface to activate Spam Box if you did not do so in the Spam Filters interface.
- Click Empty the Spam Box folder for “username” to delete all messages in the Spam Box for the default account, where username represents the default account’s name.
- Click Empty all Spam Box folders to delete all messages in the Spam Box folder for every email address on this account, including the default account. Important: This option deletes the Spam Box folder contents for all email addresses on the account.
- Click Manage Disk Usage to select which messages you want to remove. The system directs you to the Email Disk Usage interface (cPanel >> Home >> Email >> Email Disk Usage).
POP3 client users
If you check your email through a POP3 client, access and empty your Spam Box with the [email protected]/spam username and your email account password. If you do not delete messages in the Spam Box frequently, spam may accumulate and cause you to reach your email account quota.
Notes:
- You cannot use this method to access other folders on your account. Some webmail clients may require additional steps. For more information, read our How to Set Up Webmail Folders documentation.
- If you are uncertain whether you use POP3 or IMAP to receive mail, search for this information in your email application’s Preferences interface.
The Spam Box feature is unavailable
For the Spam Box feature to appear, your hosting provider must enable the Enable Apache SpamAssassin Spam Box delivery for messages marked as spam setting in WHM’s Tweak Settings interface (WHM >> Home >> Server Configuration >> Tweak Settings).
Notes:
- If you do not enable the Spam Box feature but you enable Apache SpamAssassin, Apache SpamAssassin delivers the message to the email account’s inbox as normal. However, the message’s subject line will contain the phrase ***SPAM*** if your hosting provider enables the Apache SpamAssassin: X-Spam-Subject/Subject header prefix for spam emails setting in WHM’s Exim Configuration Manager interface (WHM >> Home >> Service Configuration >> Exim Configuration Manager).
- You can create filters for spam messages for all of your email accounts in cPanel’s Global Email Filters interface (cPanel >> Home >> Email >> Global Email Filters), or for individual accounts in the Email Filters interface (cPanel >> Home >> Email >> Email Filters). Use email filters to direct spam if the Spam Box option does not appear in your interface.
Related Documentation
Content by label
There is no content with the specified labels
For Hosting Providers
Content by label
There is no content with the specified labels
Automatically Delete New Spam (Auto-Delete)
Set this toggle to enabled to automatically delete messages that meet or exceed the Auto-Delete Threshold Score.
Important:
Make certain that you properly configure the Auto-Delete Threshold Score. Auto-Delete permanently deletes all messages with a calculated spam score that meet or exceeds the Auto-Delete Threshold Score. This could include non-spam messages, which would cause you to lose those messages.
Configure Auto-Delete Settings
Click Configure Auto-Delete Settings to configure the Auto-Delete Threshold Score. The system directs you to the Auto-Delete interface with the following options:
- Enable the Spam Auto-Delete is enabled. toggle in this interface to activate Auto-Delete if you did not do so in the Spam Filter interface.
- Select the desired Auto-Delete Threshold Score value. Click Update Auto-Delete Score to save your changes.
Note:
The Auto-Delete Threshold Score does not affect the Spam Threshold Score.
Additional Configurations (For Advanced Users)
This section allows you to customize the whitelist, blacklist, and individual test scores.
Important:
Only advanced users should configure these settings.
Click Show Additional Configurations to display the additional configuration options.
Whitelist (Emails Always Allowed)
This section displays the account’s current number of whitelisted items. Whitelists allow you to receive email from an email address that Apache SpamAssassin falsely marks as spam.
Click Edit Spam Whitelist Settings to configure the Spam Filters whitelist settings. The system directs you to the Whitelist interface.
Note:
When you add addresses to the whitelist, use * as a wildcard to represent multiple characters and ? to represent a single-character wildcard. The following examples demonstrate how to properly use wildcards in the whitelist:
[email protected]— Whitelists a single email address.*@example.com— Whitelists all of the addresses atexample.com.[email protected]— Whitelists a single character in an address atexample.com(for example,[email protected], but not[email protected])
To add an email address to the whitelist, perform the following steps:
- Click Add A New “whitelist_from” Item to add an email address.
- Enter the email address in the whitelist_from text box.
- Click the cancel icon () to remove a whitelist_from entry.
- Click Update Whitelist (whitelist_from) to save your changes.
Blacklist (Emails Never Allowed)
This section displays the account’s current number of blacklisted items. Blacklists allow you to mark emails that Apache SpamAssassin falsely marks as non-spam as spam mail.
Click Edit Spam Blacklist Settings to configure the Spam Filters blacklist settings. The system directs you to the Blacklist interface.
Note:
When you add addresses to the blacklist, use * as a wildcard to represent multiple characters and ? to represent a single-character wildcard. The following examples demonstrate how to properly use wildcards in the blacklist:
[email protected]— Blacklist a single email address.*@example.com— Blacklist all of the addresses atexample.com.[email protected]— Blacklist a single character in an address atexample.com(for example,[email protected], but not[email protected]).
To add an email address to the blacklist, perform the following steps:
- Click Add A New “blacklist_from” Item to add an email address.
- Enter the email address in the blacklist_from text box.
- Click the cancel icon () to remove a blacklist_from entry.
- Click Update Blacklist (blacklist_from) to save your changes.
Note:
To blacklist email addresses on multiple accounts, use the Exim System Filter File.
Calculated Spam Score Settings
Important:
We strongly recommend that only advanced users edit the spam testing scores. Improper configurations will create unintended consequences.
Click Configure Calculated Spam Score to configure the individual test scores. The system directs you to the Calculated Spam Score Settings interface.
Apache SpamAssassin uses hundreds of tests, and you can assign scores to individual tests to configure Apache SpamAssassin for your server. Use this interface to modify the individual test scores that Apache SpamAssassin uses to mark a message as spam. You can increase the score of a test that incorrectly allows spam messages to pass through. Conversely, you can disable or reduce the score of a test that falsely marks messages as spam. For example, disable tests that mark bankruptcy emails as spam for a user who is a bankruptcy lawyer.
To update an individual test score, perform the following steps:
- Click Add A New “scores” Item to enter a new customized test score.
- Select a test from the scores menu.
- Enter a new value in the text box that contains up to three decimal places.Note: Set the score value to
0to disable a test. - Click Update Scoring Options to save your changes.
Note:
To review the default scores, run the following command at the command line:
grep -R score /var/lib/spamassassin/* | less |
نوشته آموزش کار با Spam Filters در cpanel اولین بار در پیشگام وب. پدیدار شد.
]]>