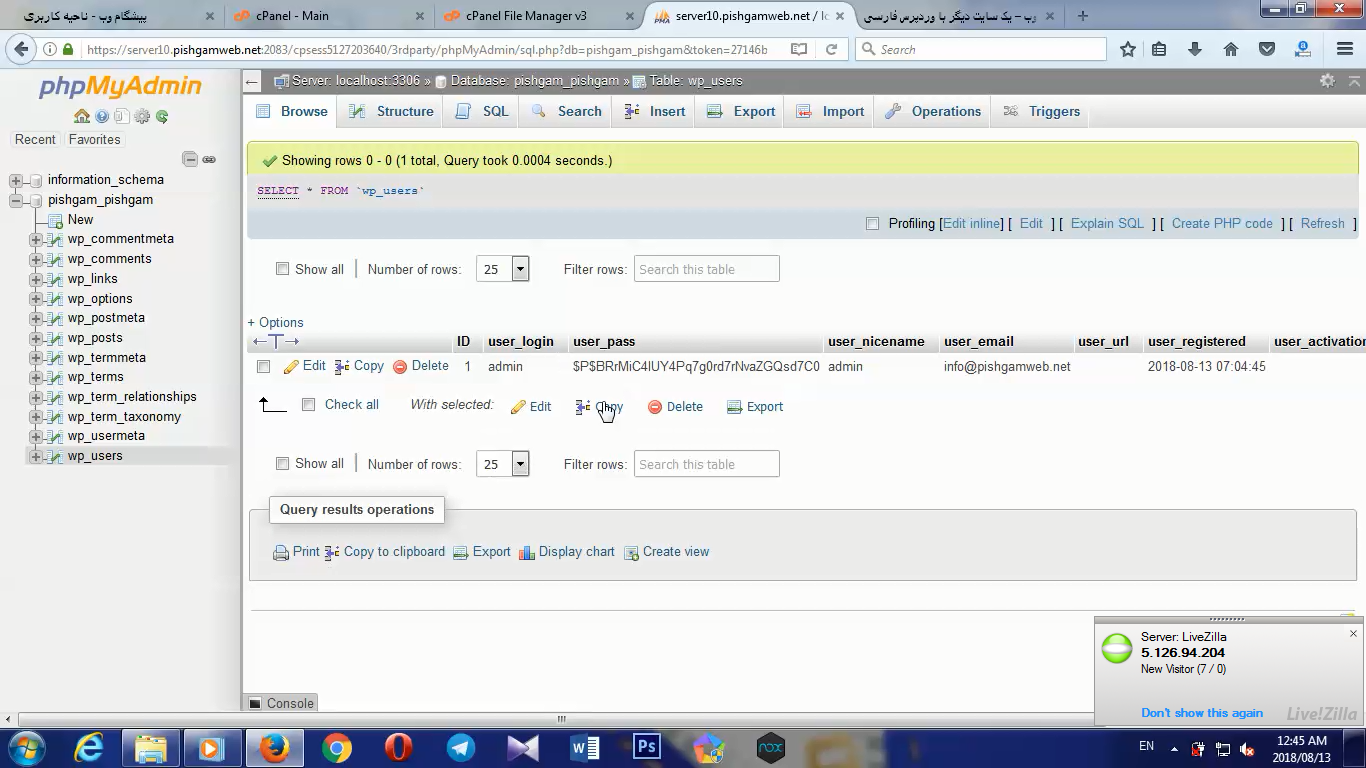
پس از باز شدن دیتابیس رو انتخاب کرده و یوزر ر وانتخاب میکنیم همونطور که در تصویر زیر میبینید ایمیل مشخص هست و میتونید براحتی عوض کنید همراه با یوزر و همچنین پسورد رو بصورت هش شده میتونید بزارید اما با تغییر ایمیل میتونید پسورد رو بزنید ریست بشه و براتون ارسال بشه ، به همین راحتی
وب میل چیست و چطور میتوانیم وارد webmail شویم و از آن استفاده کنیم ؟
در واقع پس از ساخت اکانت ایمیل داخل سی پنل، حالا ما باید بتونیم توسط این اکانت ایمیل از داخل هاست وب سایتمون، ایمیل ارسال کنیم و ایمیل های دریافتیمون رو بررسی کنیم ، Webmail کنترل پنل تحت وب مدیریت ایمیل های داخل هاست هستش که به واسطه رابط گرافیکی وب میل قادر هستیم ایمیل های دریافتی اکانت های ایمیل ساخته شده داخل هاستمون رو بررسی کنیم، رابط گرافیکی وب میل های داخل هاست هم دقیقا مانند رابط های گرافیکی vو یاهو هستش که هر روزه از اون ها استفاده می کنیم ، و ما تو این متن آموزشی تصمیم داریم نحوه مدیریت ایمیل های داخل هاست سی پنل رو از طریق webmail به شما آموزش بدیم پس در ادامه این آموزش کاربردی با ما همراه باشید.
ورود به webmail هاست به دو صورت :
روش اول ورود به وب میل برای افرادی کاربرد داره که به قسمت کنترل مدیریت پنل سی پنل دسترسی دارند ، و به آسون ترین شکل ممکن قادر هستند به وب میل هر اکانت ایمیلی که میخوان وارد بشن، بدون این که نیاز باشه نام کاربری و رمزعبور ورود به اون وب میل رو وارد کنند.
روش دوم ورود به وب میل برای افرادی کاربرد داره که به قسمت کنترل پنل هاست سی پنل دسترسی ندارند، مثل کارمندان یا همکارانتون که براشون اکانت های ایمیل داخل هاستتون ایجاد کردین و تو این روش افراد باید وارد یه صفحه خاصی بشن و نام کاربری و رمزعبور ورود به وب میلشون رو وارد کنن تا هر کارمند بتونه وارد صفحه مدیریت اکانت ایمیل مخصوص خودش بشه.
تو این متن آموزشی ما هر دو روش ورود به webmail هاست رو به ترتیب گفته شده به شما آموزش میدیم، پس در ابتدا از طریق آموزش نحوه ورود به سی پنل وارد هاست سی پنل وب سایتمون میشیم ، این روش ورود به وب میل هاست برای افرادی کاربرد داره که به مدیریت کنترل پنل سی پنل دسترسی دارن یعنی مدیر هاست، حالا یه مقداری میایم پایین و از قسمت email بر روی آیکون email accounts از اینجا کلیک می کنیم.
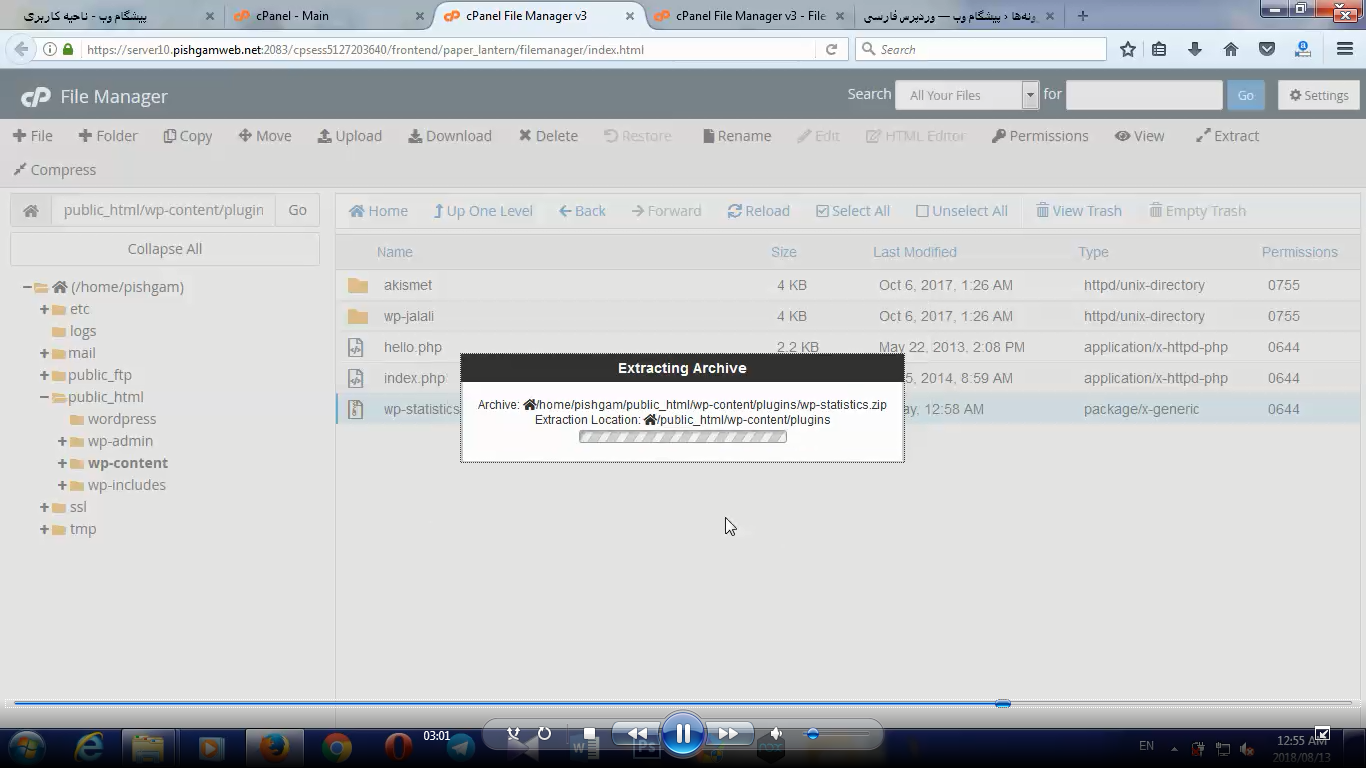
وارد شدن به ایمیل های هاست تا وارد قسمت مدیریت اکانت های ایمیل هاست سی پنل بشیم، تو این صفحه یه مقداری میایم پایین تا برسیم به قسمت Email Accounts، اینجا اکانت های ایمیلی که از قبل ساختیم موجود هستن ، به عنوان مثال ما میخوایم وارد وب میل، اکانت info@pishgamweb.net یعنی این ایمیل بشیم، برای انجام این کار از مقابل این اکانت از ایمیل بر روی دکمه more کلیک می کنیم و از منو کشویی باز شده بر روی گزینه access webmail کلیک می کنیم.
وارد شدن به ایمیل های هاست و صبر می کنیم تا وارد این صفحه بشیم که بالاش هم به انگلیسی نوشته شده webmail، تو اینجا اپلیکیشن های وب میل هاست ما موجود هستند، منظور رابط های گرافیکی وب میل هستش که همشون یه کار رو انجام میدن اما خب نوع های متفاوت داره که ظاهر متفاوتی هم دارن، ما باید از قسمت Choose a Default Webmail Application بر روی وب میل مورد نظرمون کلیک کنیم ، ما بر روی وب میل rouncube کلیک می کنیم چون بهترین و ساده ترین رابط گرافیکی رو داره و اگه بخوایم کاری کنیم که در مرتبه بعدی، پس از کلیک کردن روی دکمه accesss webmail بدون این که این صفحه رو مشاهده کنیم به صورت خودکار و سریع به وب میل مورد نظرمون هدایت بشیم باید از اینجا بر روی set as default کلیک کنیم تا وب میل پیش فرض ما تنظیم بشه، با بقیه موارد کاری نداریم و از اینجا بر روی آیکون roundcube کلیک می کنیم.
وارد شدن به ایمیل های هاست و منتظر میمونیم تا وارد کنترل پنل roundcube بشیم ، بله اینجا کنترل پنل مدیریت هاست ما هستش که تو قسمت Inbox میتونیم ایمیل های دریافتیمون رو مشاهده کنیم و از طریق آیکون compose هم از این بالا قادر هستیم ایمیل های جدید برای سایر آدرس های ایمیل ارسال کنیم.وارد شدن به ایمیل های هاست این کنترل پنل تنظیمات خاص خودش رو داره که مطابق با نیاز هاتون قادر هستین اون رو اختصاصی سازی کنید.
و حالا میریم سراغ روش دوم ورود به وب میل هاست، یعنی روشی که شخص به مدیریت هاست سی پنل سایت دسترسی نداره و میخواد از طریق یه آدرس خاصی وارد وب میل بشه، این روش برای کارمندان و همکاران شما که براشون اکانت ایمیل ساختین خیلی مناسب هست ، برای ورود به وب میل از این طریق باید دامنه شما حتما فعال باشه و dns هاش بر روی هاست به صورت کامل ست باشه، در حالی که دامنه به صورت کامل به هاست متصل باشه به دو طریق کارمندان شما میتونن وارد وب میل بشن :
اولی تایپ کردن آدرس domainname.ir/webmail داخل مرورگر هستش که به جای domainname.ir باید آدرس دامین خودتون رو تایپ کنید.
دومیش تایپ کردن آدرس pishgamweb.net.ir:2095 داخل مرورگر یعنی ورود به وب میل از طریق پورت webmail در سی پنل هستش.
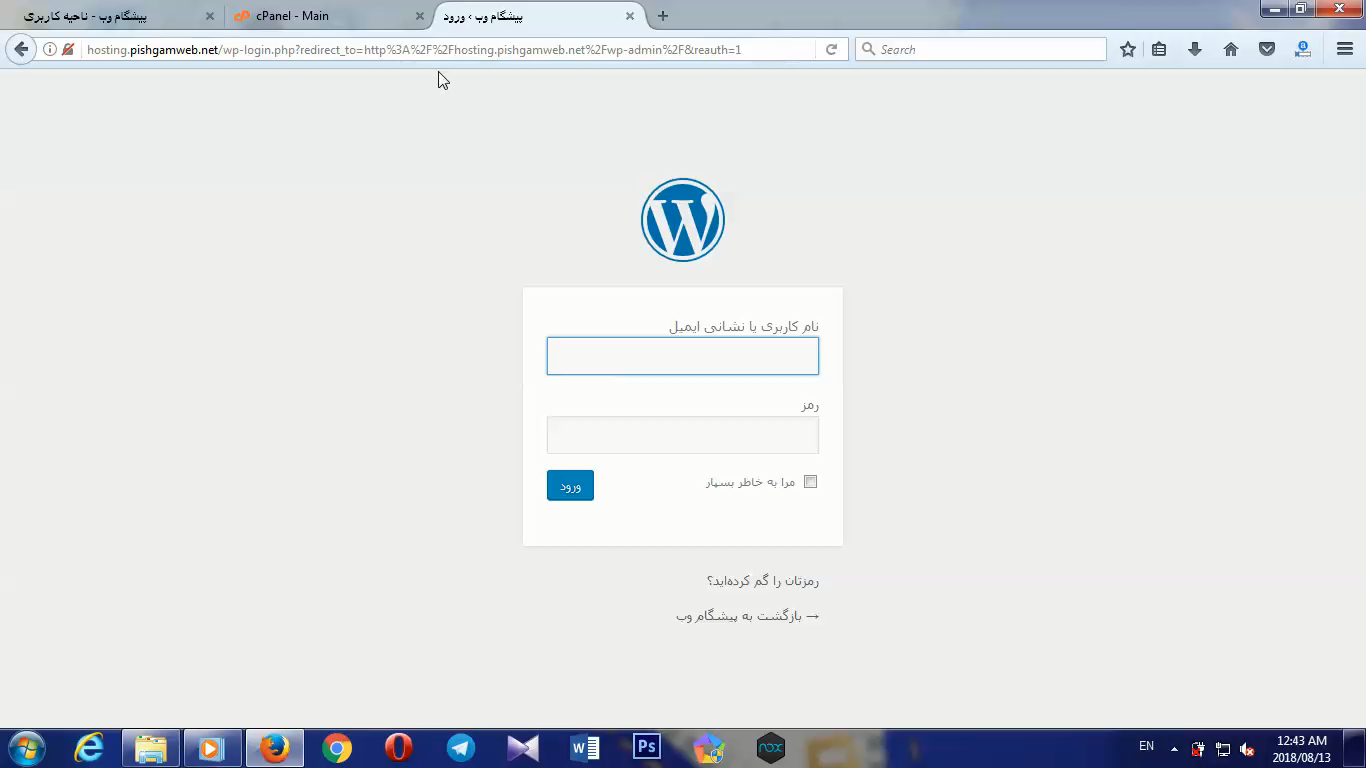
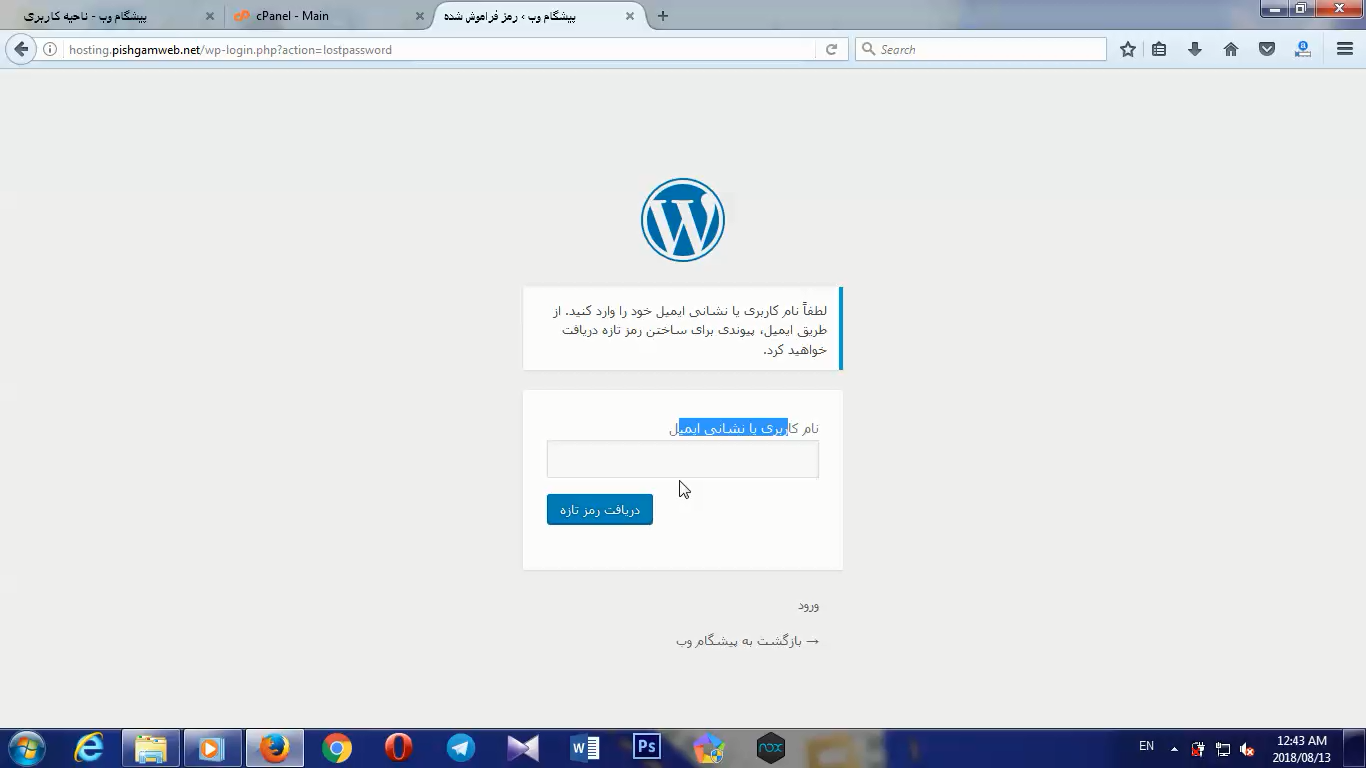
خلی عالی حالا با توجه به این که آدرس دامنه ما pishgamweb.net.ir هستش ، پس داخل مرورگر تایپ می کنیم pishgamweb.net:2095 و اینتر میزنیم و همونطوری که میبینین صفحه ورود به webmail برای ما به نمایش در میاد.وارد شدن به ایمیل های هاست و تو این روش ما باید داخل فیلد Email Address آدرس ایمیل رو وارد کنیم که ما تایپ می کنیم info@pishgamweb.net و داخل فیلد password هم باید رمزعبور این اکانت ایمیل رو وارد کنیم که در هنگام ساخت اکانت ایمیل تو آموزش قبلی تنظیمش کرده بودیم، پس ما شروع می کنیم به تایپ کردن رمزعبور این اکانت ایمیل ، اما اگه شما به هر دلیلی رمزعبور اکانت ایمیلتون رو فراموش کردین وارد قسمت email accounts هاست سی پنل بشین و از مقابل اکانت ایمیل مورد نظر بر روی دکمه password کلیک کنید و یه رمزعبور جدید برای اکانت ایمیلتون تنظیم کنید و بعدش از طریق وارد کردن اون رمزعبور تو این صفحه وارد وب میل هاست وب سایتتون بشین، خیلی خب حالا بر روی دکمه آبی رنگ log in کلیک می کنیم تا وارد این صفحه بشیم و مابقی مراحل انتخاب نرم افزار وب میل و نحوه کار کردن با اون رو هم که تو قسمت اول همین متن بهتون آموزش دادیم ، امیداوریم توسط این آموزش قادر شده باشین به راحت ترین شکل ممکن وارد صفحه مدیریت ایمیل های هاست سی پنل وب سایت تون بشین .
ساخت آدرس ایمیل اختصاصی داخل هاست چه کاربردی داره ؟
تصور کنین که مدیر یه وب سایت بزرگ هستین و وب سایت شما از قسمت های مختلفی تشکیل شده، مثلا داخل یه قسمت از سایت محصولاتتون رو به فروش می رسونین، داخل یه قسمت دیگه از کاربرانتون پشتیبانی می کنین ، تو یه قسمت هم آموزش های متنوع به کاربرانتون ارائه میدین ، خیلی خب ممکنه شما برای مدیریت هر قسمت از وب سایتتون افراد خاصی رو استخدام کرده باشین و میخواین اون افراد تحت نظارت شما با کاربران وب سایتتون در ارتباط باشن و به پیشبرد اهداف شما کمک کنن، استفاده از ایمیل یکی از اصلی ترین راه های ارتباطی داخل تجارت الکترونیک محسوب میشه، و شما توسط امکانات متنوع تو هاست سی پنل قادر هستین برای هر کدوم از کارمندانتون ، آدرس های ایمیل اختصاصی ایجاد کنید، مثلا برای بخش فروش آدرس ایمیل sales@yoursite.ir بخش پشتیبانی support@yoursite.ir، بخش آموزش learn@yoursite.ir و برای بخش مدیریت آدرس ایمیل management@yoursite.ir رو توسط این قابلیت سی پنل ایجاد کنین تا بخش های مختلف شرکت شما قادر باشن با آدرس های ایمیل اختصاصی و رسمی که متعلق به نام دامنه وب سایت شما هستش پیام های خودشون رو رد و بدل کنن، برای ساخت آدرس ایمیل اختصاصی info داخل هاست سی پنل در ادامه این آموزش کاربردی با ما همراه باشید.
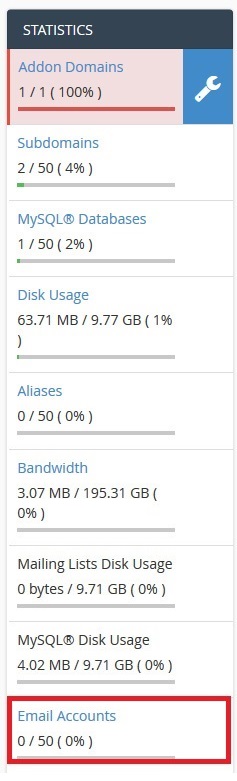
در ابتدا از طریق آموزش نحوه ورود به سی پنل وارد هاست سی پنل وب سایتمون میشیم، قبل از شروع مراحل ساخت ایمیل باید مطمئن بشیم که تو این هاست امکان ساخت اکانت ایمیل از سمته شرکت هاستینگ فراهم شده یا خیر، برای انجام این کار از پنل سمته راستی یعنی STATISTICS میایم پایین تا برسیم به قسمت Email Accounts و همونطوری که میبنین تو این هاست امکان ساخت 50 آدرس ایمیل وجود داره و تا حالا هیچ اکانت ایمیلی ایجاد نشده.
البته در هاست های پیشگام وب محدودیت ساخت اکانت ایمیل وجود ندارد.
ساخت ایمیل در cpanel پس حالا با اطمینان بیشتر آموزش رو ادامه میدیم، سپس از قسمت email بر روی آیکون email accounts از اینجا کلیک می کنیم تا وارد صفحه ساخت و تنظیمات اکانت ایمیل تو سی پنل بشیم.ساخت ایمیل در cpanel
تو این صفحه از قسمت Add Email Account قادر هستیم یه اکانت ایمیل جدید برای خودمون ایجاد کنیم، برای انجام این کار باید فیلد های زیر رو با دقت تکمیل کنیم:
فیلد email: داخل این قسمت باید پیشوند ایمیل درخواستیمون رو وارد کنیم، مثلا میتونیم بنویسیم info یا هرچیز دیگه، هر پیشوندی که اینجا بنویسیم، میشه آدرس ایمیل ما و تو این مثال چون نام دامنه ما ir هستش ، اگه پیشوند ایمیل رو info وارد کنیم، آدرس ایمیل ما میشه info@pishgamweb.net پس تو اینجا مینویسیم info.
فیلد domain: البته اگه شما به غیر از دامنه اصلیتون، دامنه دیگه ای رو بر روی این هاست پارک یا ادان کرده باشین این فیلد براتون فعال میشه، توسط این قابلیت میتونیم با پسوند سایر دامنه های وب سایتمون هم آدرس ایمیل اختصاصی ایجاد می کنیم، ما میزاریم این فیلد روی دامنه اصلیمون یعنی ir باقی بمونه.
فیلد password و password again: تو این دوتا فیلد باید یه رمزعبور برای این اکانت ایمیلمون در نظر بگیرم تا در آینده قادر باشیم به ایمیل های موجود داخل این ایمیل دسترسی داشته باشیم و خیلی مهمه که یه رمزعبور قوی برای این قسمت در نظر بگیریم، چون ما رمزعبور خاصی مد نظر نداریم از اینجا بر روی دکمه password generator کلیک می کنیم تا سی پنل یه رمزعبور مطمئن برای ما بسازه، داخل پنجره password generator این رمزعبوری هستش که سی پنل برای ما در نظر گرفته، ما باید حتما این رمزعبور رو یه جایی ذخیرش کنیم چون در آینده به دردمون میخوره، پس اون رو داخل یه فایل نوت پد کپی پیست می کنیم و بعدش گزینه I have copied this password in a safe place. رو تیک دار می کنیم و بر روی دکمه use password کلیک می کنیم تا رمزعبور مطابق تصویر داخل فیلد ها قرار بگیره.
ساخت ایمیل در cpanel
فیلد Mailbox Quota: این فیلد مربوط به حجم یا میزان فضای دیسک هاست وب سایتمون هستش که میخوایم در اختیار این اکانت ایمیل قرار بدیم، بهتره که یه حجم منطقی برای هر اکانت ایمیل درنظر بگیریم، هاست ما 1024 مگابایت فضا به صورت پیشفرض در نظر گرفته و ما مقدار اون رو به صد مگابایت محدود می کنیم تا این اکانت ایمیل به مرور زمان نتونه فضای زیادی از هاست مارو به اشغال خودش در بیاره، تو این قسمت اگه unlimited رو انتخاب کنیم این اکانت ایمیل قادره به صورت نامحدود از فضای هاست ما استفاده کنه.
حالا برای نهایی سازی ساخت این اکانت ایمیل از این پایین بر روی دکمه آبی رنگ crate account کلیک می کنیم تا پیغام سبزرنگ account created رو از اینجا مشاهده کنیم و فقط مشاهده این پیغام به این معناست که اکانت ایمیل ما به خوبی ساخته شده.ساخت ایمیل در cpanel
آموزش ساخت ایمیل شرکتی و رسمی در هاست
بعد از ساخت ایمیل یه مقداری میایم پایین تا برسیم به قسمت Email Accounts، اکانت ایمیل های ایمیل ساخته شده توسط ما تو این قسمت قرار گرفتن، ایمیل info@pishgamweb.net همون اکانت ایمیلی هستش که الان ساختمیش، این آیکون در سمته چپ آدرس ایمیل نشون دهنده این هستش که این اکانت ایمیل مجاز به ارسال ایمیل هستش و این آیکون نشون دهنده این هستش که این ایمیل اکانت ، مجازه تمام ایمیل ها رو هم دریافت کنه، در مقابل این اکانت ایمیل از طریق گزینه password قادر هستیم رمزعبور ورود به این آدرس ایمیل رو اگه فراموشش کردیم بازیابی کنیم، از قسمت quota قادر هستیم حجم این اکانت ایمیل رو ویرایش کنیم و کاهش یا افزایشش بدیم، و از طریق دکمه delete هم قادر هستیم این اکانت ایمیل رو برای همیشه حذف کنیم.
حالا اگه روی دکمه more از اینجا کلیک کنیم یه سری آیتم وجود داره که میخوایم به شما توضیحشون بدیم:
Suspend: توسط این گزینه می تونیم این اکانت ایمیل رو به صورت موقت مسدود کنیم تا هم نتونه ایمیل دریافت کنه و هم نتونه ایمیل ارسال کنه.
Suspend login: توسط این گزینه میتونیم کاری کنیم که صاحب این اکانت ایمیل نتونه واردش بشه و ازش استفاده کنه و مسلما اگه این گزینه رو فعال کنیم امکان ارسال ایمیل از این اکانت دیگه وجود نخواهد داشت.
Suspend incoming mail: توسط این گزینه میتونیم کاری کنیم که صاحب این اکانت ایمیل دیگه نتونه ایمیل دریافت کنه، و اگه فعالش کنیم دیگه تو اینباکس این اکانت، ایمیلی دریافت نمیشه.
Access webmail: توسط این قابلیت قادر هستیم به وب میل این اکانت ایمیل دسترسی داشته باشیم و ایمیل هامون رو مدیریت کنیم.
Manage External Authentication: توسط این گزینه قادر هستیم با تظیم احراز هویت برای این اکانت از ایمیل، امنیت این اکانت رو افزایش بدیم و دیگه هرکس خواست وارد وب میل این اکانت بشه باید احراز هویت انجام بده و این باعث میشه که احتمال هک شدن این اکانت کاهش پیدا کنه.
configure Calendars and Contacts: توسط این قابلیت هم قادر هستیم تنظیماتی اعمال کنیم تا سی پنل از طریق این اکانت ایمیل برخی از امور مهم روزانه رو به ما یادآوری کنه.