ایمیل
ایمیل  چت آنلاین
  پشتیبانی
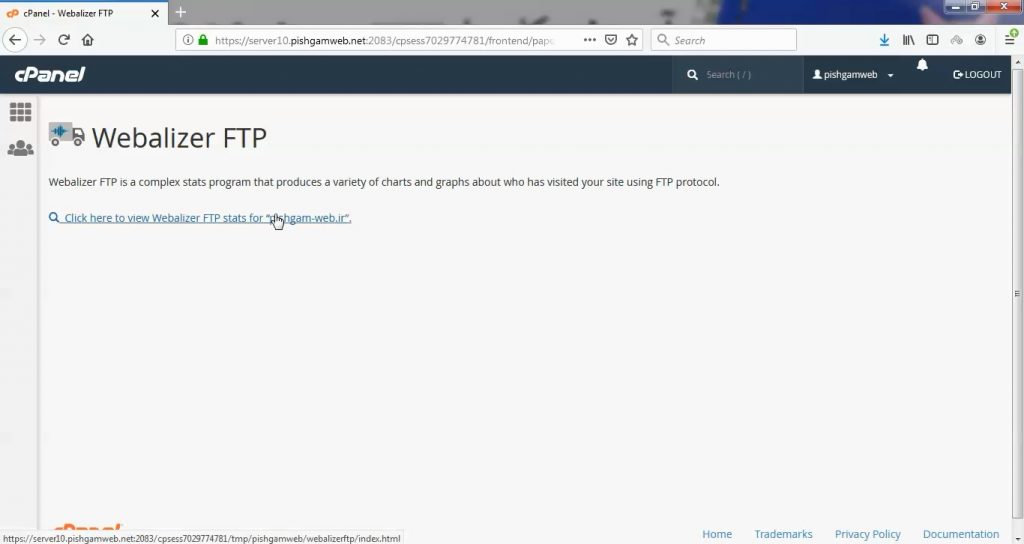
 آموزش کار با Analog Stats در cpanel

دوستان عزیز پیشگام وبی امیدوارم که حالتون خوب باشه ، امروز با آموزش کار با Analog Stats در cpanel خدمتتون هستیم و امیدوارم توضیحاتی که در این مطلب و یا در انتها مطلب که بصورت فیلم قرارداده شده بتونه به شما کمک کنه و هر روز بیشتر پیشرفت کنید.
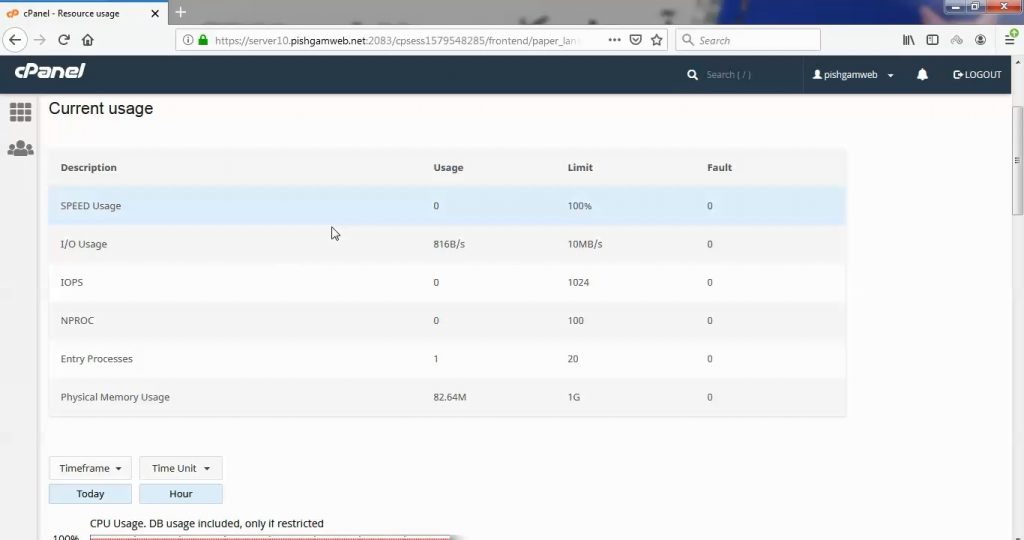
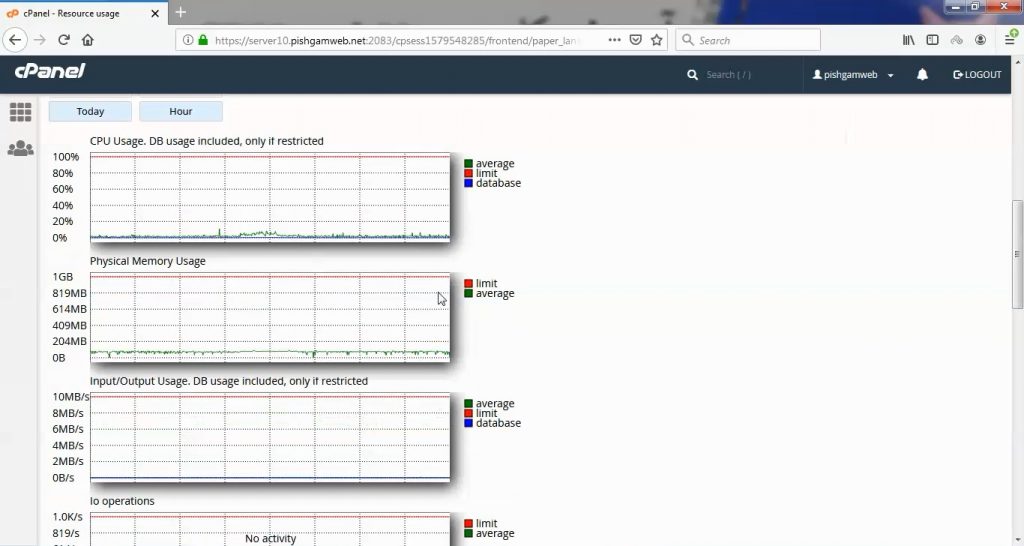
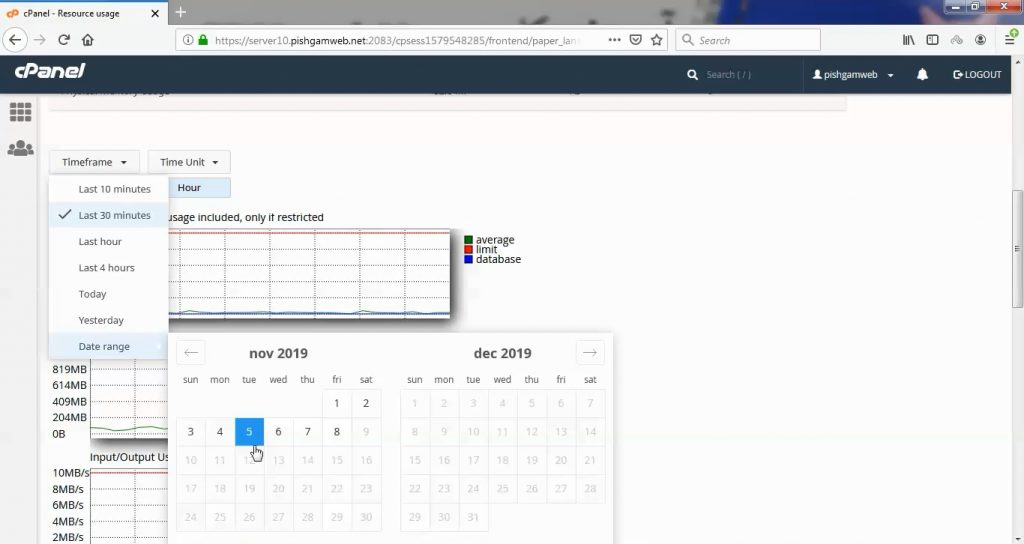
خوب اصلا این قسمت به چه دردی میخوره کجا بهش نیاز داریم و در کل کاربردش چی هست؟
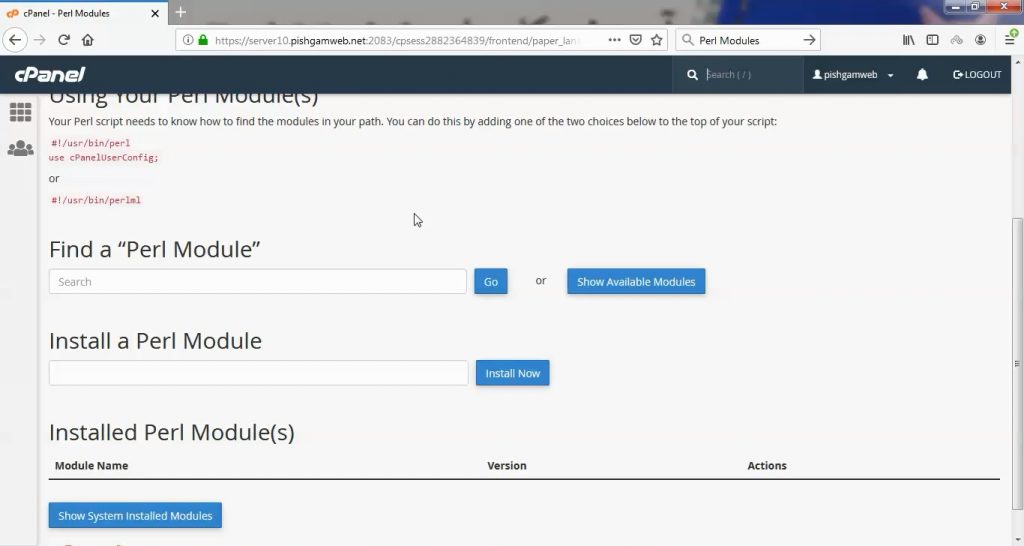
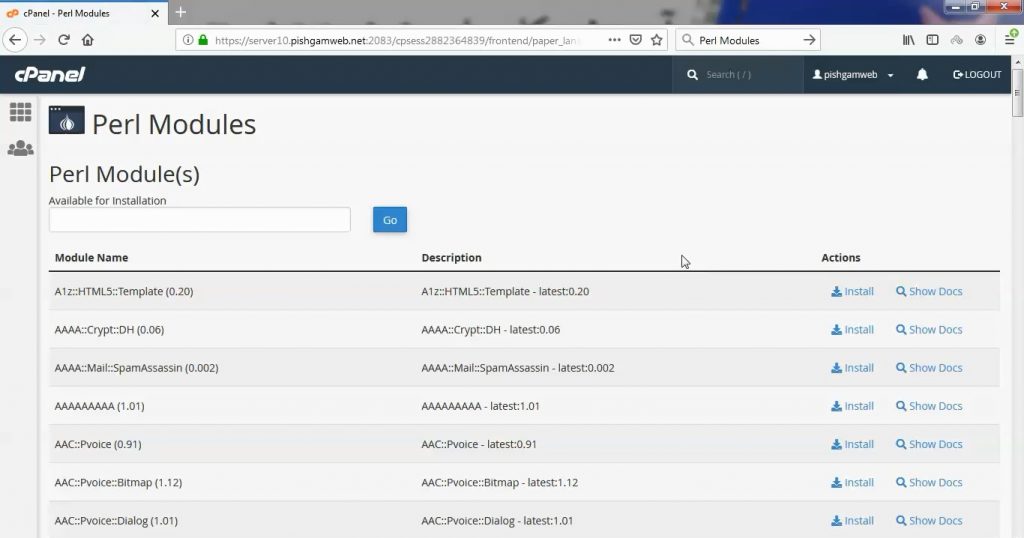
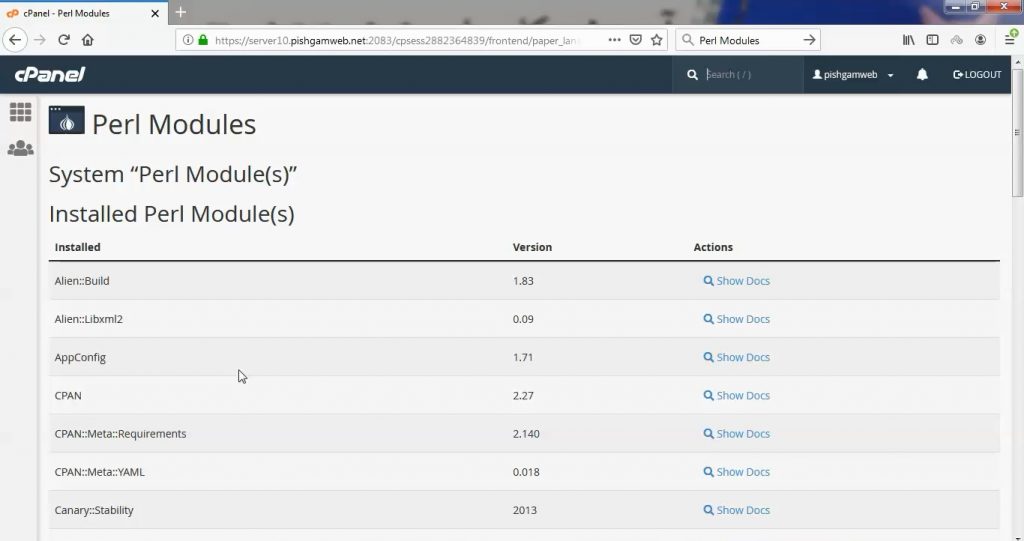
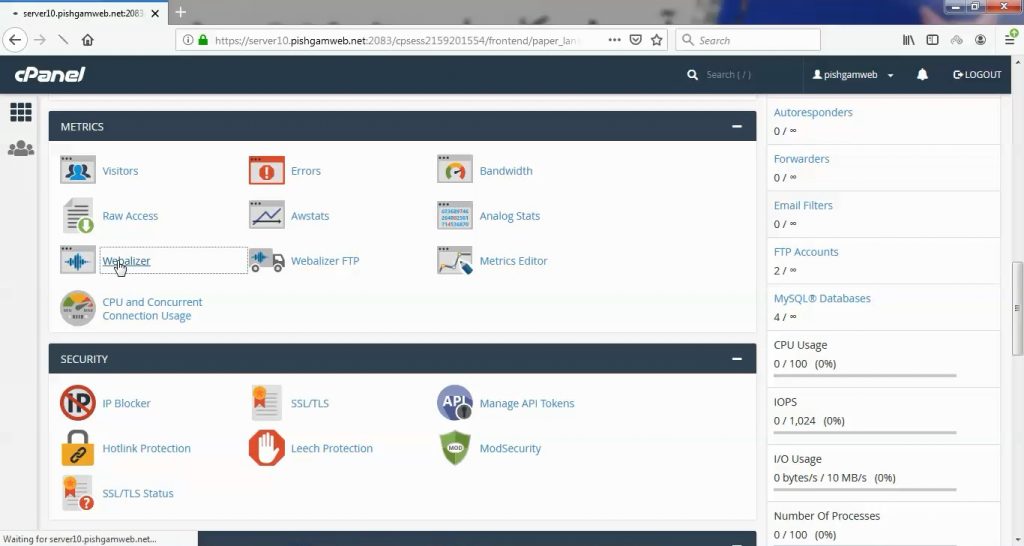
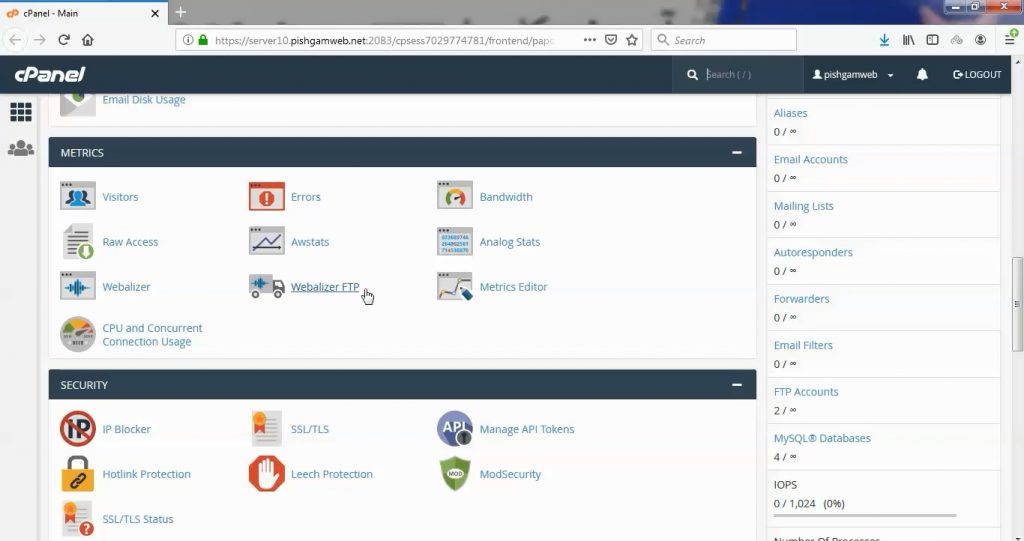
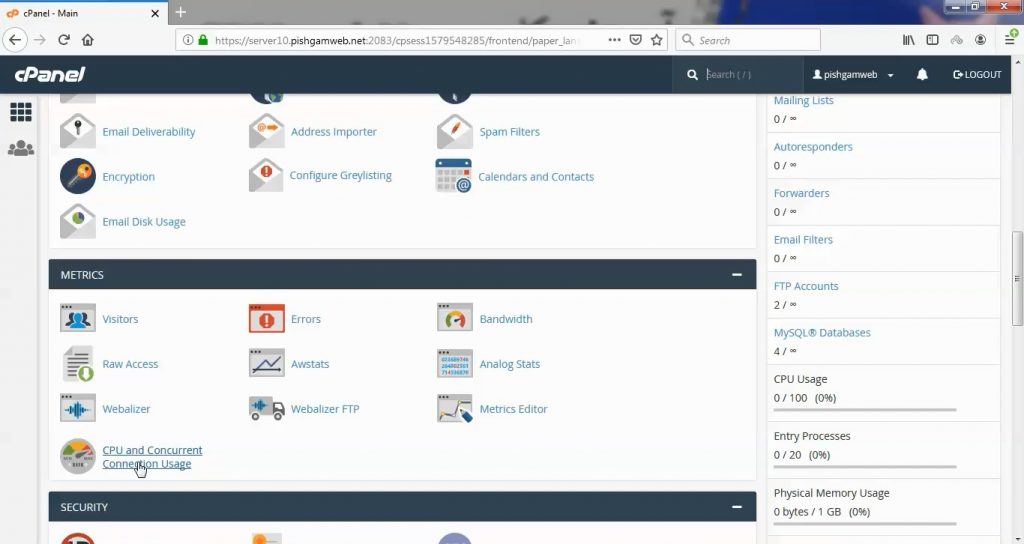
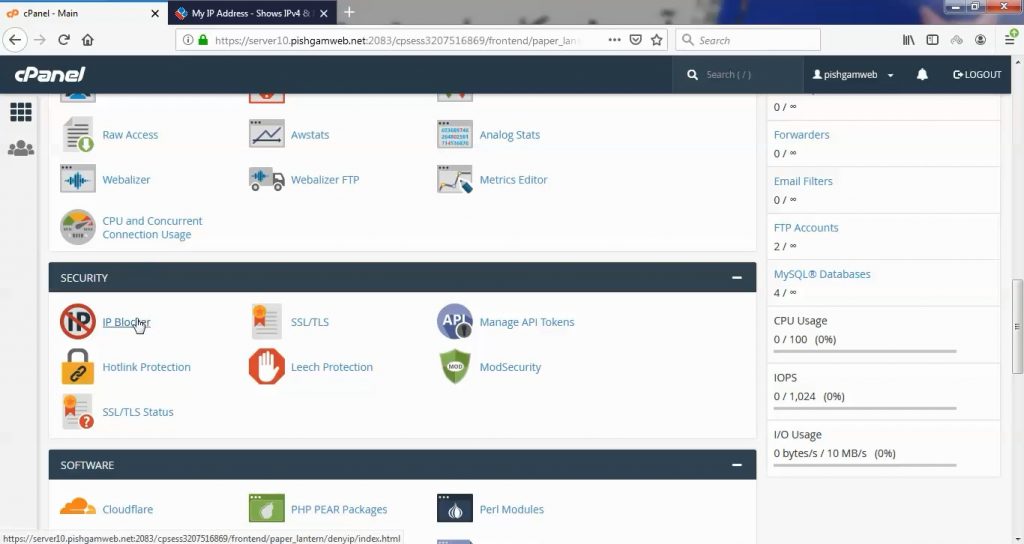
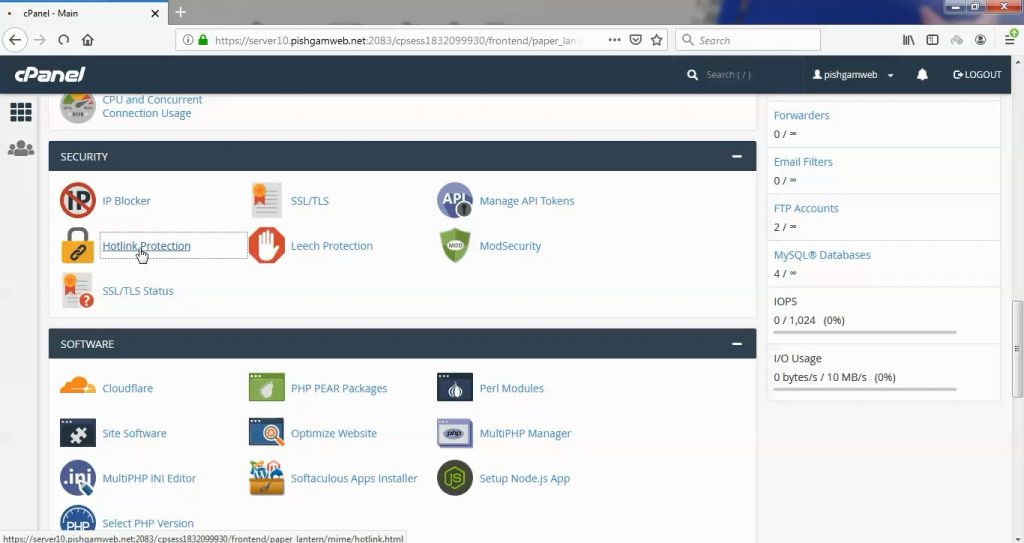
این قسمت برای تغییر پسورد در سی پنل میباشد که با عنوان Analog Stats در قسمت Metrics موجود میباشد.
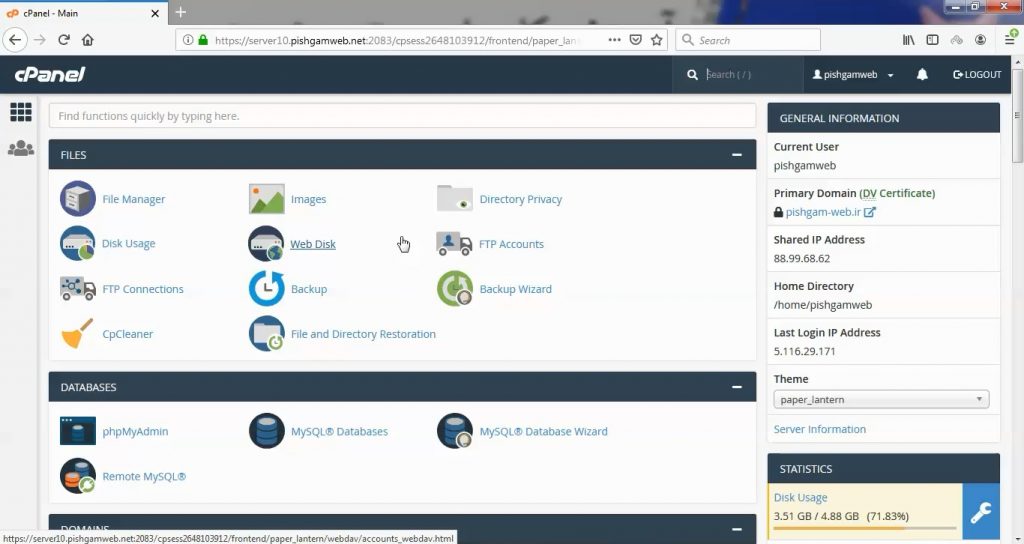
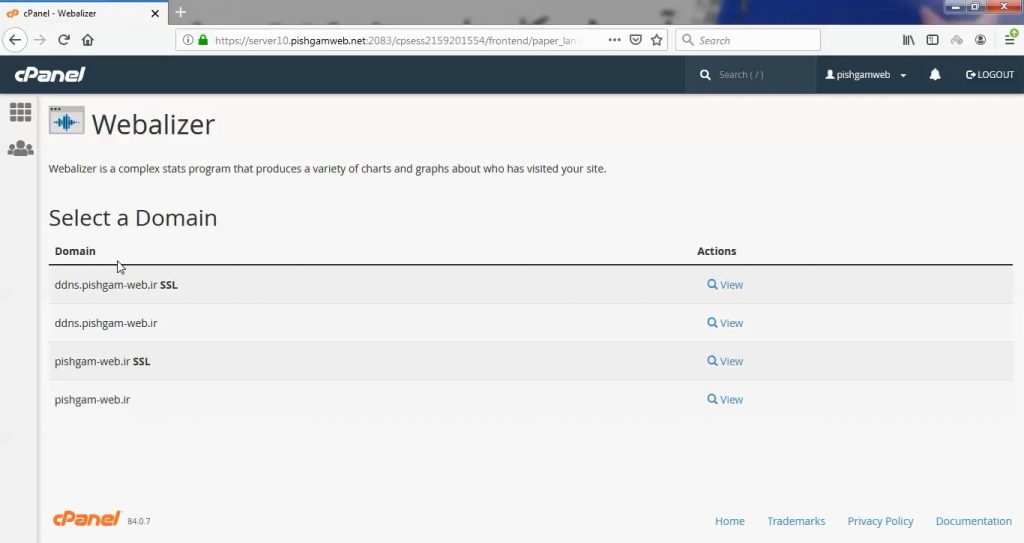
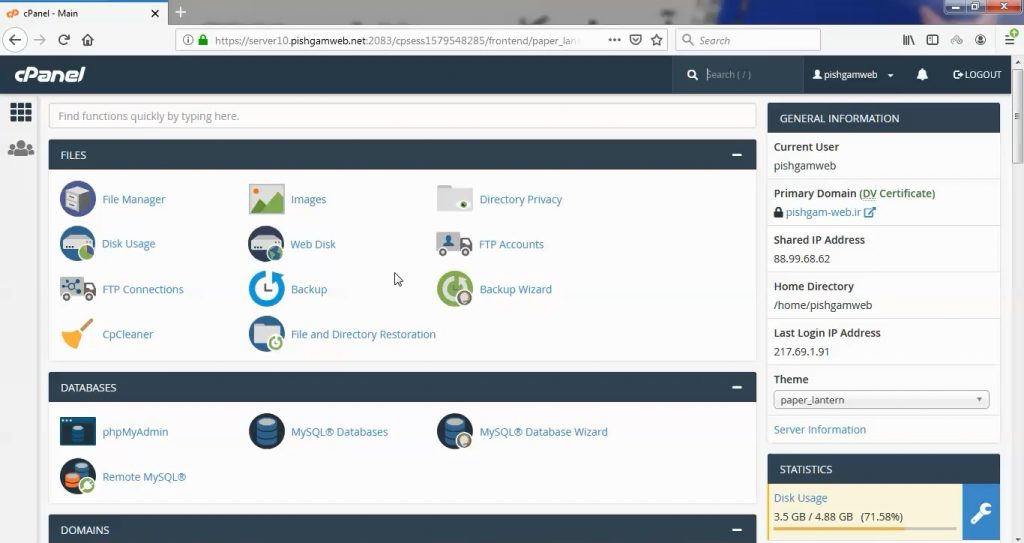
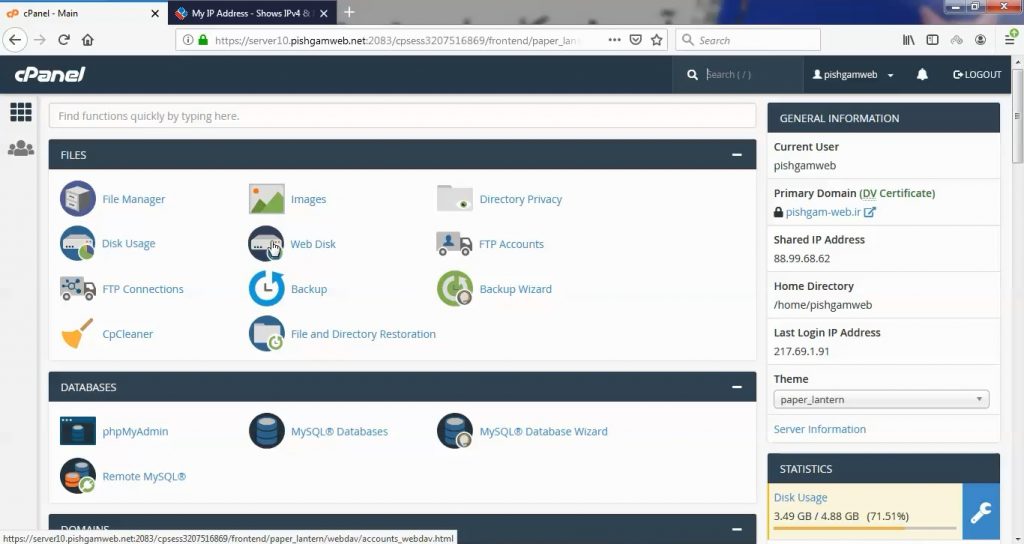
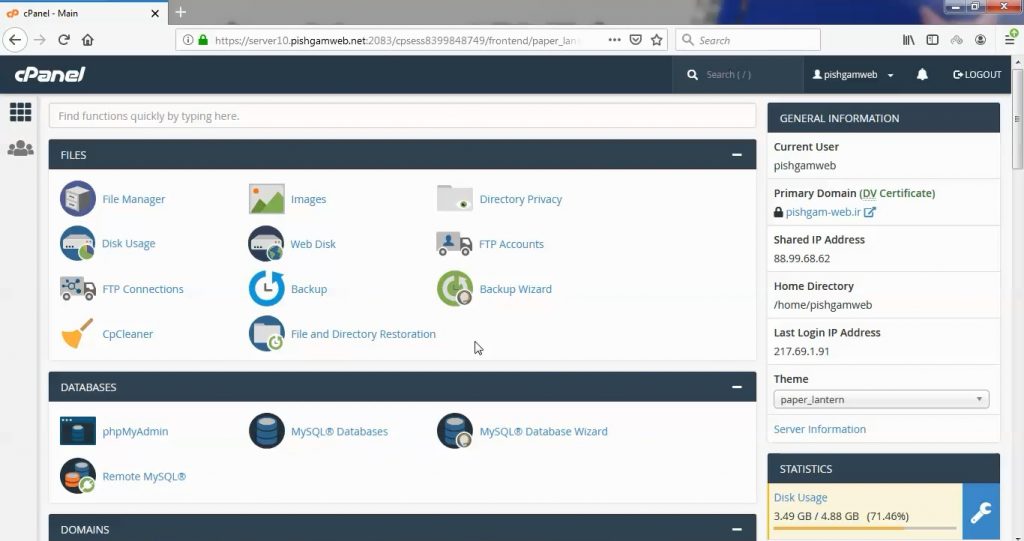
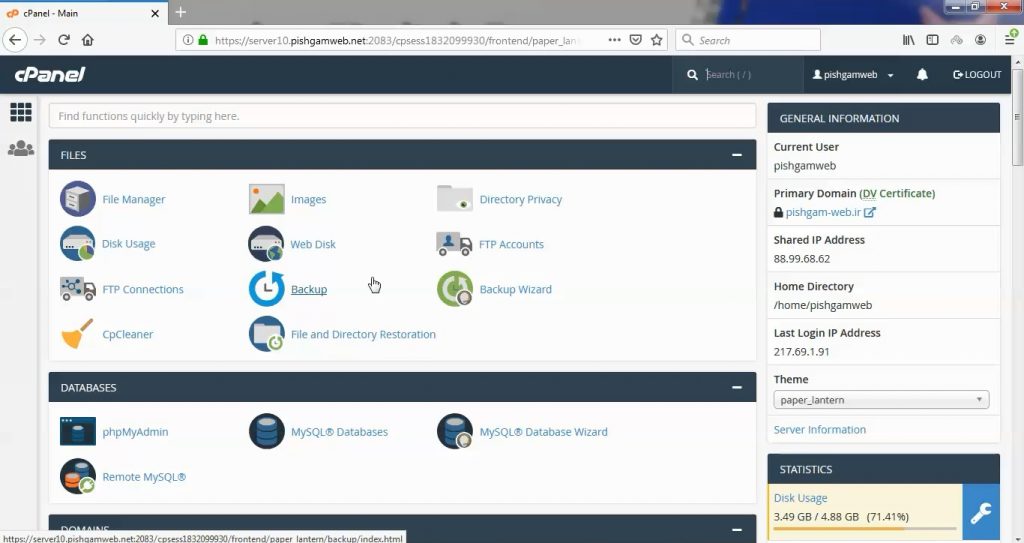
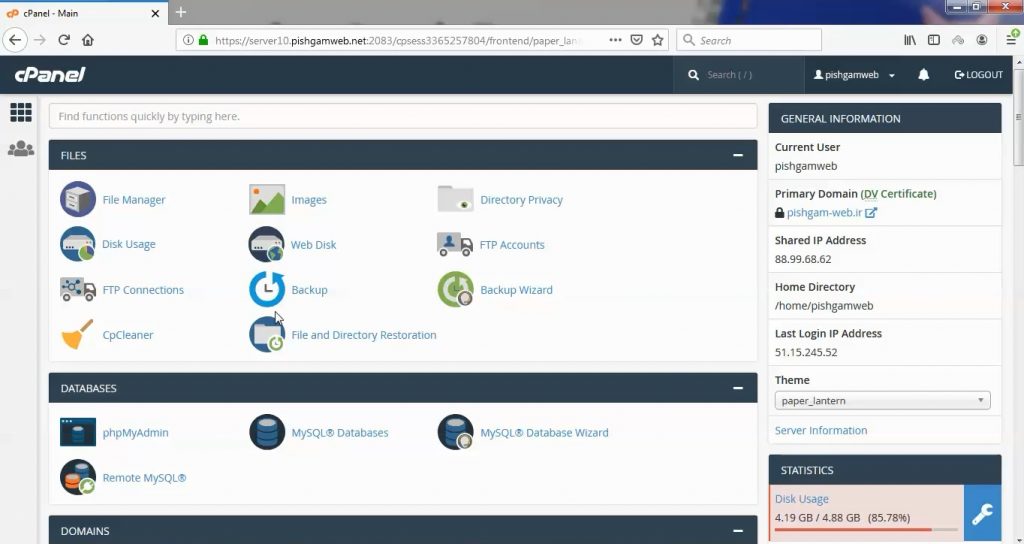
ابتدا وارد هاستمون داخل سایت پیشگام وب میشیم.
آنالوک استاتس مربوط به بازدید های وب سایت میباشد و در حیقیت میتواند گفت یک آمارگیر برای سایت میباشد ، البته معمولا عموم مردم از آمارگیر های خود اسکریپت ها استفاده میکنند که در دسترسی تر میباشند.
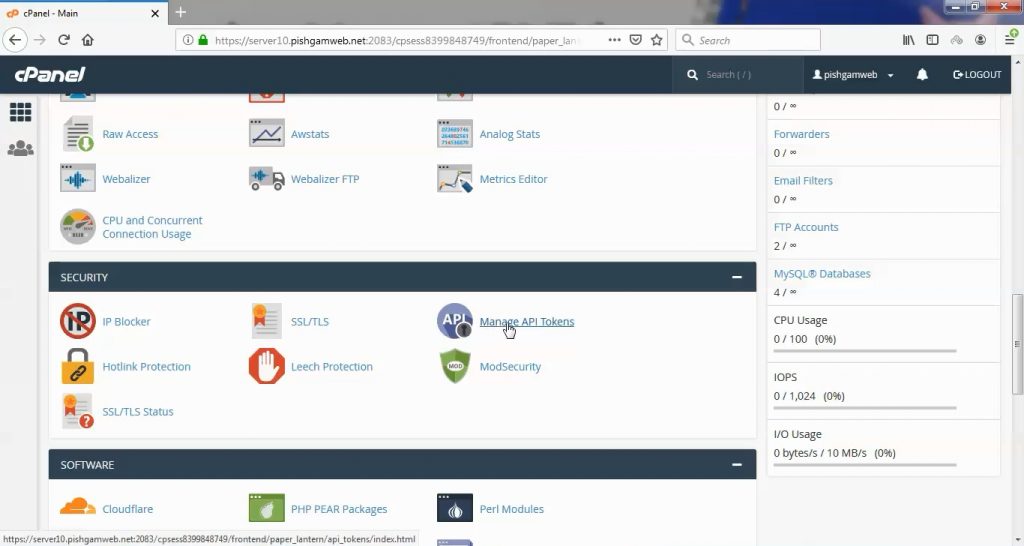
بعد از ورود به هاست به قسمت Metrics رفته و روی گزینه Analog Stats کلیک میکنیم.

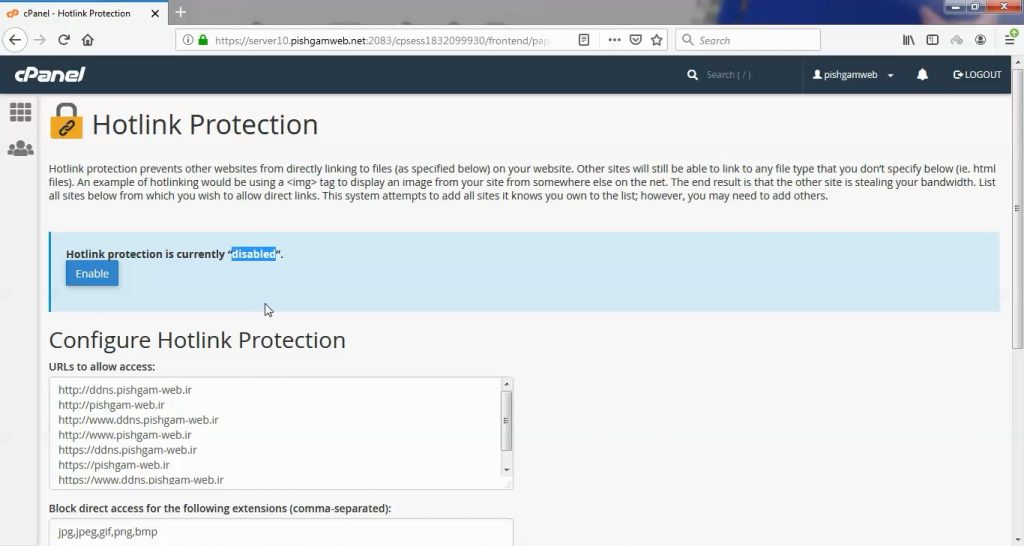
در این قسمت Select a Domain تمام دامنه و ساب دومین های متصل به هاست موجود میباشد و از هر یک دو عدد و هر موردی که مقابل آن ssl وجود دارد منظور لود سایت با https میباشد و هر یک که ندارد منظور لود با http میباشد.
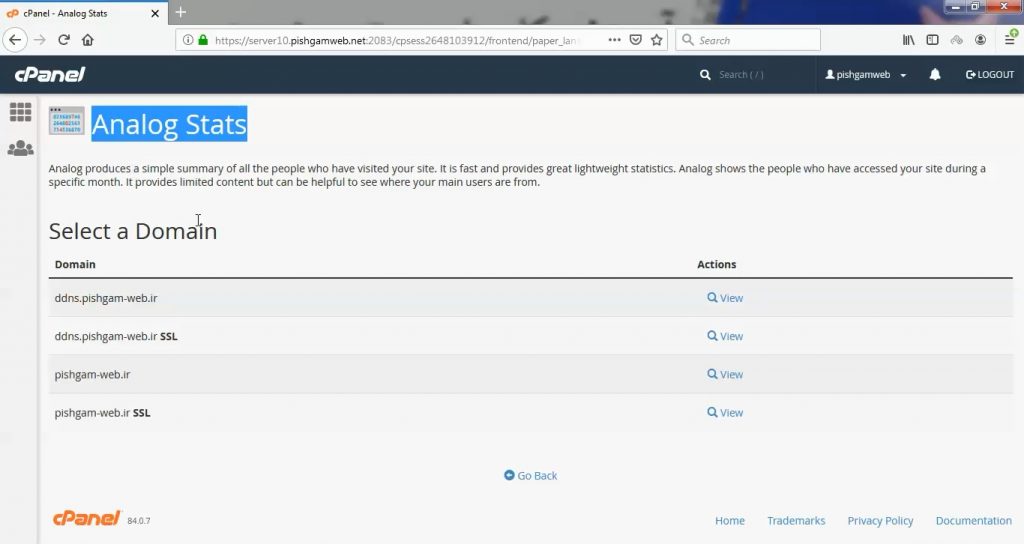
دامنه مورد نظر را مشخص کرده و روی گزینه view کلیک میکنیم.
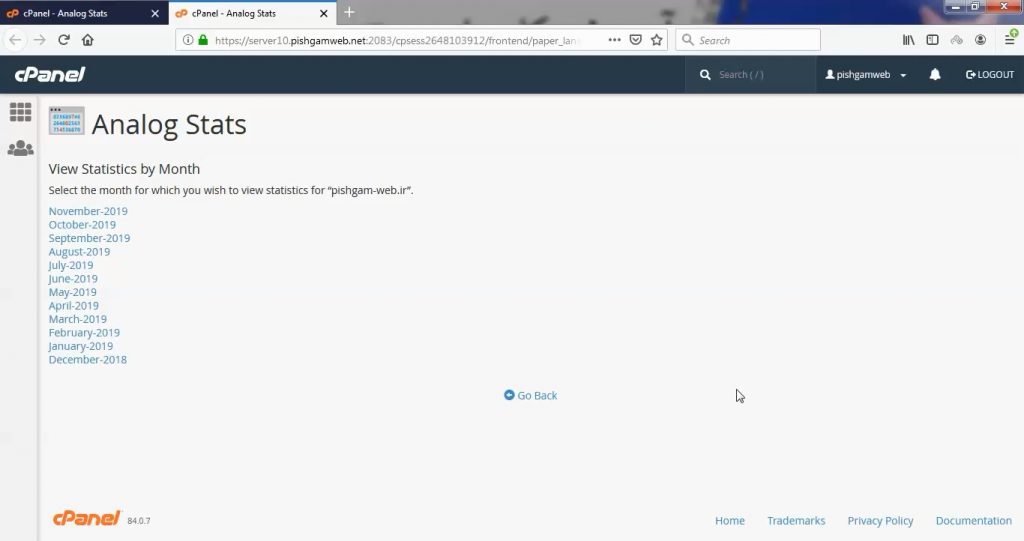
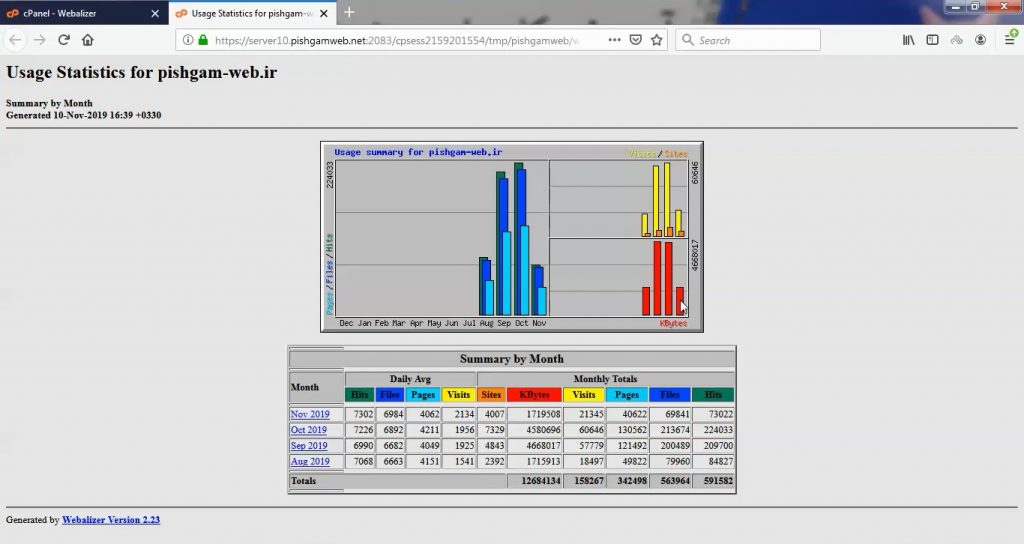
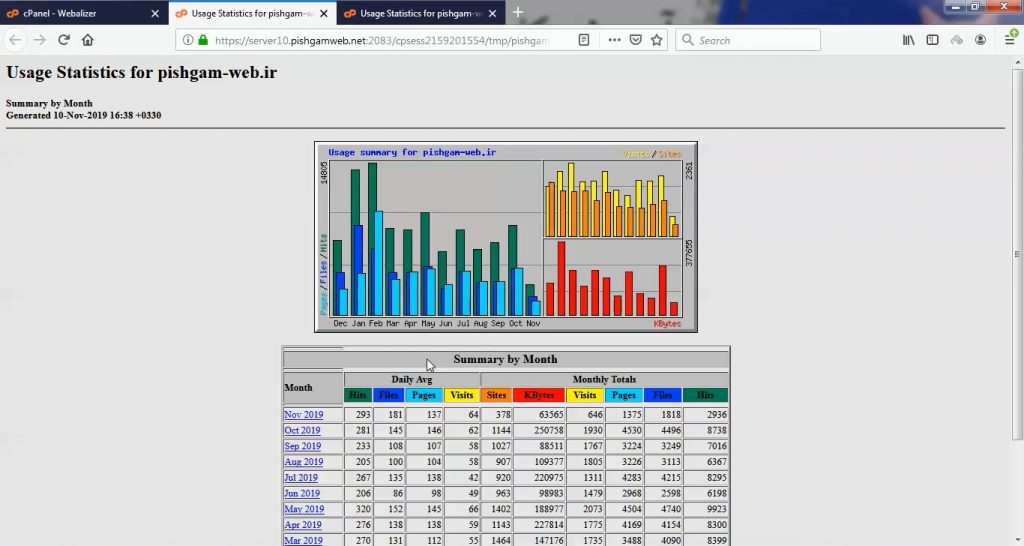
بعد از کلیک در قسمت View Statistics by Month میتوانید ماه مورد نظر را انتخاب کنید که بالاترین ماه آخرین ماه گزارش میباشد.
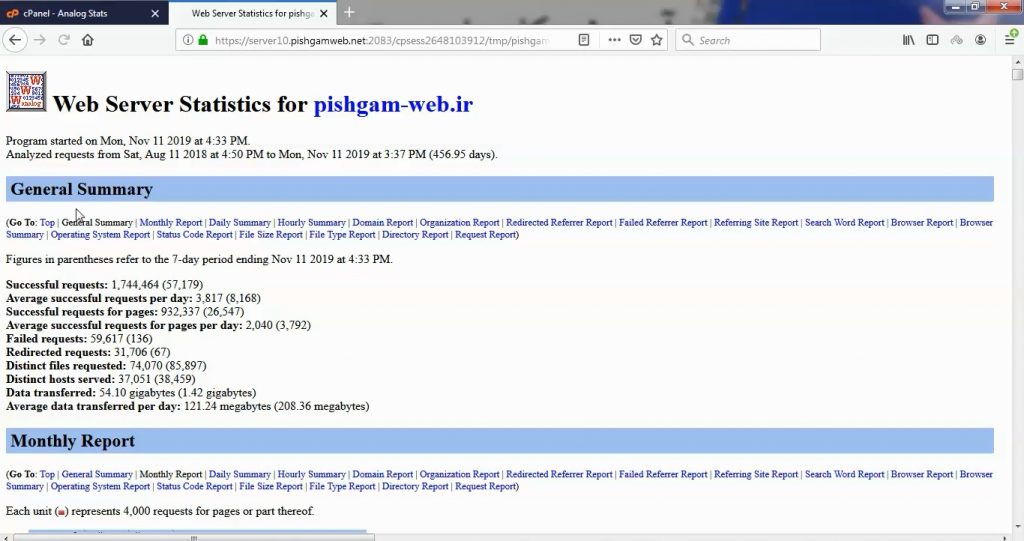
در قسمت General Summary گزارش های عمومی میباشد.
در قسمت Monthly Report گزارش ماهانه میباشد.
در قسمت Daily Summary گزارش روزانه موجود میباشد.
در قسمت Hourly Summary گزارش ساعتی موجود میباشد.
قسمت Domain Report هم مربوط به گزارش دامنه میباشد.
مشاهده فیلم آموزشی از وب سایت آپارات
برای دانلود فیلم آموزش از قسمت تنظیمات روی گزینه دانلود کلیک کرده و کیفیت مد نظر خود را انتخاب کنید تا فیلم آموزش دانلود گردد.
نکته : هر چقدر که عدد این قسمت بیشتر باشد ، کیفیت فیلم دانلودی بالاتر خواهد بود.
آموزش های حرفه ای :
دوستان عزیز به انتهای این آموزش رسیدیم و این آموزش که خدمتتون هست از سری آموزش های ابتدایی پیشگام وب هست و این آموزش جزو آموزش های حرفه ای هست و یواش یواش اگر آموزش ها رو کامل فرا گرفته باشید میتوانید خودتون رو یک طراح سایت بدونید و ما از این بابت خیلی خوشحال هستیم و امیدواریم همیشه شاد و سر زنده باشید.
learn in cpanel
Overview
The Analog Stats interface allows you to access data from the Analog traffic statistics software. Analog compiles traffic statistics for your domain, and organizes the data by month so that it is easy for you to manage and interpret. The software also presents the data for each month in graphs to show additional categories.
View Analog Stats
To view Analog’s statistics for a domain, perform the following steps:
- Click View for the domain that you wish to view. A new browser tab that lists each month for which Analog contains traffic statistics will appear.
- Select the month for which you wish to view traffic statistics. The interface will display the Analog software statistics for that month.


 ) to navigate to a different folder.